

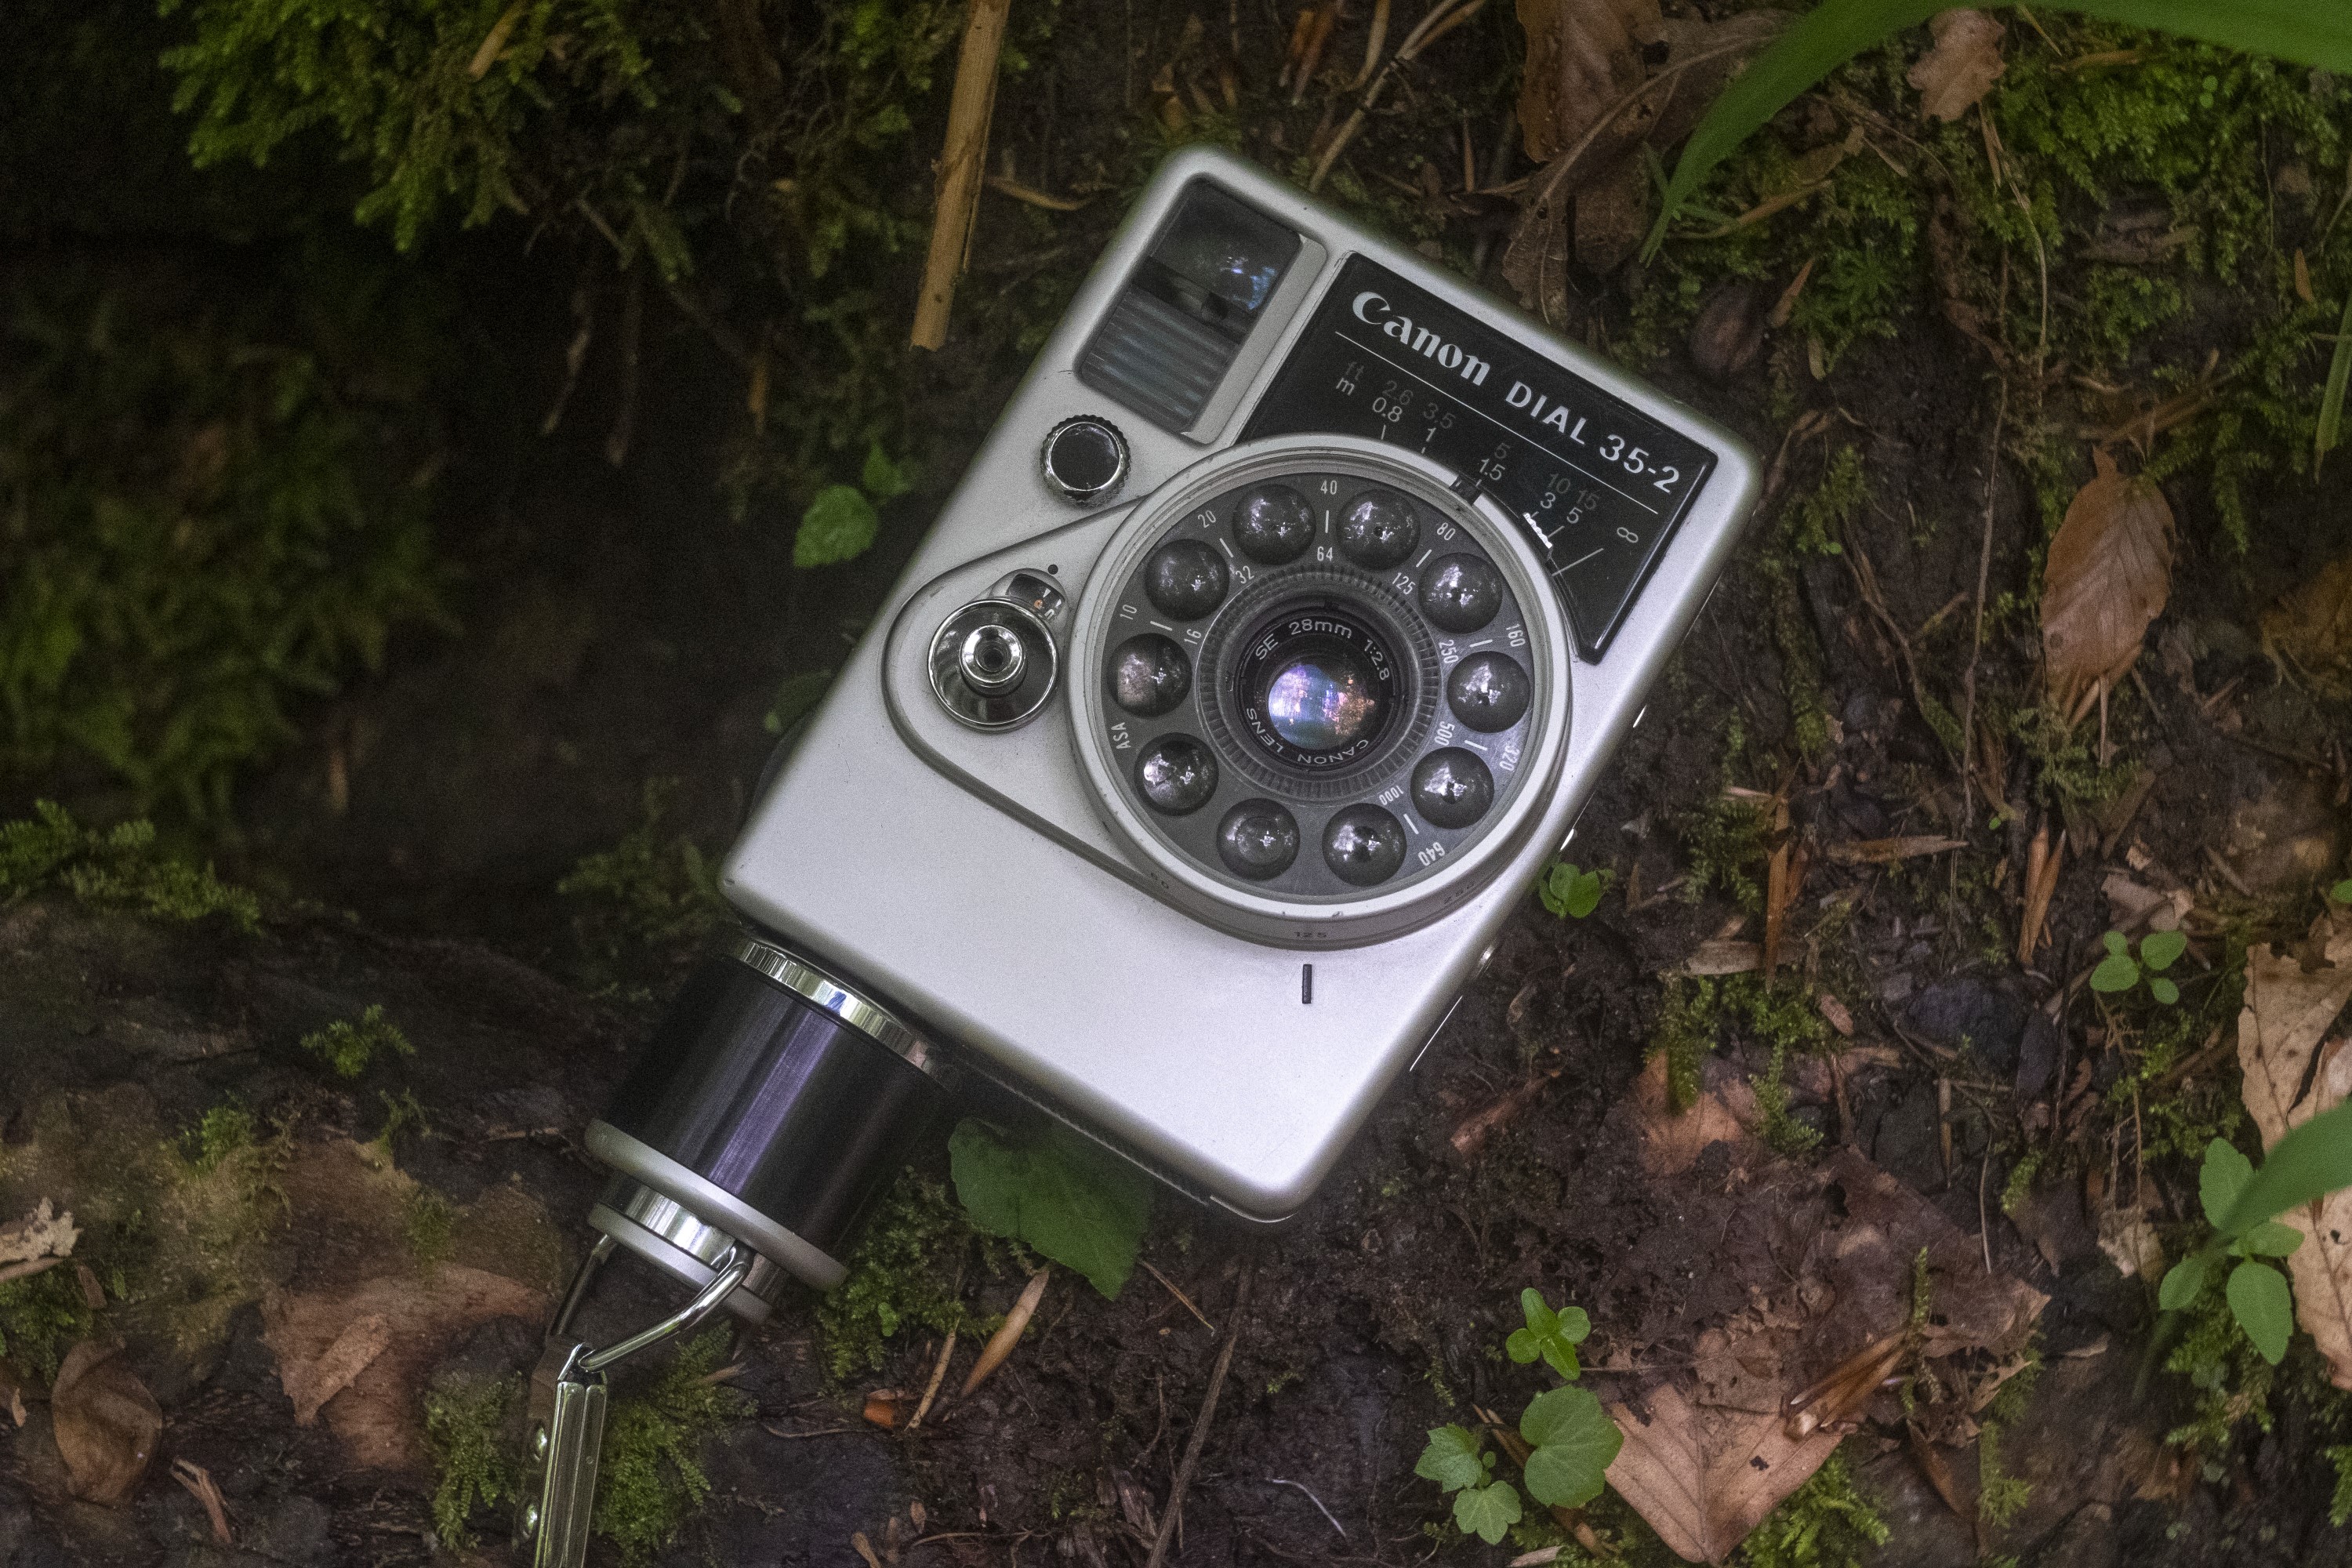
This is a Canon Dial 35-2, a compact scale focus camera made by Canon of Japan which shoots 18mm x 24mm half frame images on regular 35mm film. The Canon Dial has not only a very unique body with a shutter priority automatic exposure metering system shaped like a rotary phone dial, but also is powered by a wind up clockwork film advance that allows the camera to shoot up to two exposures per second. The Dial 35-2 is an update to the original model first released in November 1963, adding a flash hot shoe, a longer lasting clockwork spring, a wider range of supported film speeds, and revised cosmetics. One of the strangest looking cameras ever produced, the Dial was a popular model that stayed in production for nearly a decade.
Film Type: Half-frame 135 (35mm)
Lens: 28mm f/2.8 Canon SE coated 5-elements in 3-groups
Focus: 0.8 meters to Infinity
Viewfinder: Scale Focus with 28mm Projected Frame Lines and Metered Aperture Scale
Shutter: Seikosha Leaf
Speeds: B, 1/30 – 1/250 seconds
Exposure Meter: Coupled CdS Cell w/ Shutter Priority AE
Battery: 1.35v PX625 Mercury Battery
Flash Mount: Hot shoe with M and X Flash Sync, X-sync at all speeds
Weight: 410 grams
Manual: https://www.cameramanuals.org/canon_pdf/canon_dial35-2.pdf
How these ratings work |
The Canon Dial 35-2 is one of the more strange looking cameras ever made, but its looks are not all gimmick, as it is very easy to use, especially one-handed, and with its 5-element Canon SE lens, produces images that are as good as any other half-frame camera ever made. This is definitely a camera you want to familiarize yourself with the manual before shooting, but otherwise is a lot of fun. | ||||||
| Images | Handling | Features | Viewfinder | Feel & Beauty | History | Age | |
| 2 | 2 | 1 | 1 | 2 | 1 | 20% | |
| Bonus | +1 for a one of a kind design that both functional and fun at the same time | ||||||
| Final Score | 11.8 | ||||||
History
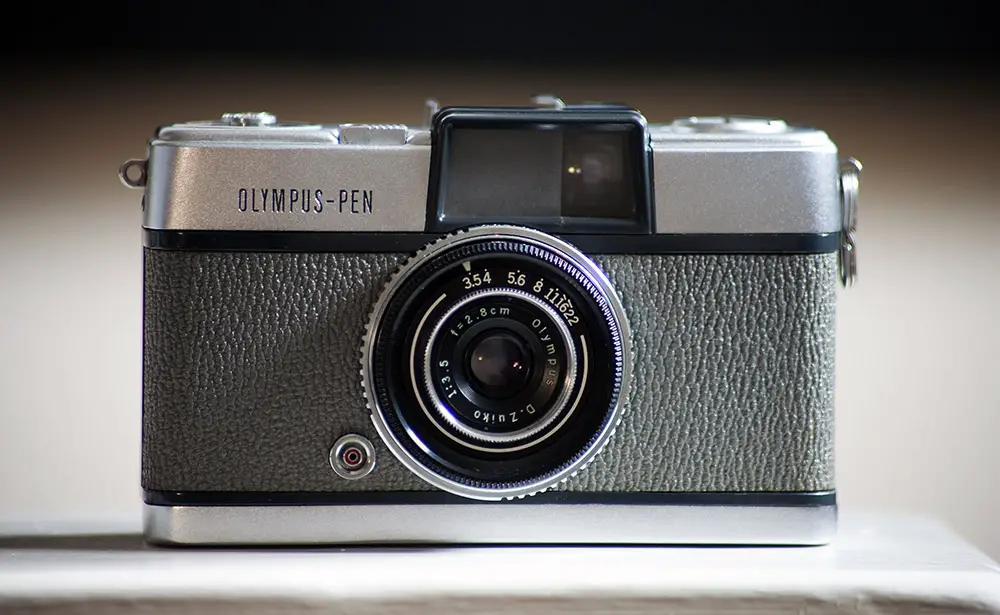
In 1959 when Yoshihisa Maitani released the Olympus Pen, an appetite for 35mm half-frame cameras grew almost overnight to levels never before seen in the Japanese camera industry. Demand for the Pen was so great, that the company that Olympus had outsourced production to couldn’t keep up, and the company was forced to move production to a larger factory.
Olympus’s competitors took notice of the Pen’s popularity and quickly put in production their own 35mm half frame cameras. Fuji, Minolta, Konica, Yashica, Taron, Ricoh, Petri, and even Nikon all released half-frame cameras to capitalize on the demand. Some were new designs, others, like the Nikon S3M were modified versions of full-frame models.
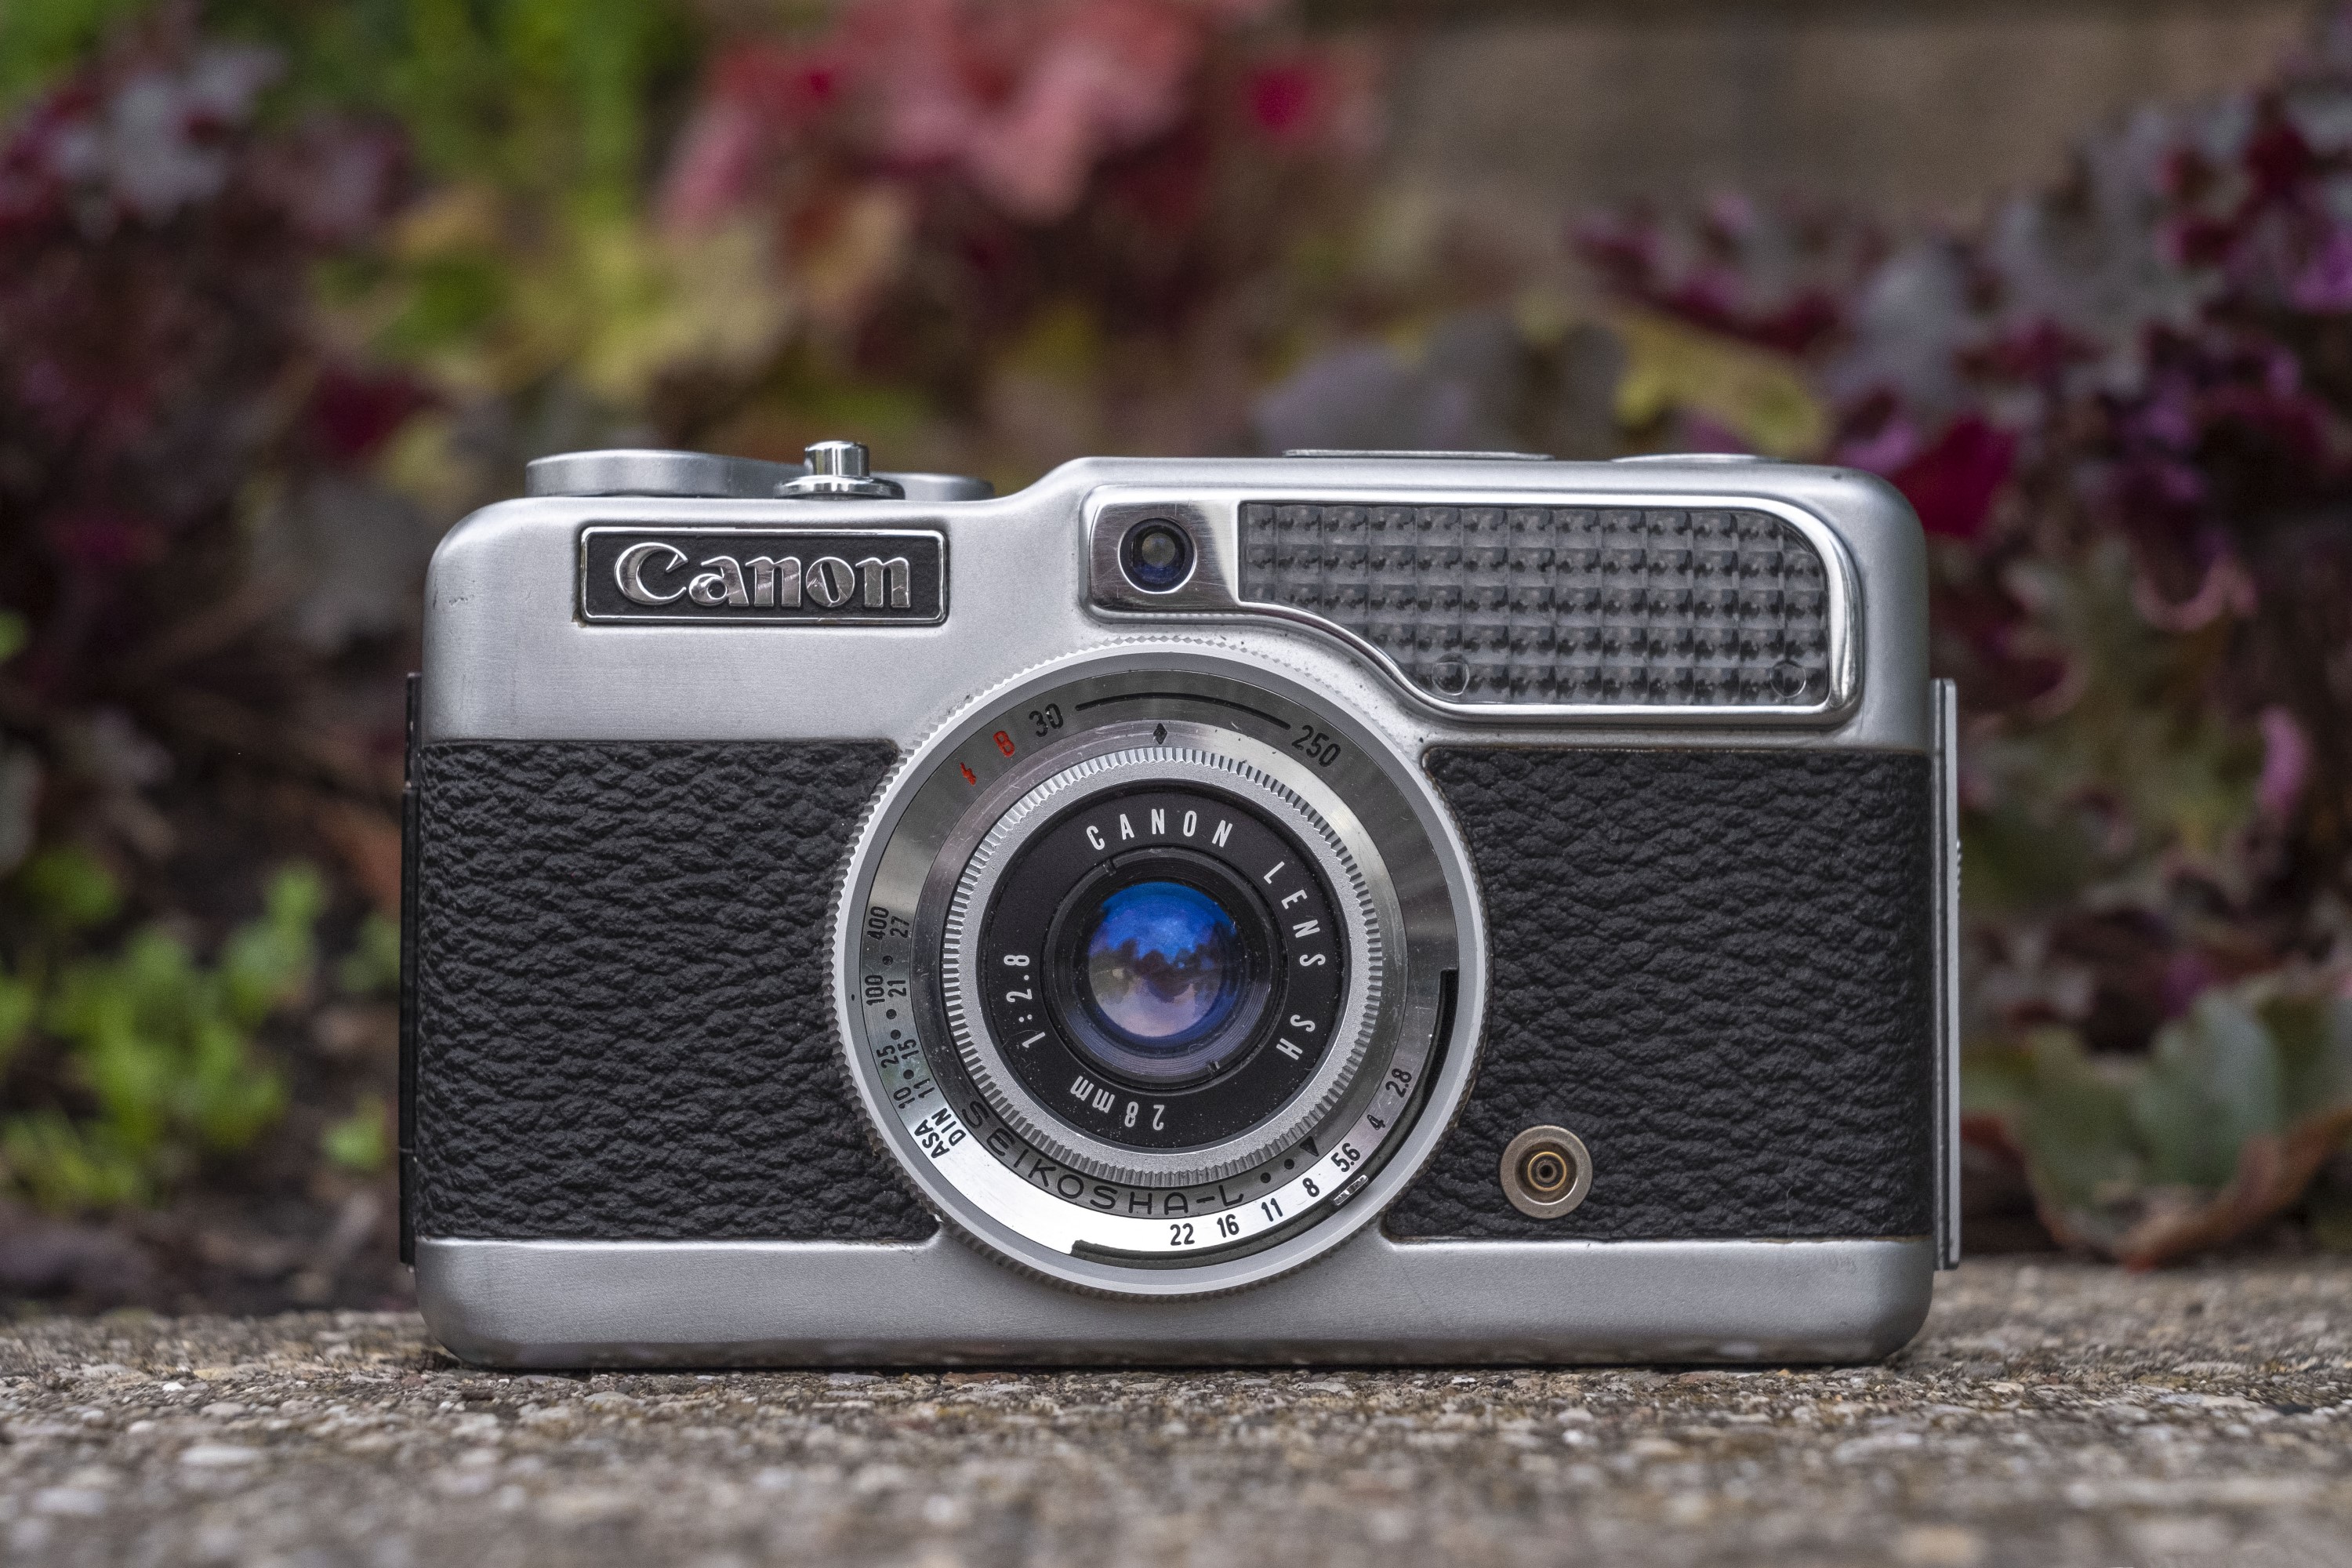
One of the last Japanese companies to release their own half-frame model was Canon, which in 1963 released the Canon Demi. The Demi was an attractive and compact camera built to a high quality standard that the company marketed as a luxury model. It was fitted with a selenium “electric eye” exposure meter, Seikosha shutter, and a 5-element Canon 28mm f/2.8 lens in an attractive aluminum body. Later versions of the Demi were offered with a faster f/1.7 lens and even one with interchangeable lenses.
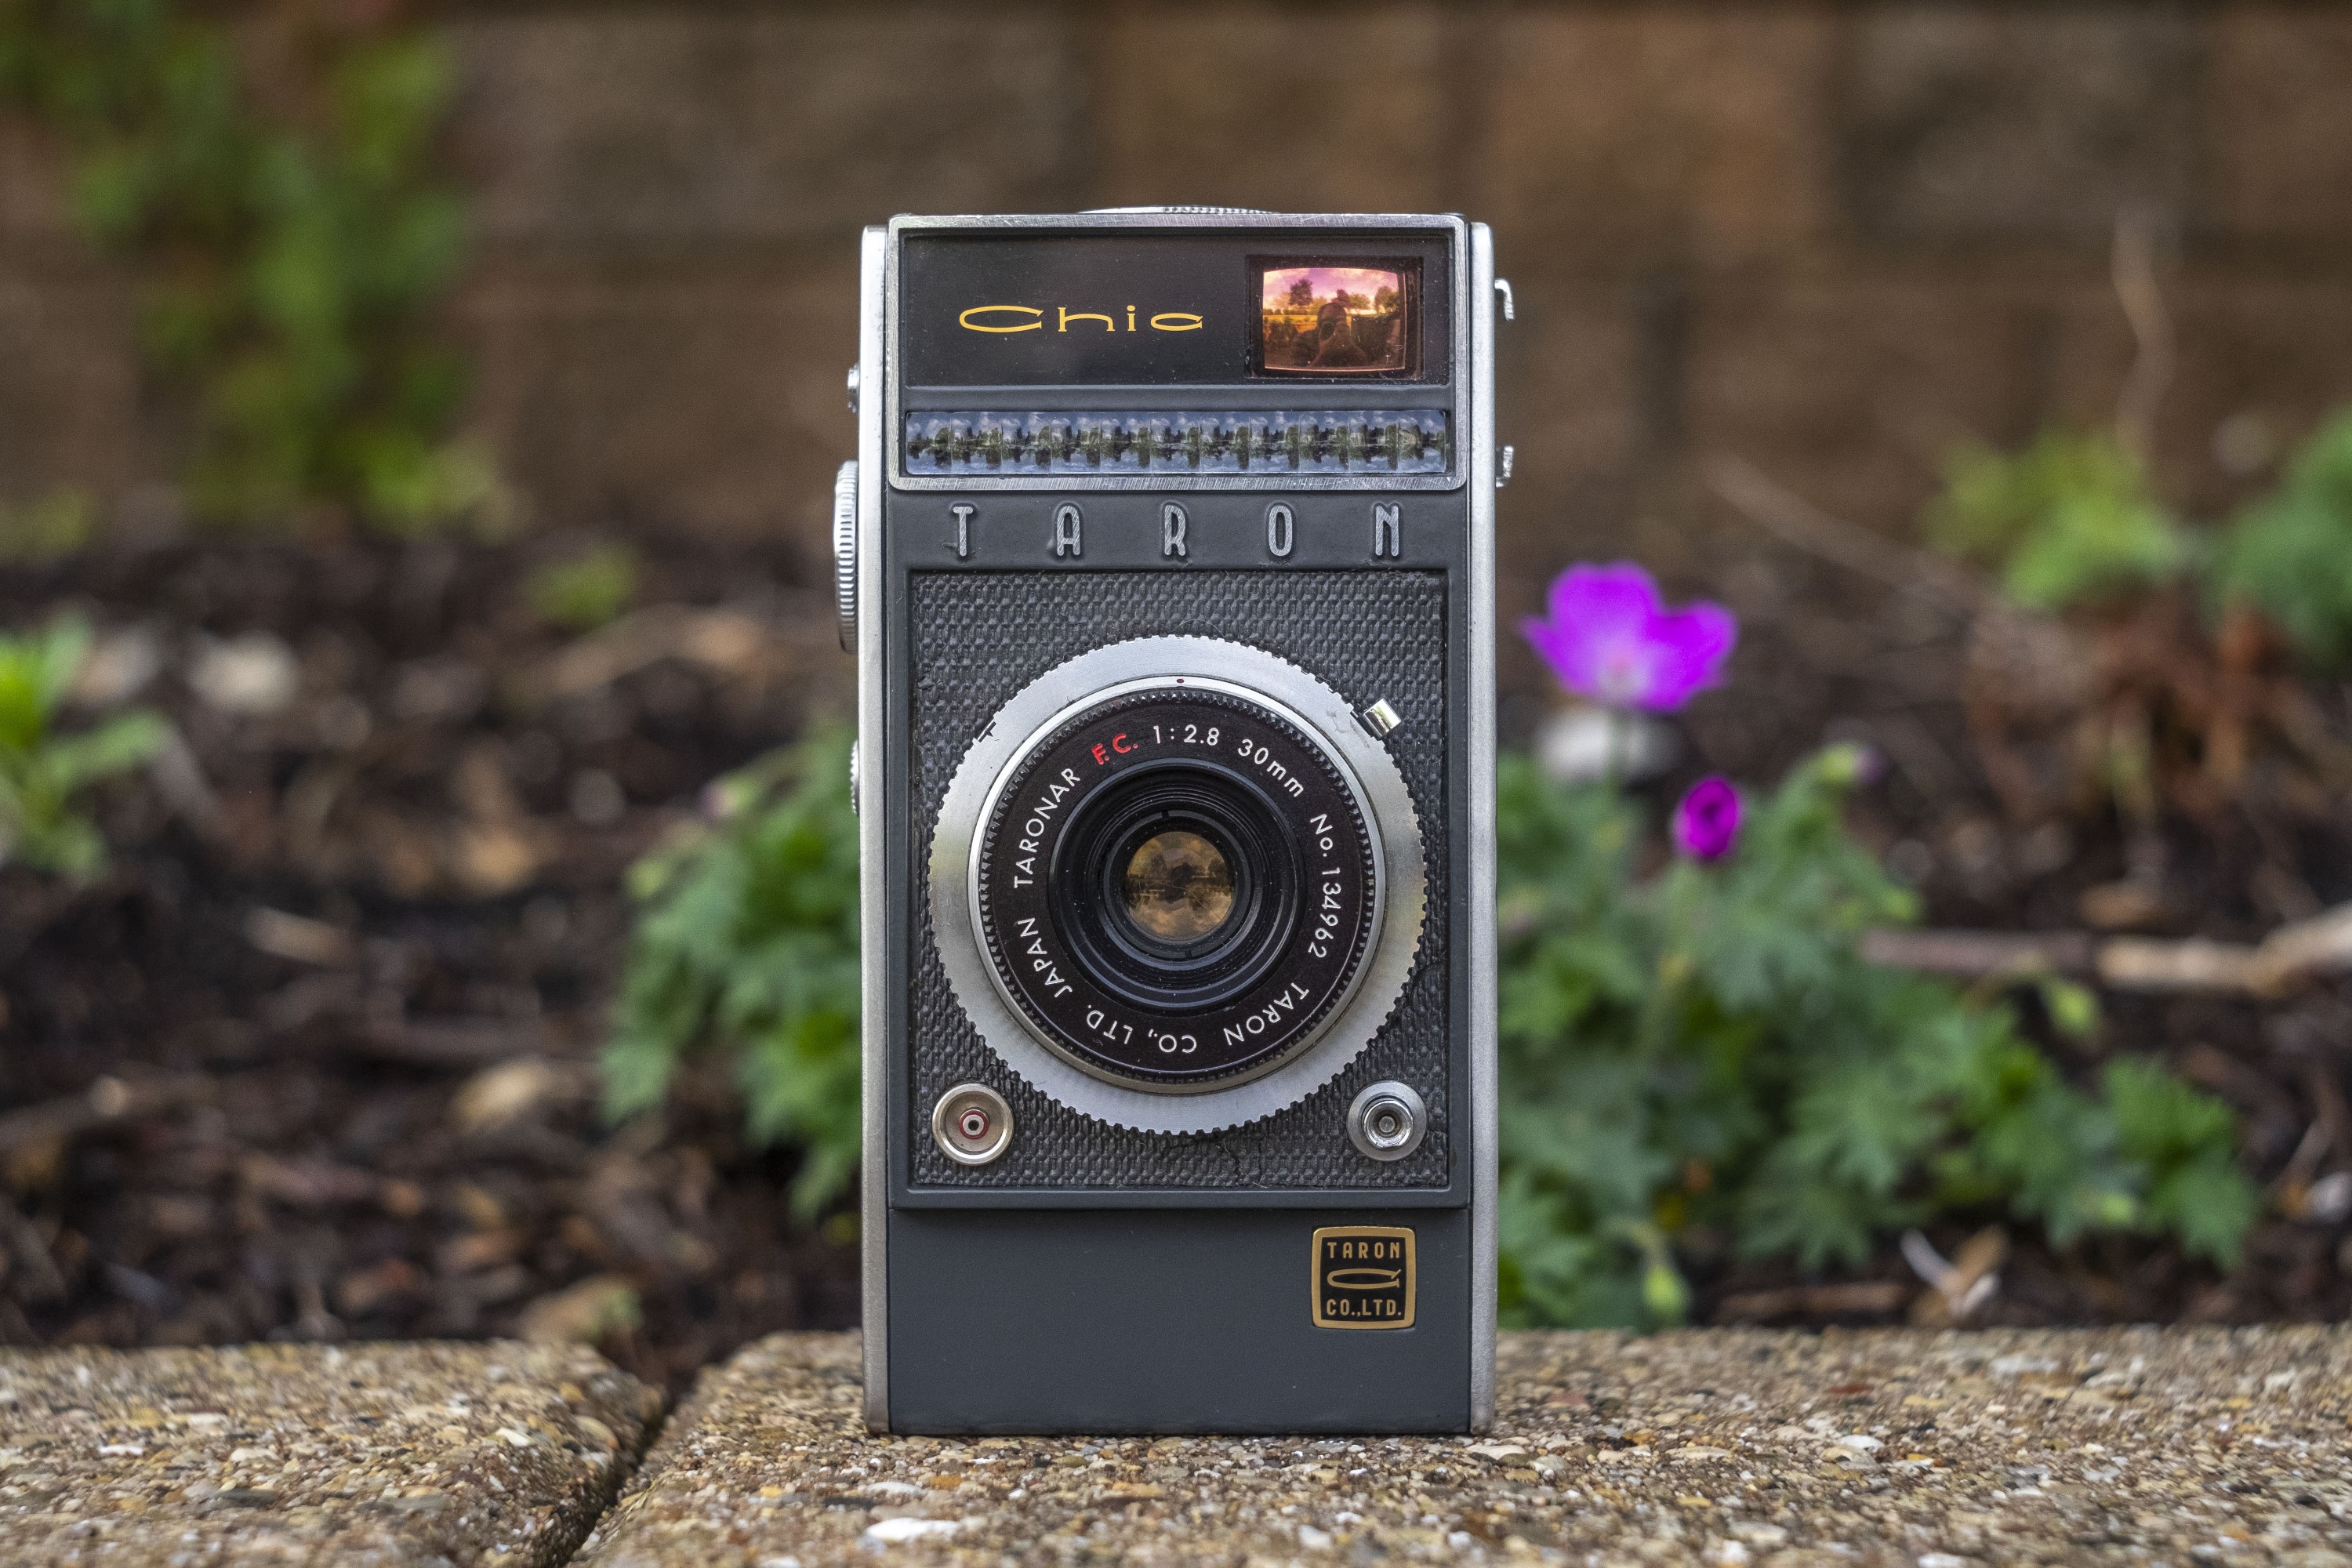
As the market was quickly flooded with an onslaught of new half frame cameras, some companies decided to take some liberties with their designs as a way to stand out from all the competing models. Yashica and Taron each released vertical half frame cameras in which the film travels up and down, instead of side to side, which has the result of a viewfinder that is naturally in a landscape orientation, rather than other half-frame cameras in which the default is in a portrait orientation.
Other companies like Fuji and Ricoh created models with wind up motor drives that would automatically advance the film and cock the shutter after each exposure. Because the film in half-frame cameras only have to travel half the distance of a regular 35mm cameras, these motor drive cameras could shoot a sequence of images faster than full frame models.
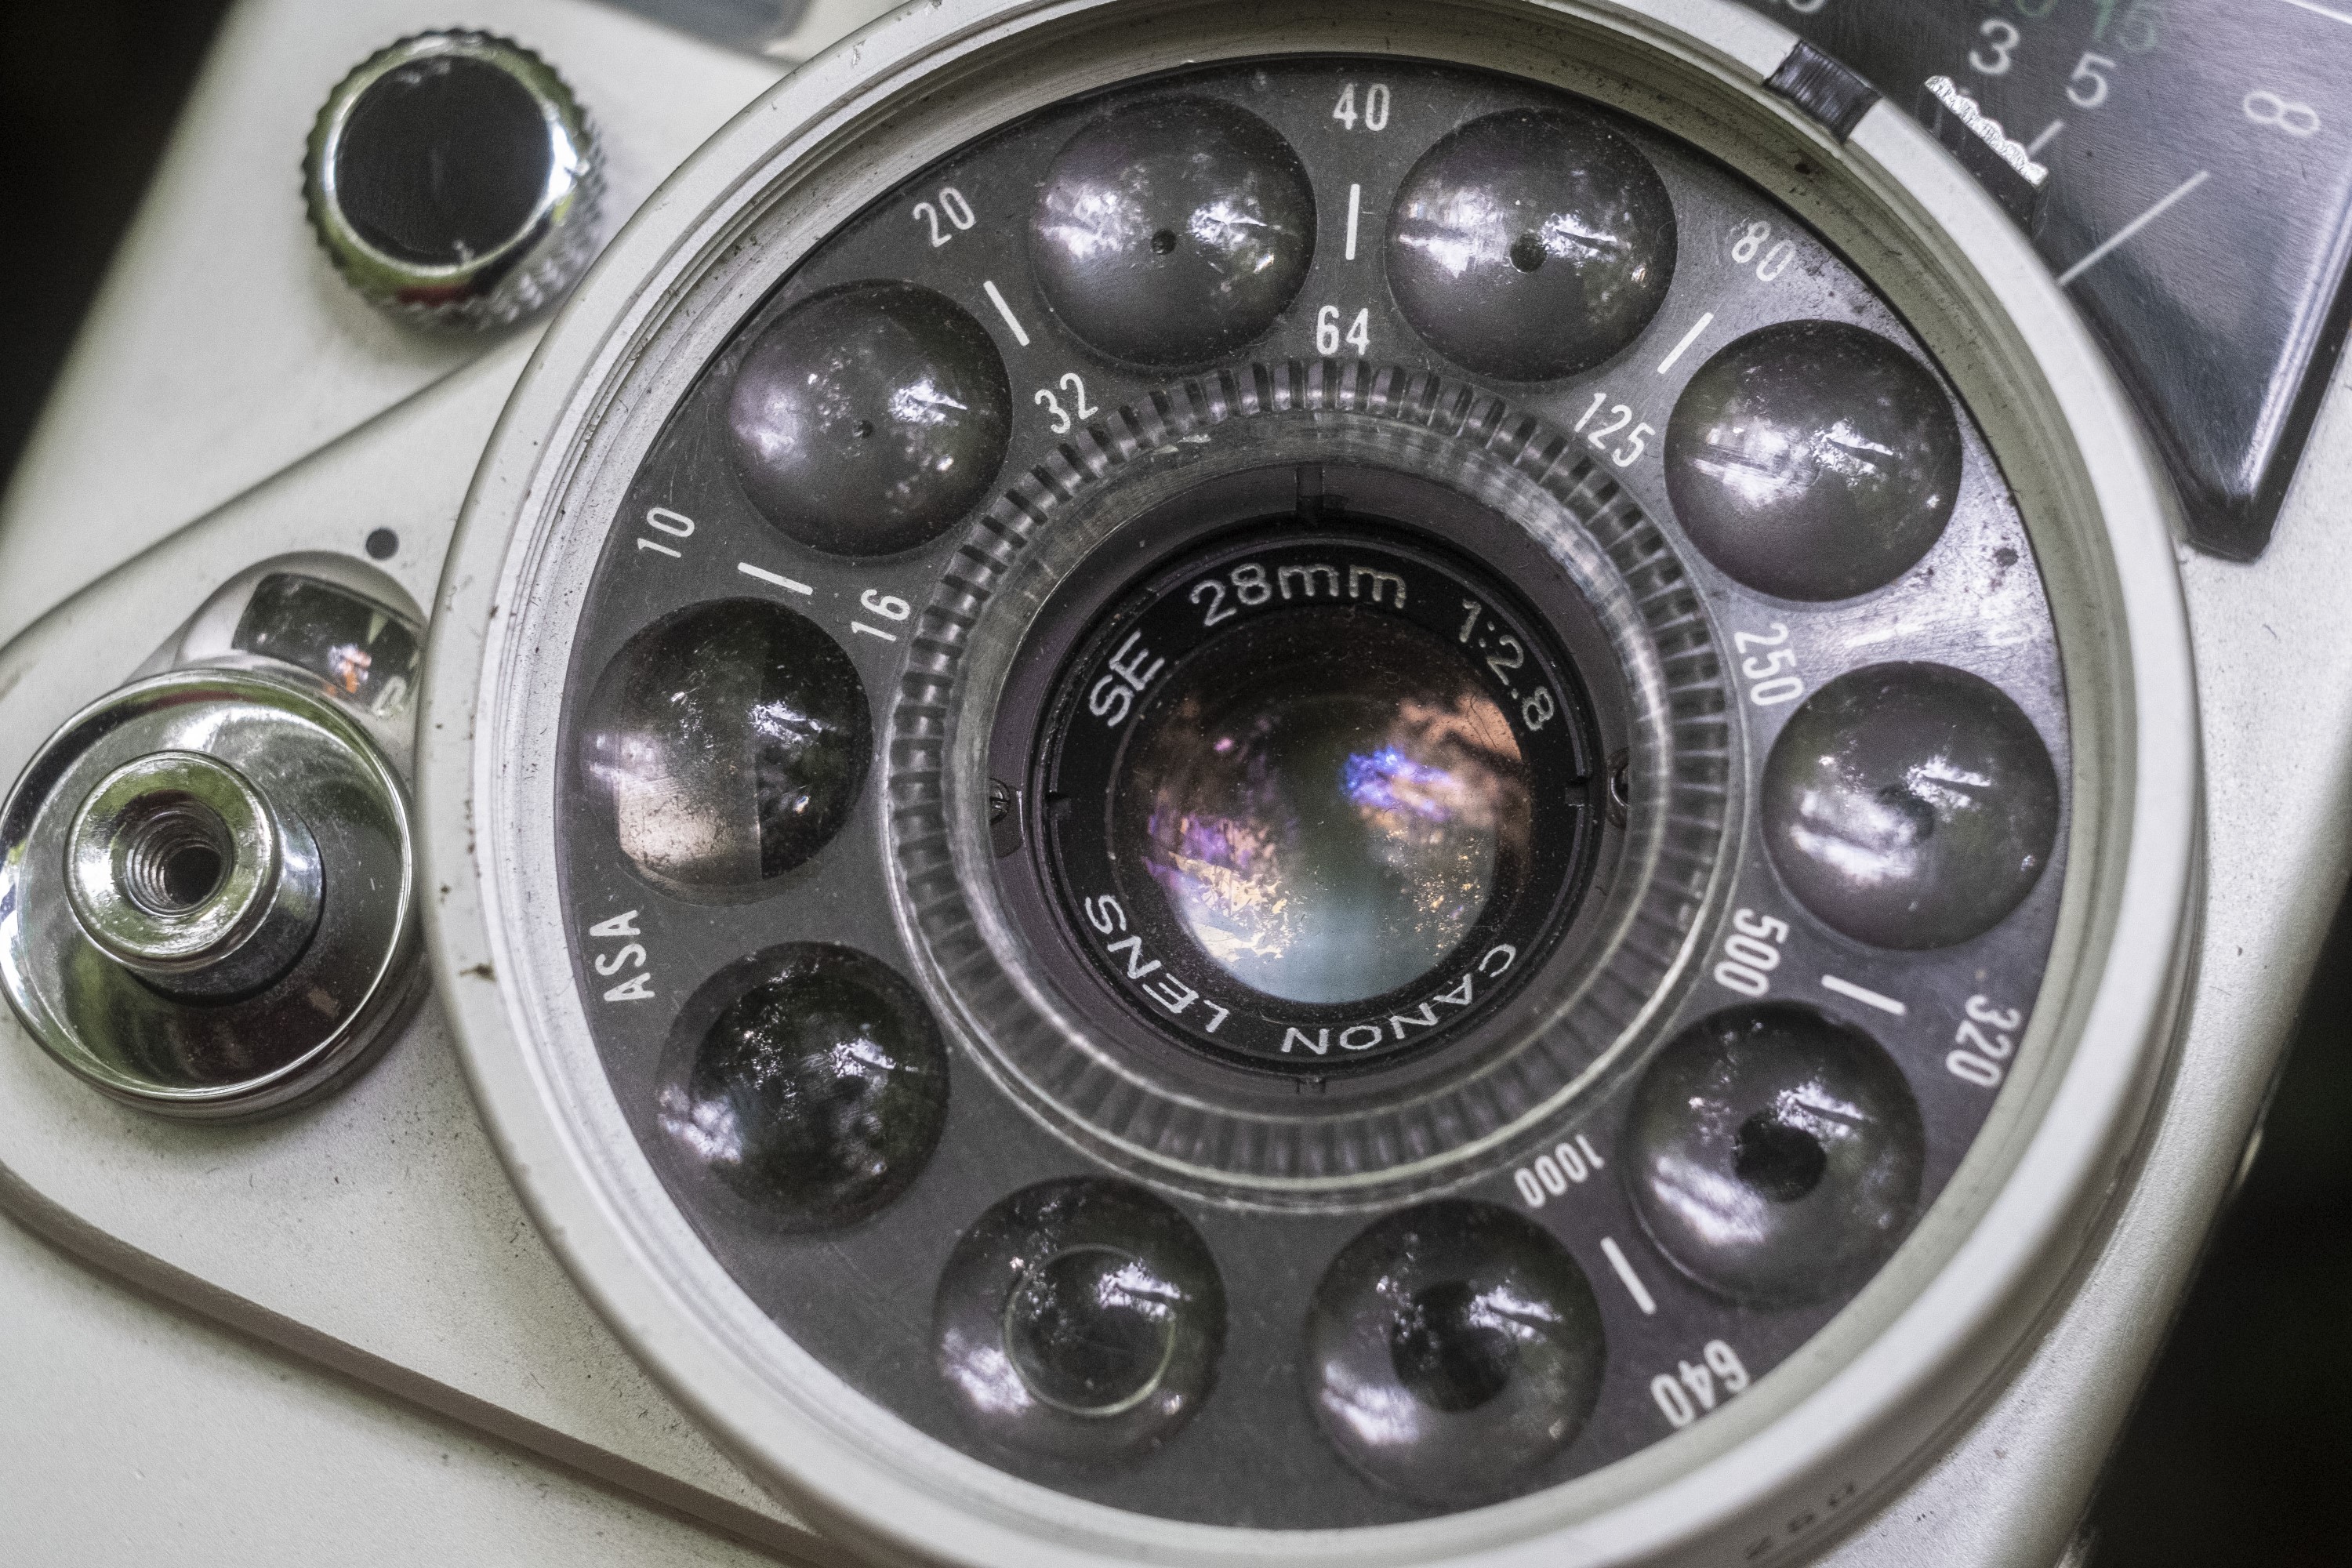
Shortly after the release of the otherwise ordinary looking Demi, Canon one-upped their competition with a strange looking camera called the Dial 35. Featuring both a vertical film transport like the Yashica Rapide and Sequelle and Taron Chic, and a motor drive like the Fujica Drive and Ricoh Auto Half, the Dial added shutter priority automatic exposure via a battery powered CdS exposure meter in a square body that was designed to be operated one handed. The camera’s signature feature was a rotating dial around the perimeter of the lens that featured ten different condenser lenses, that when positioned over the CdS meter changed its sensitivity to light. The dial resembled a rotary phone dial, and gave the camera a look unlike any other made, by any other company.
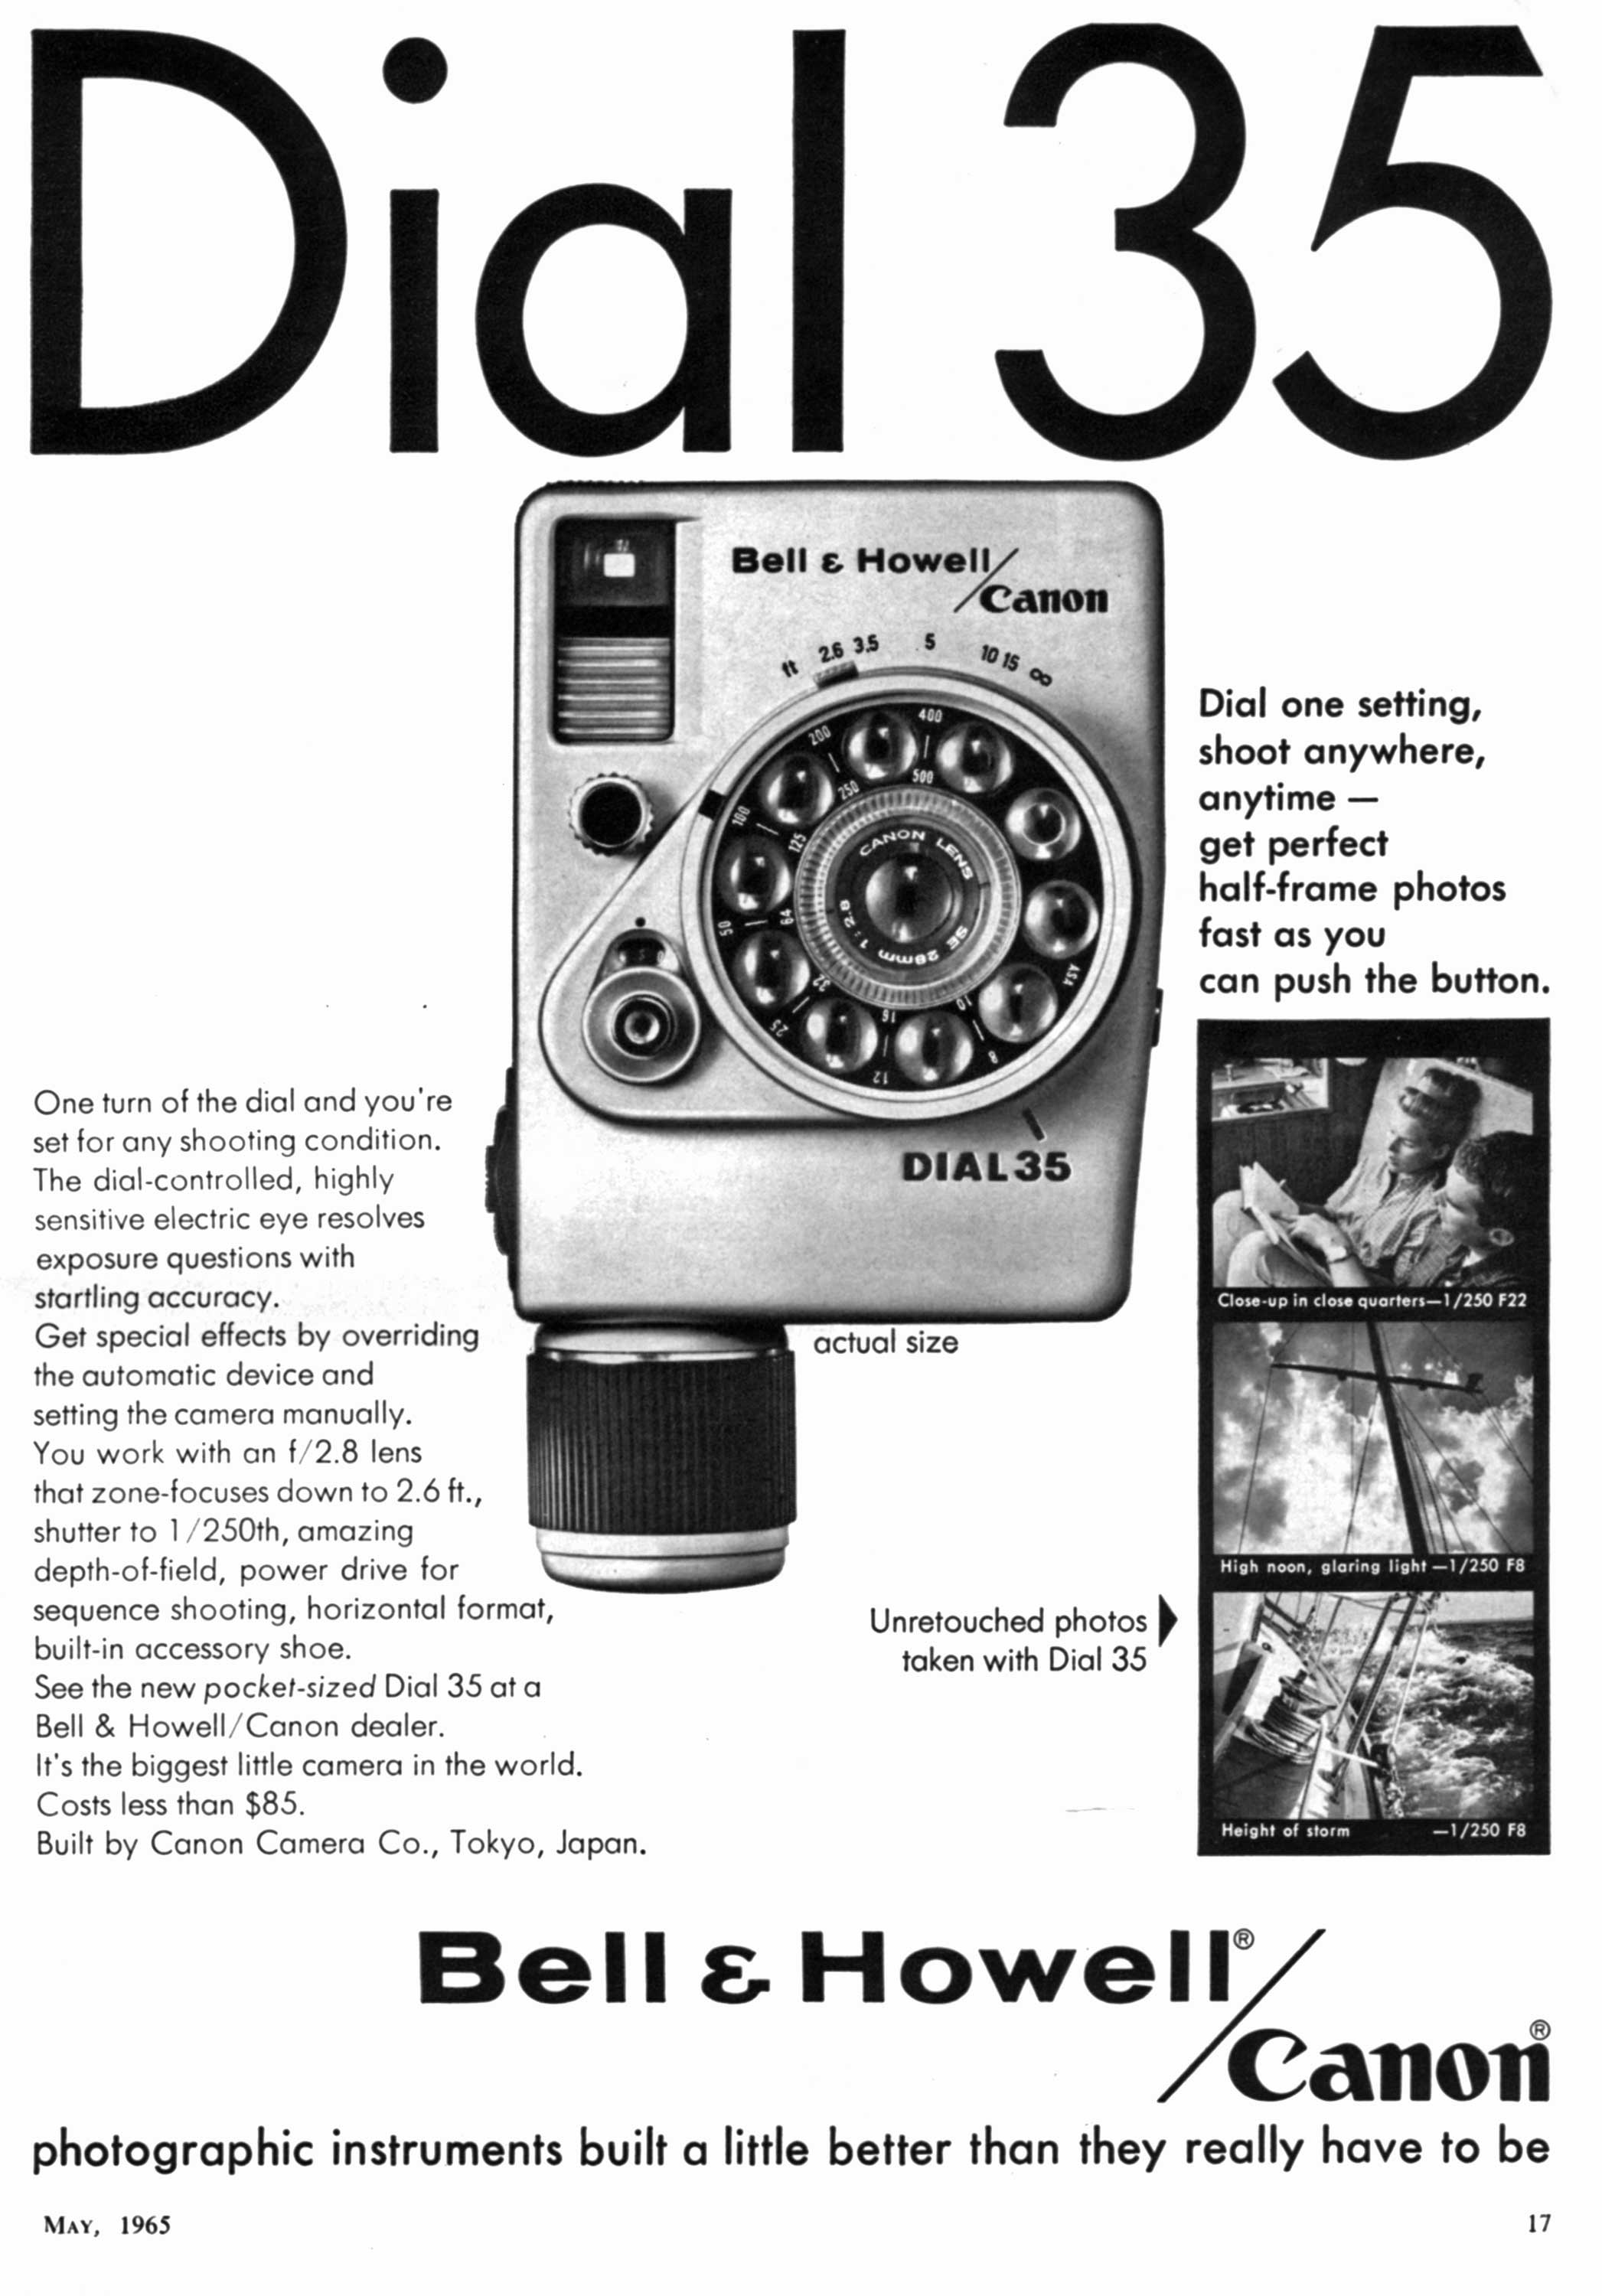
The Canon Dial 35 was as strange looking as it was capable, still featuring the Demi’s 5-element f/2.8 lens and Seikosha leaf shutter. It sold in Japan for 13,800 Yen, about 3,000 more than the Demi. In the United States, the Dial had a retail price of $85 which when adjusted for inflation compares to around $700 today.
In my research for this article, I could not find any contemporary reviews for the camera or any mention of production numbers, but I imagine the camera sold reasonably well as two other Canon Dial cameras were created.

The first, in 1965 was the Dial Rapid, which instead of regular “Kodak” 35mm film cassettes, used AGFA Rapid cassettes which were gaining popularity at the time. Rapid film cassettes used normal double perforated 35mm film, just like Kodak type 135 cassettes, but instead used a cassette to cassette film transport that never needed rewinding, so at the end of each roll, you simply opened the camera and took one of the cassettes out to get the film developed.
The Dial Rapid featured the namesake dial around the taking lens and motorized film transport, but had a completely different body that reverted back to a horizontal film transport.

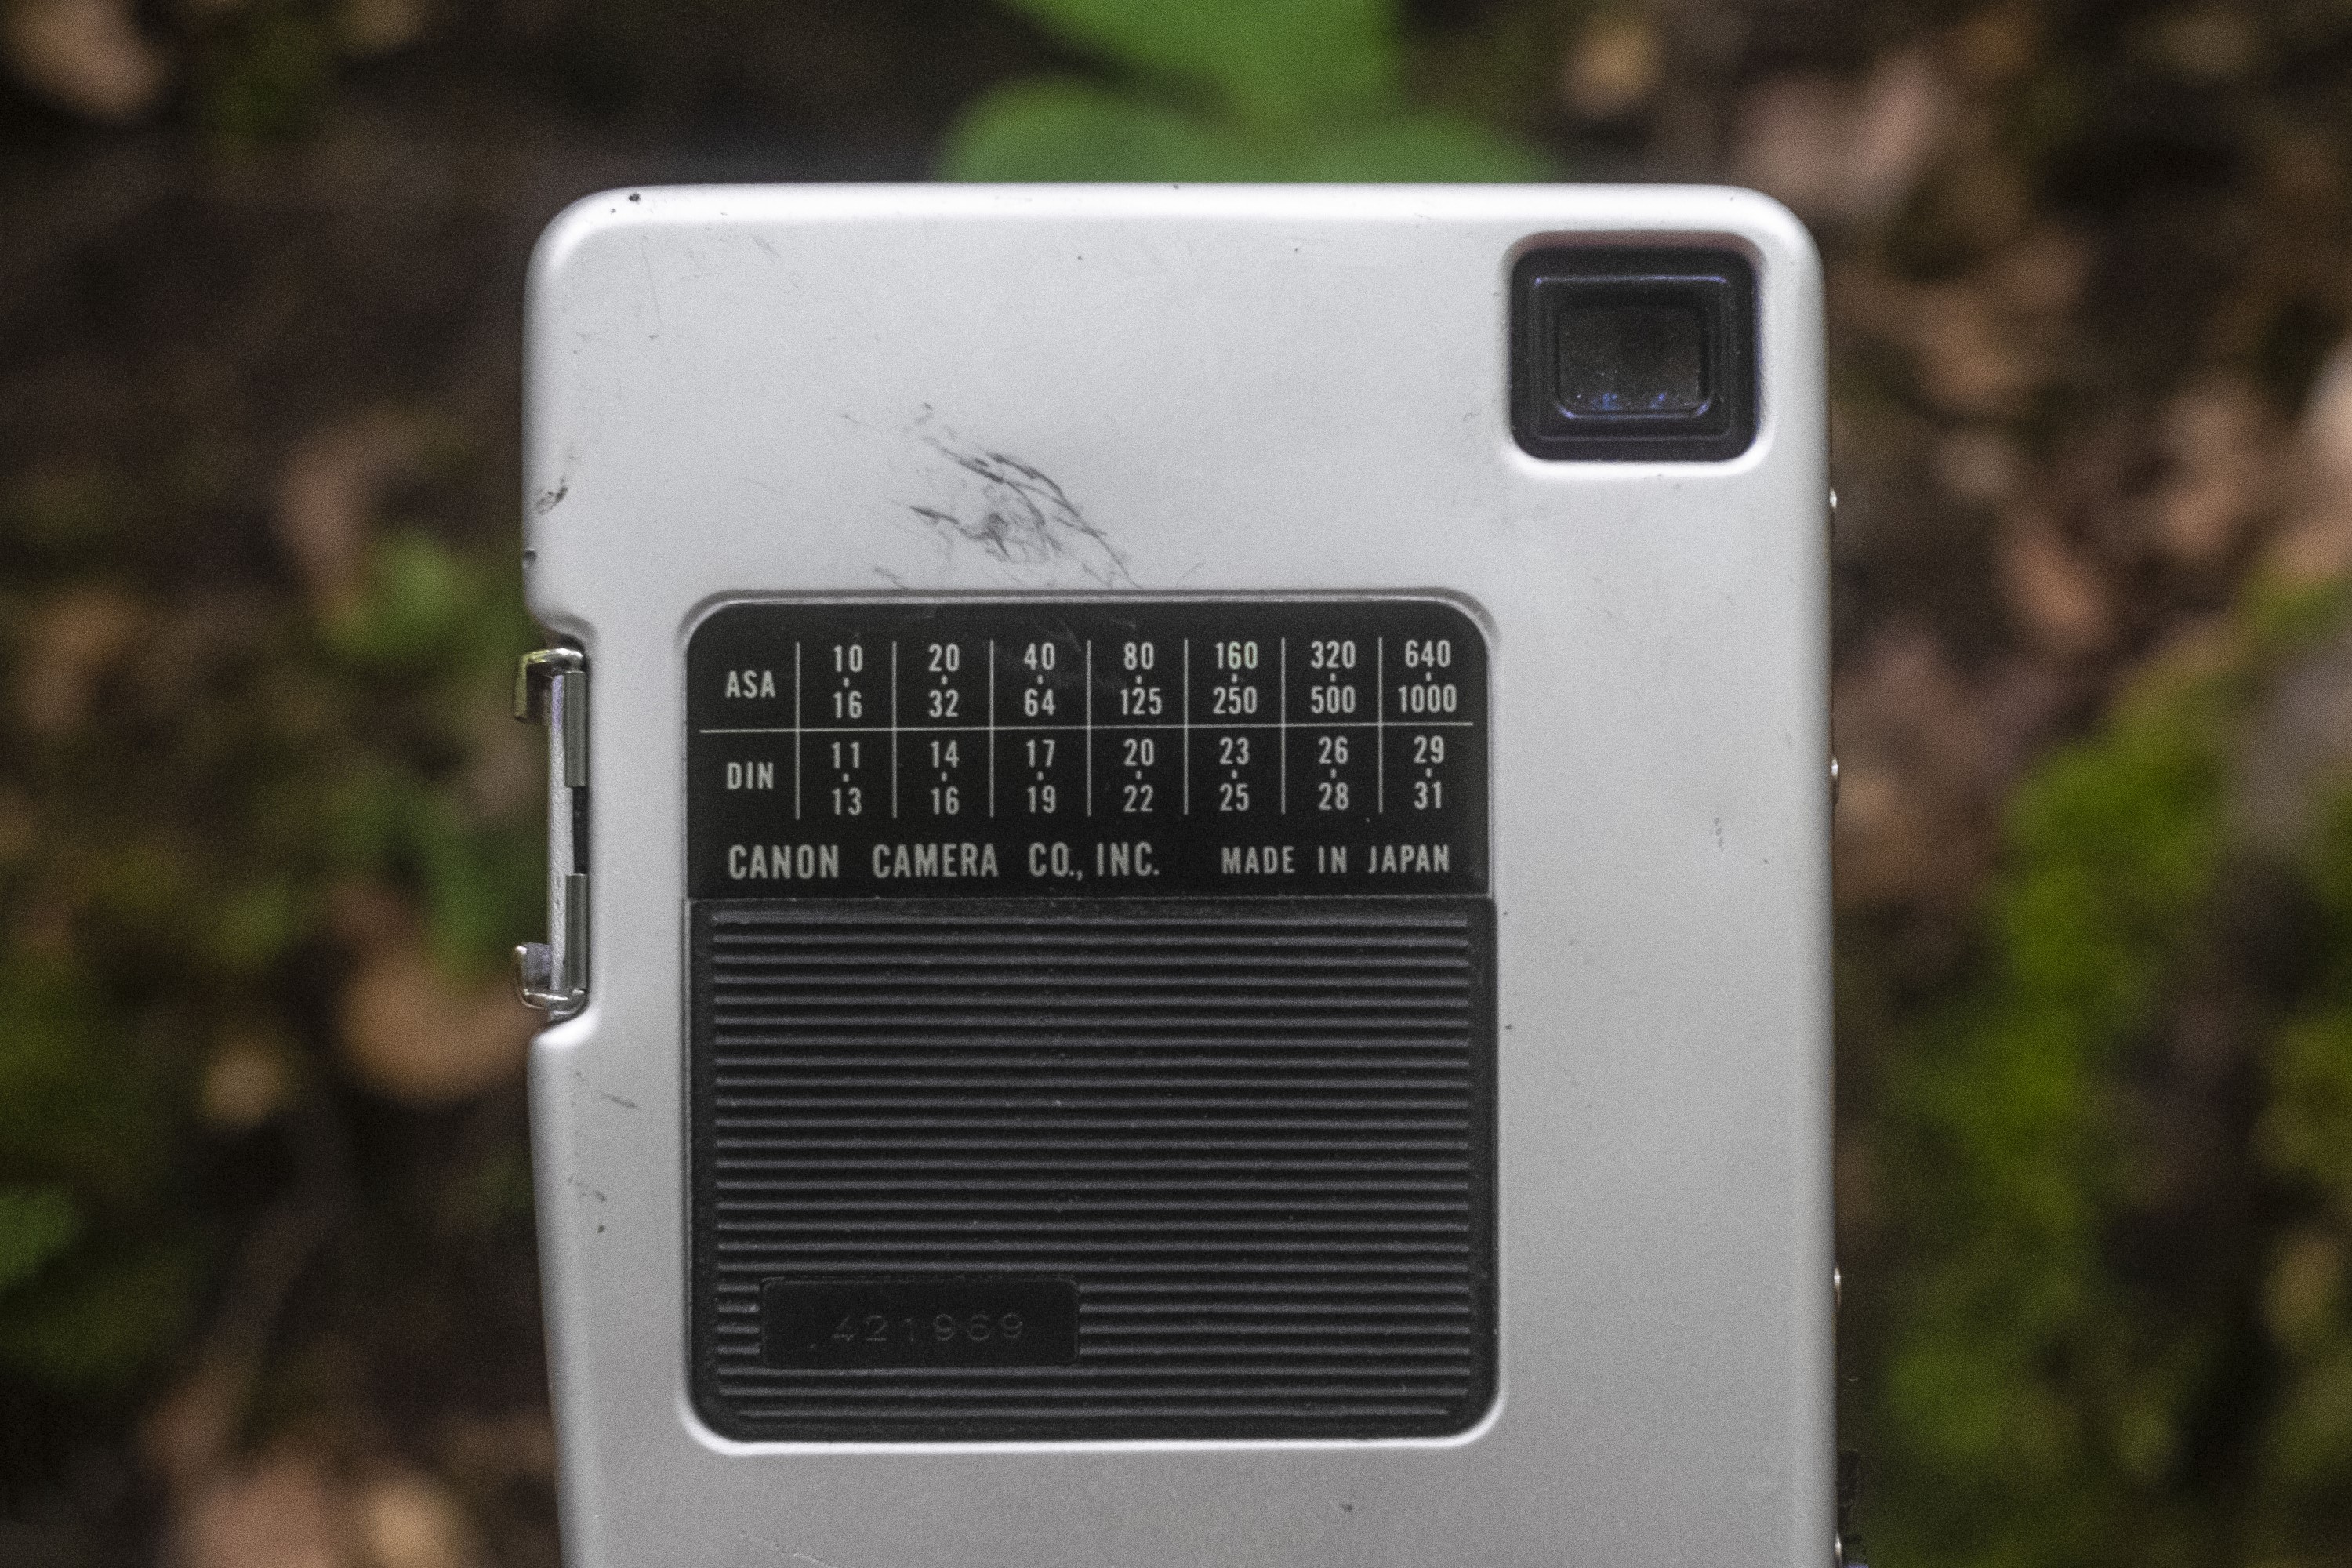
Then in 1968, the original 35mm model was updated as the Canon Dial 35-2, which retained the same body and film transport of the original, but added a flash hot shoe, a longer lasting clockwork spring, a wider range of supported film speeds, and revised cosmetics. The camera reviewed in this article, is this later version and I believe it to be produced for a very short time as the earlier model greatly outnumbers this one in used camera sales online.
Today, the Canon Dial 35 is a popular camera with collectors, mainly because of its odd appearance, there simply is not another camera like it. Unfortunately, a large number of them just sit on shelves as many people who collect them rarely use them, which is a shame as these were pretty feature packed cameras that are a lot of fun to use, especially one handed. Prices on these generally stay pretty low on the used market, so if you ever get a chance to pick one up, you could certainly do a lot worse with another camera.
My Thoughts
This Canon Dial came to me from fellow collector, Anthony Rue who is an avid collector, shooter, and coffee shop owner. His interest in cameras is very similar to mine in that he likes pretty much anything he can try. He shoots Graflex press cameras, medium format folders and TLRs, rangefinders, SLRs, Japanese, German, American, and Soviet cameras. He likes everything and when he suggested I try out a few of his cameras, I said, sure!
I had seen these Canon Dials online before but never held one in person and I always thought they were gimmicky looking. The strange knob protruding out of the bottom and the rotary phone dial exposure system never grabbed my interest.
It wasn’t until I held the Dial in my hands to where I started to “get it”. The camera is strange, for sure, but holding the camera in your right hand, it is clear there was thought put into the size and location of most of the controls.
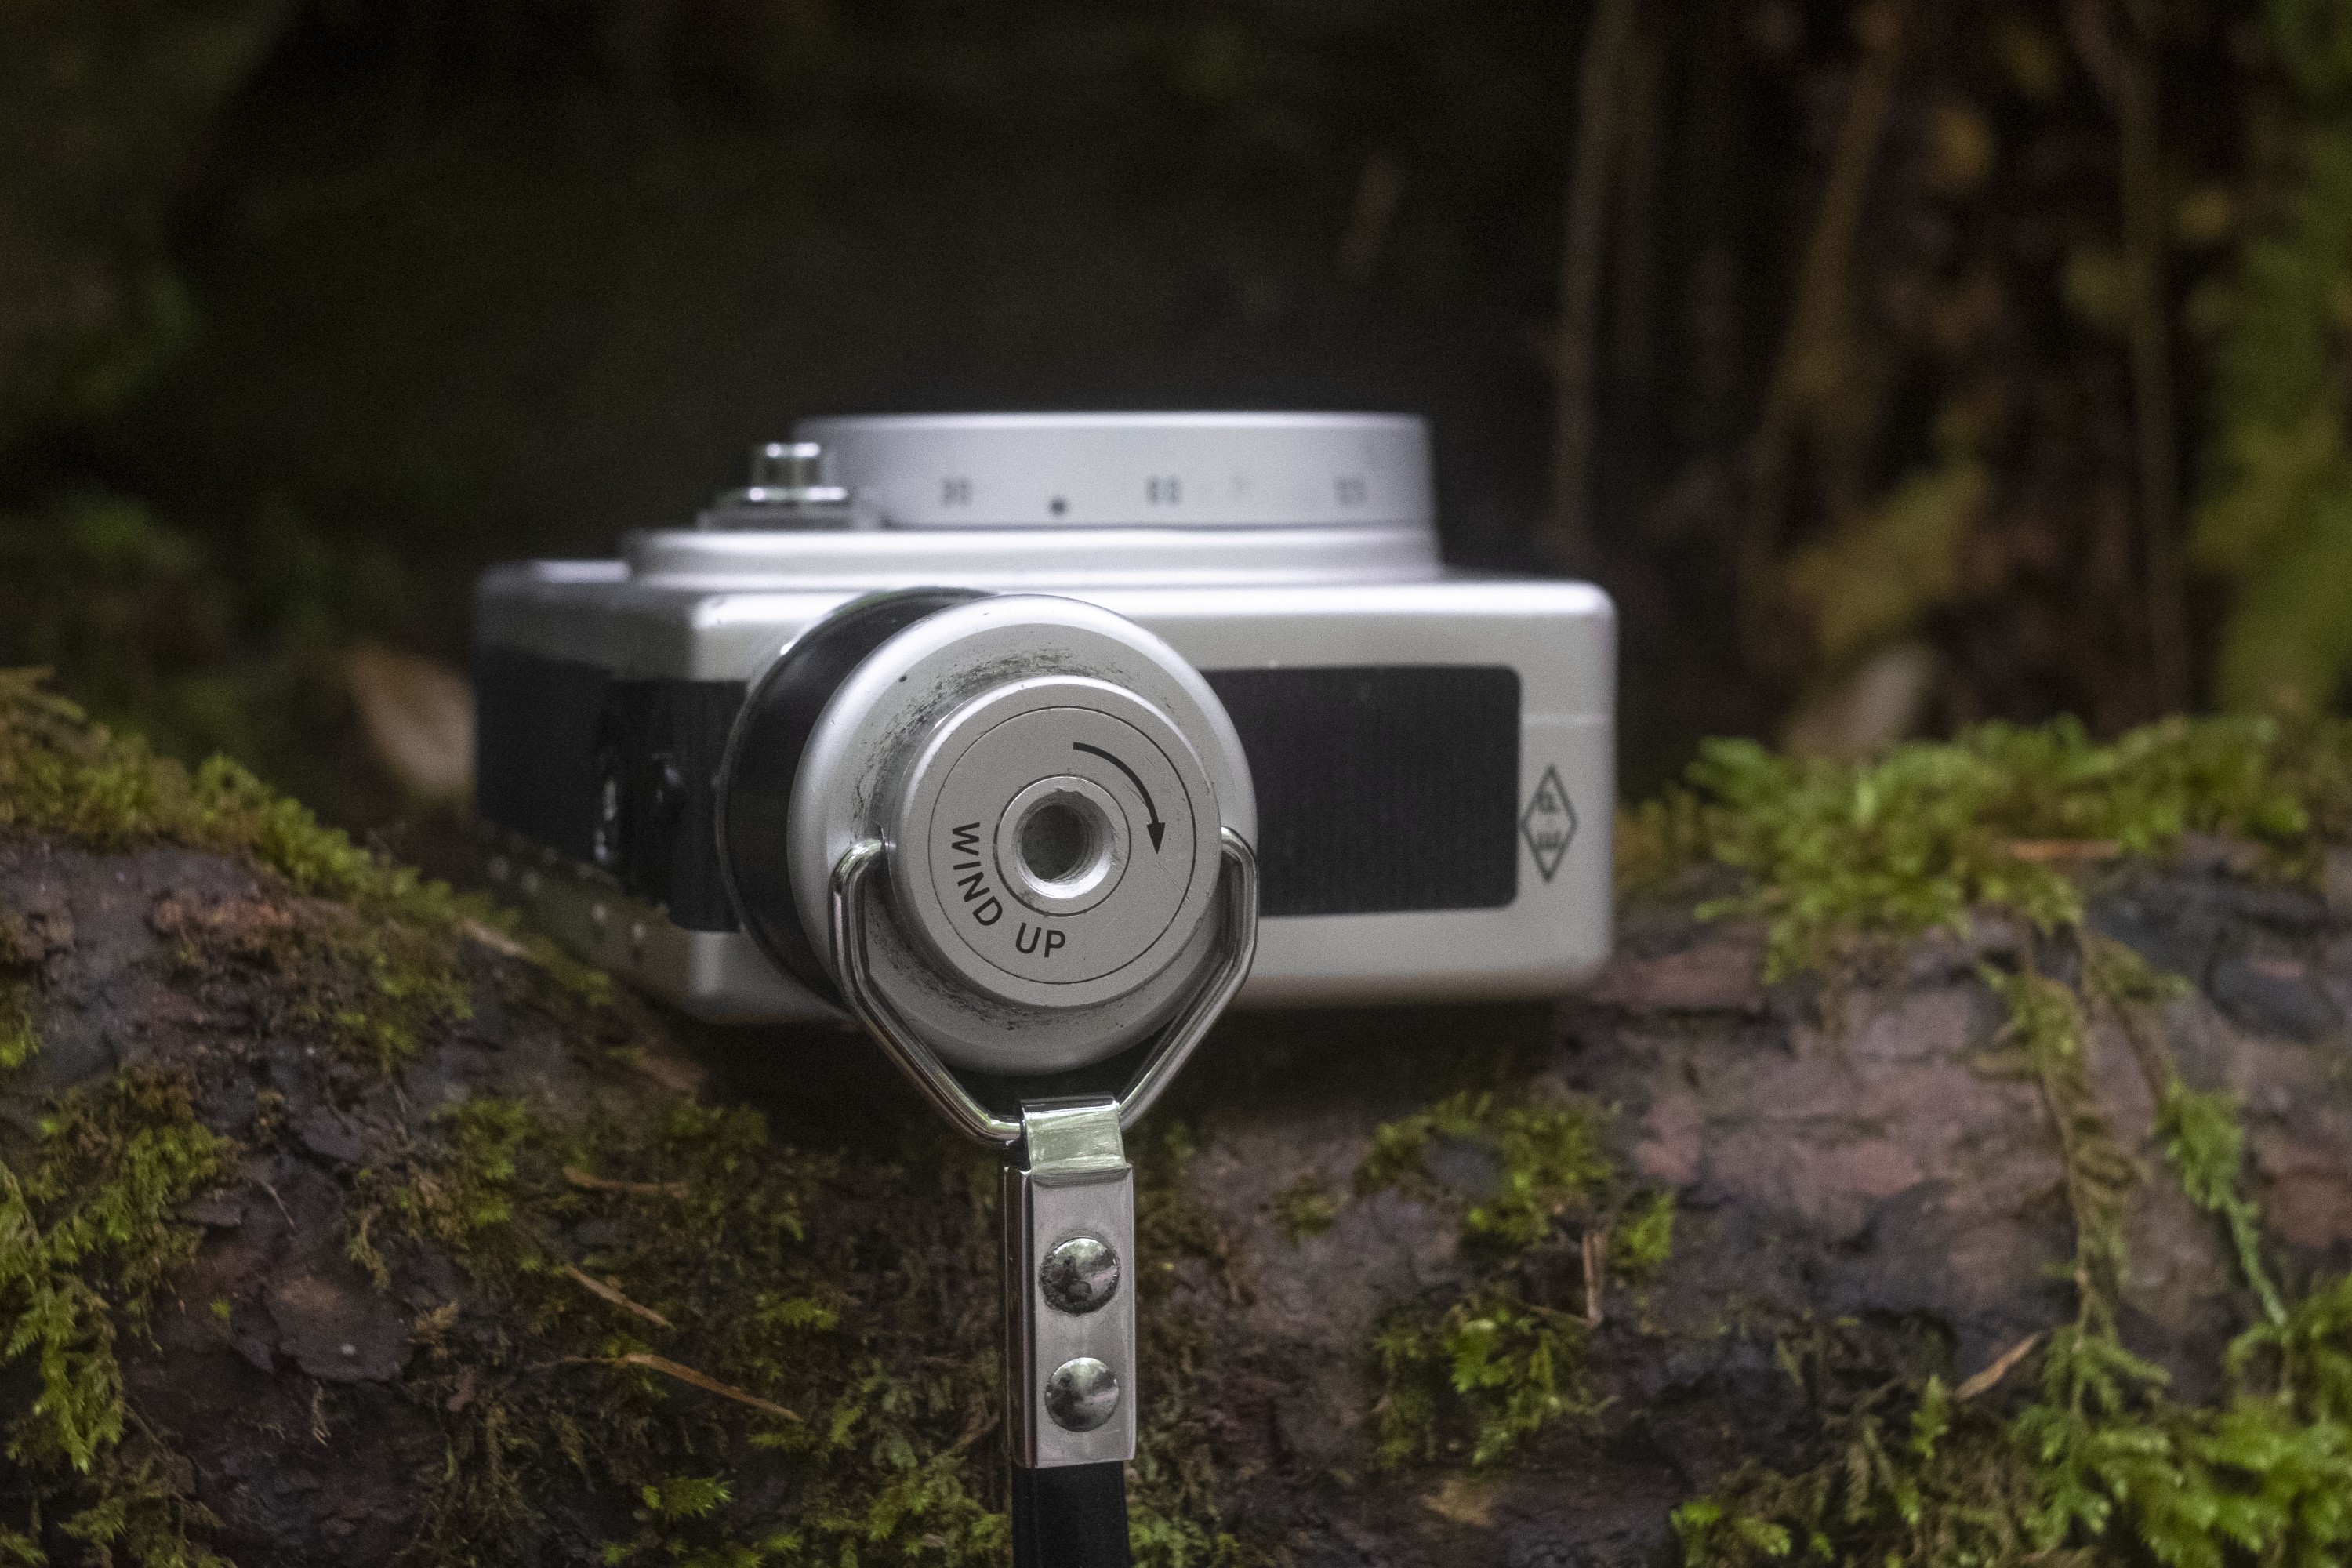
The Dial is one of the easiest film cameras I’ve ever handled to shoot one handed. The large round knob on the bottom of the camera is for winding the mechanical spring which both advances film and sets the shutter after each shot, so you never need to reposition your hand in between each photo. A full wind of this knob is said to be good for up to 20 exposures without having to be rewound.
The location and size of the knob double as a grip for holding the camera as you naturally wrap your middle, ring, and pinky fingers around it while holding the camera. A permanently attached wrist strap assures that the camera can’t accidentally be dropped while operating it single handed.
With the auto exposure system turned on and film speed set, there’s no need to mess with shutter or aperture settings, and the viewfinder is in a default landscape orientation, which for a half-frame camera is due to the vertical film transport inside of the camera. Most half frame 35mm cameras have the film transport left to right, or right to left, like full frame cameras, but when you do that, the natural orientation of the viewfinder is portrait.
Using the Dial is pretty simple, but definitely requires a look at the user manual before using it the first time. Something that threw me off in my first attempt at using the camera, was the small round dial above the shutter release, which enables and disables automatic exposure. With the dial pushed in, auto exposure is on, with it pulled out, it is disabled. The meter will still register a reading in the viewfinder, but the camera is in full manual control, which is how you are supposed to shoot the camera with a flash attached.

The shutter release is logically located just above the winding knob in a comfortable position for your right index finger. The shutter release button is threaded for a cable release, which is nice, but the camera lacks a Bulb or Timed shutter mode, so I am unsure of why you would need it.
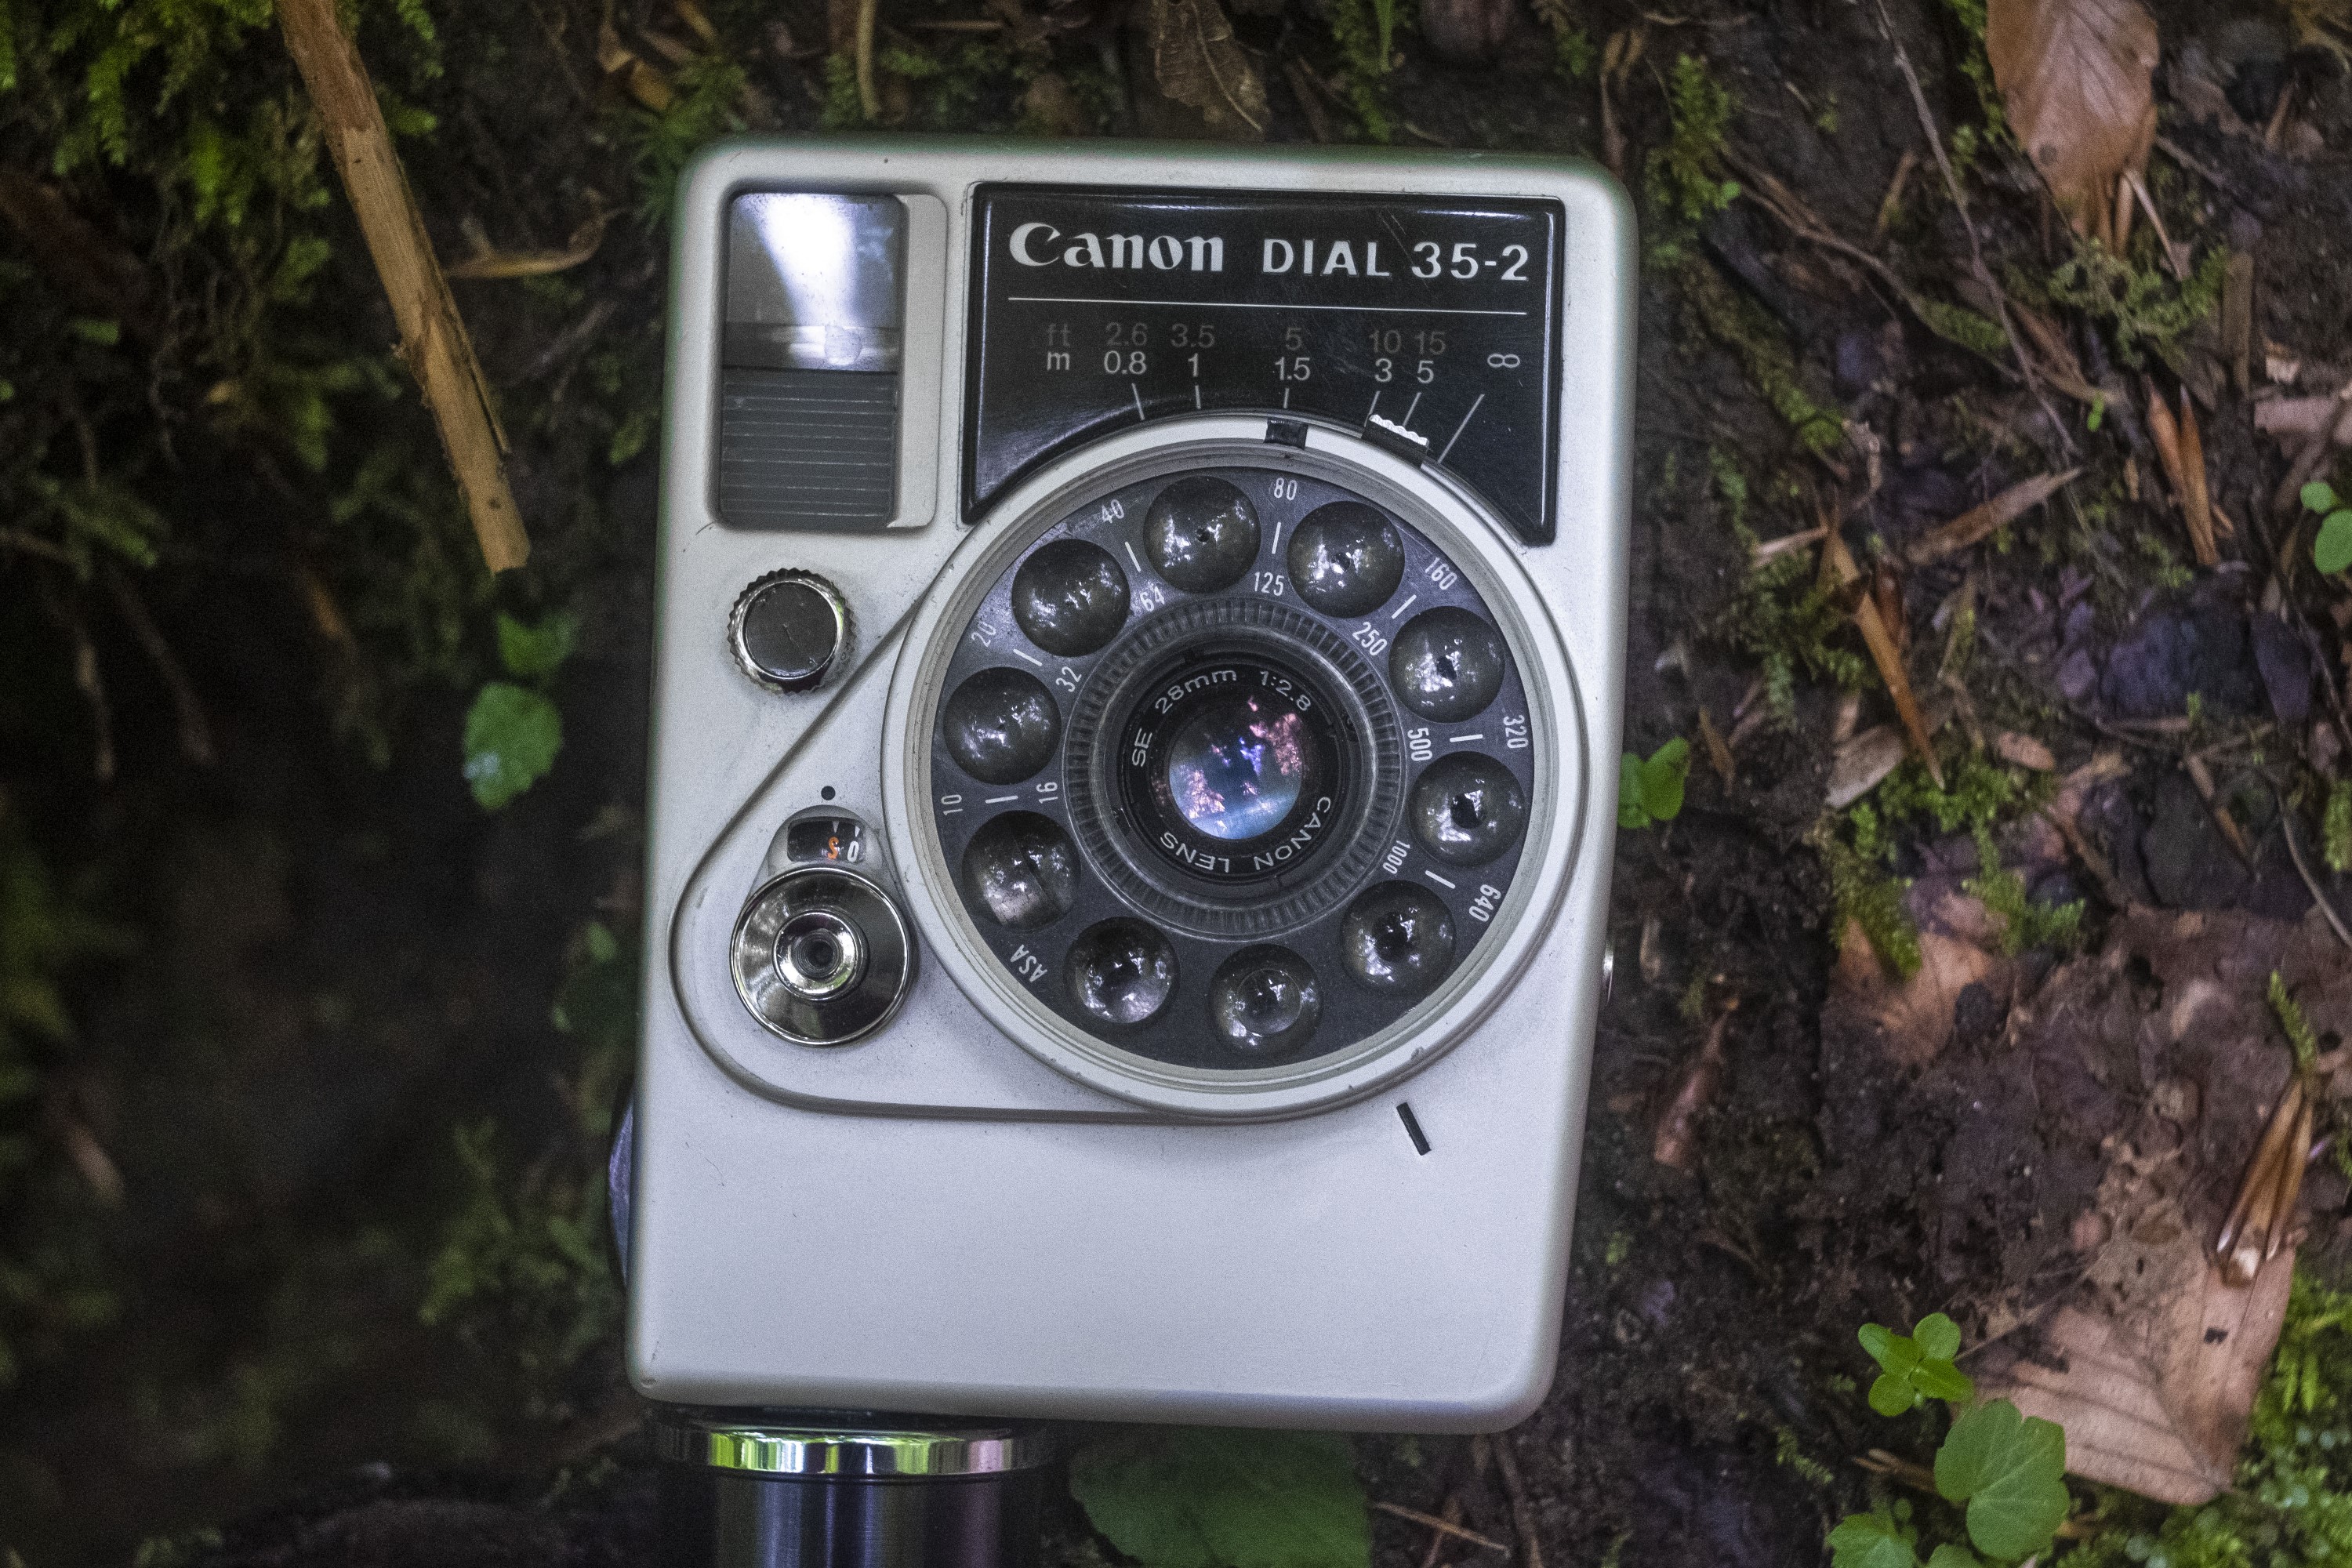
Setting film speed requires rotating the dial by gripping the inner knurled ring around the lens and selecting the ASA film speed that closely matches what film you have. In the previous image, it is set to 80-125 which is appropriate for 100 speed film.
Shutter speeds are changed by rotating the outer dial to one of the marked shutter speeds from 30 to 250. An index mark is on the main camera body near the 5 o’clock position around the lens.

To change focus distance, slide a metal tab above the dial, below the focus scale near the top of the camera to any position from 2.6 feet to infinity. The Dial is a scale focus camera, and has no other focus aides in the viewfinder, but with good depth of field, getting properly focused images is easy. While changing focus distance, a zone focusing mark inside of the viewfinder will help you determine what distance the camera is at without having to remove the camera from your eye.
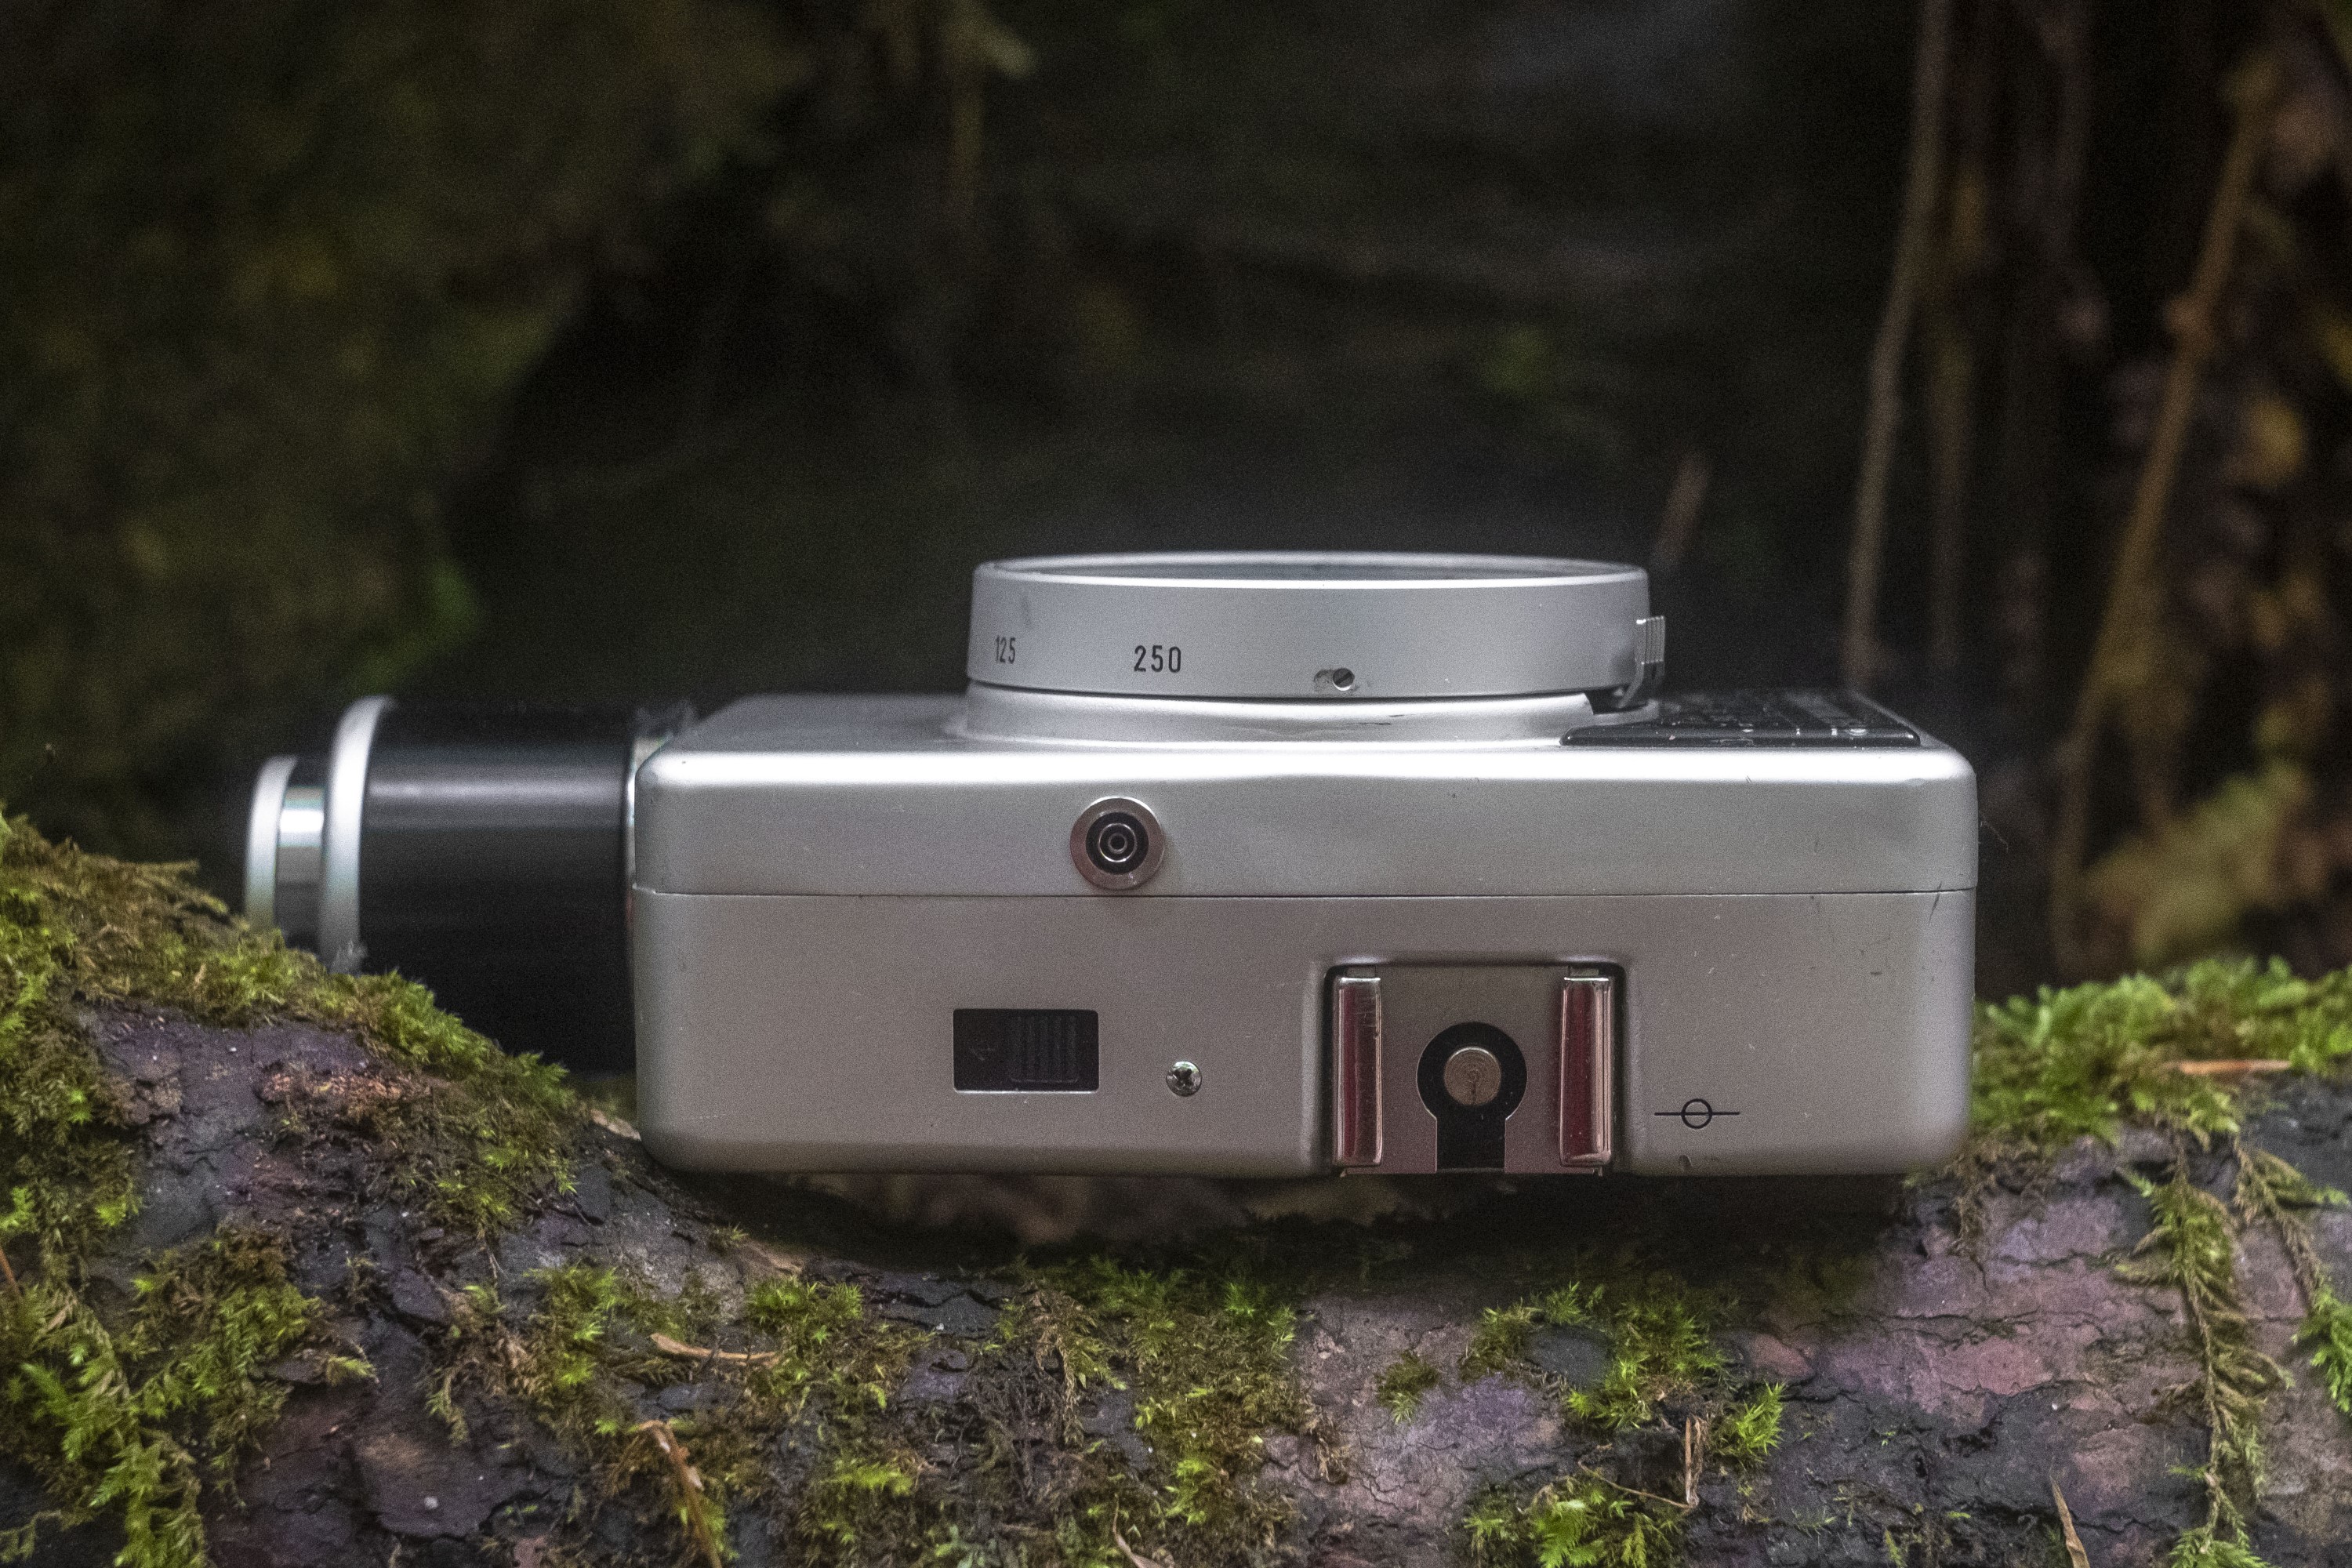
When holding the camera in a normal shooting position, the camera’s left side has both the flash hot shoe, which is electronically synchronized at all speeds, a flash sync port, and the film compartment release latch.
In the image to the left, I have the camera sideways, but in a normal shooting orientation, film transport is vertical from top to bottom. This is how the Canon Dial’s viewfinder is able to be in a default landscape orientation like a full frame 35mm camera. If you still wanted to shoot portraits, you could just rotate the camera 90 degrees.
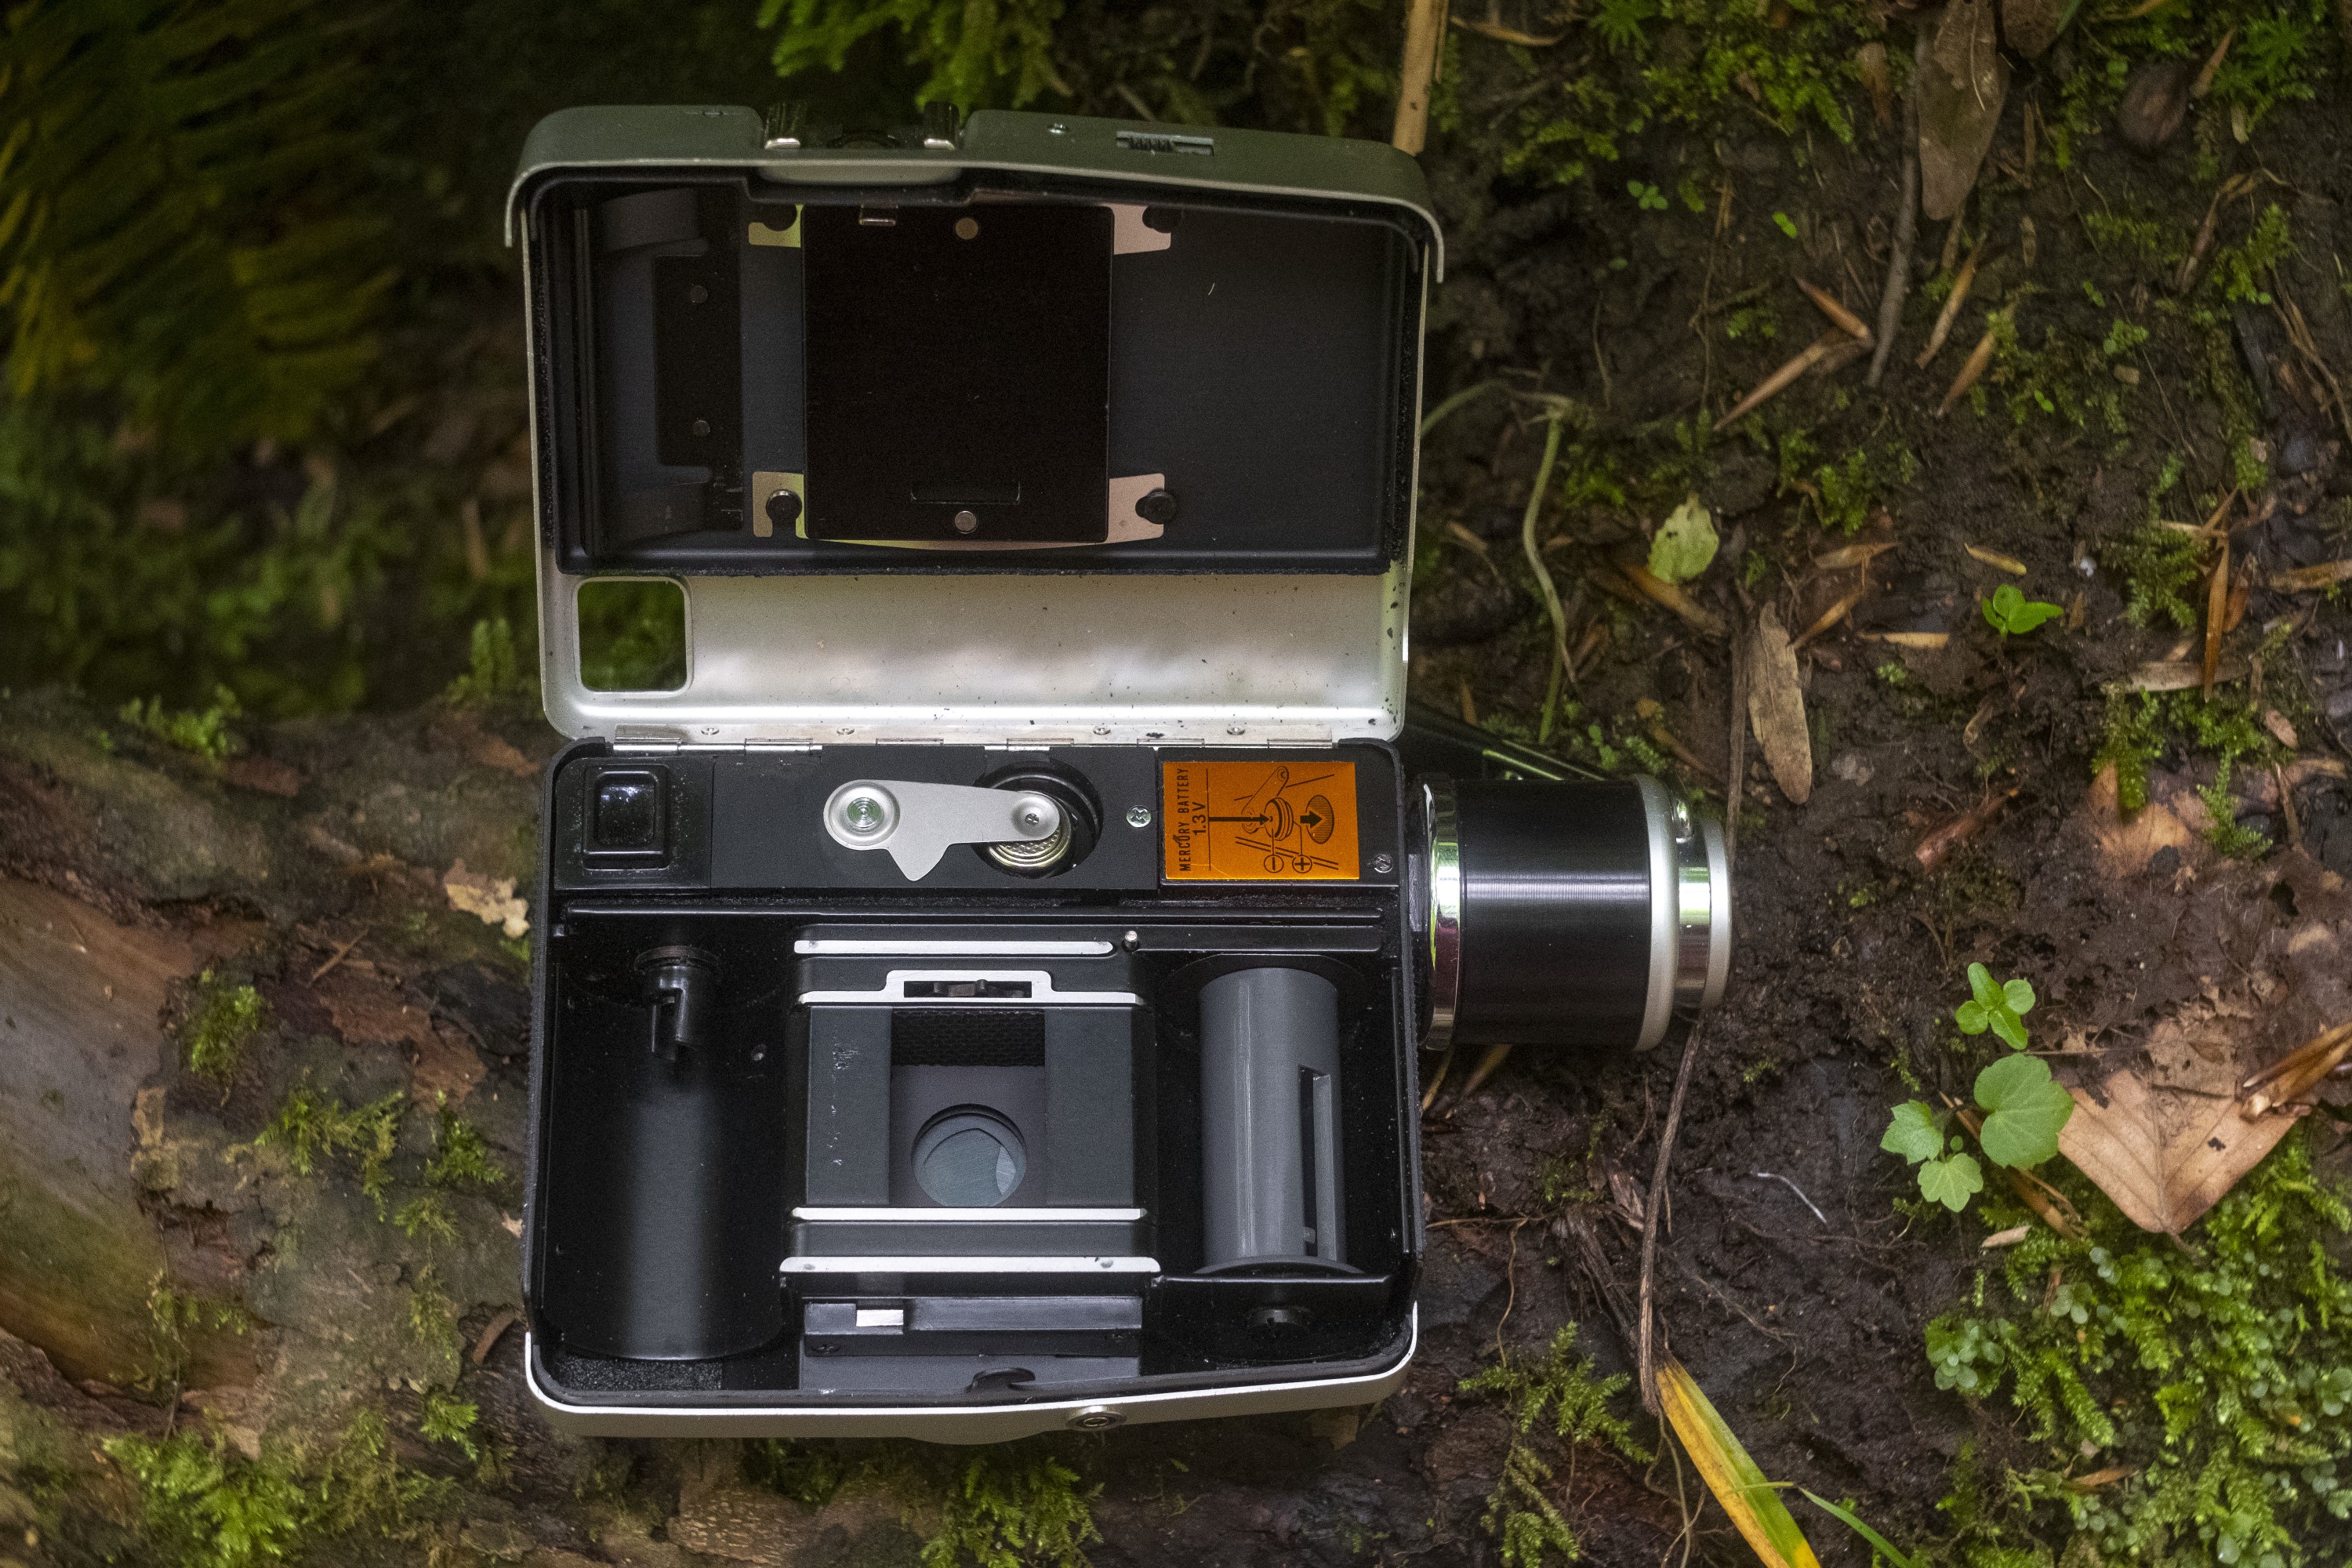
Loading film is the same as on most 35mm cameras, just extend the leader and thread it into the slot on the fixed take up spool. The distance from spool to spool is short, which means you can get a few extra exposures on both the leader and tail of a roll of film, so for a 24 exposure roll of film, you’ll get more than 48, possibly as high as 52.
On this camera, the original foam light seals were crumbly and should have been replaced, but as this was a loaner camera, I did not replace them. I did not notice any light leaks on my film as the edges of the film compartment are nicely protected by a metal border that kept light out. That said, they should still be replaced if you plan on using this camera regularly.
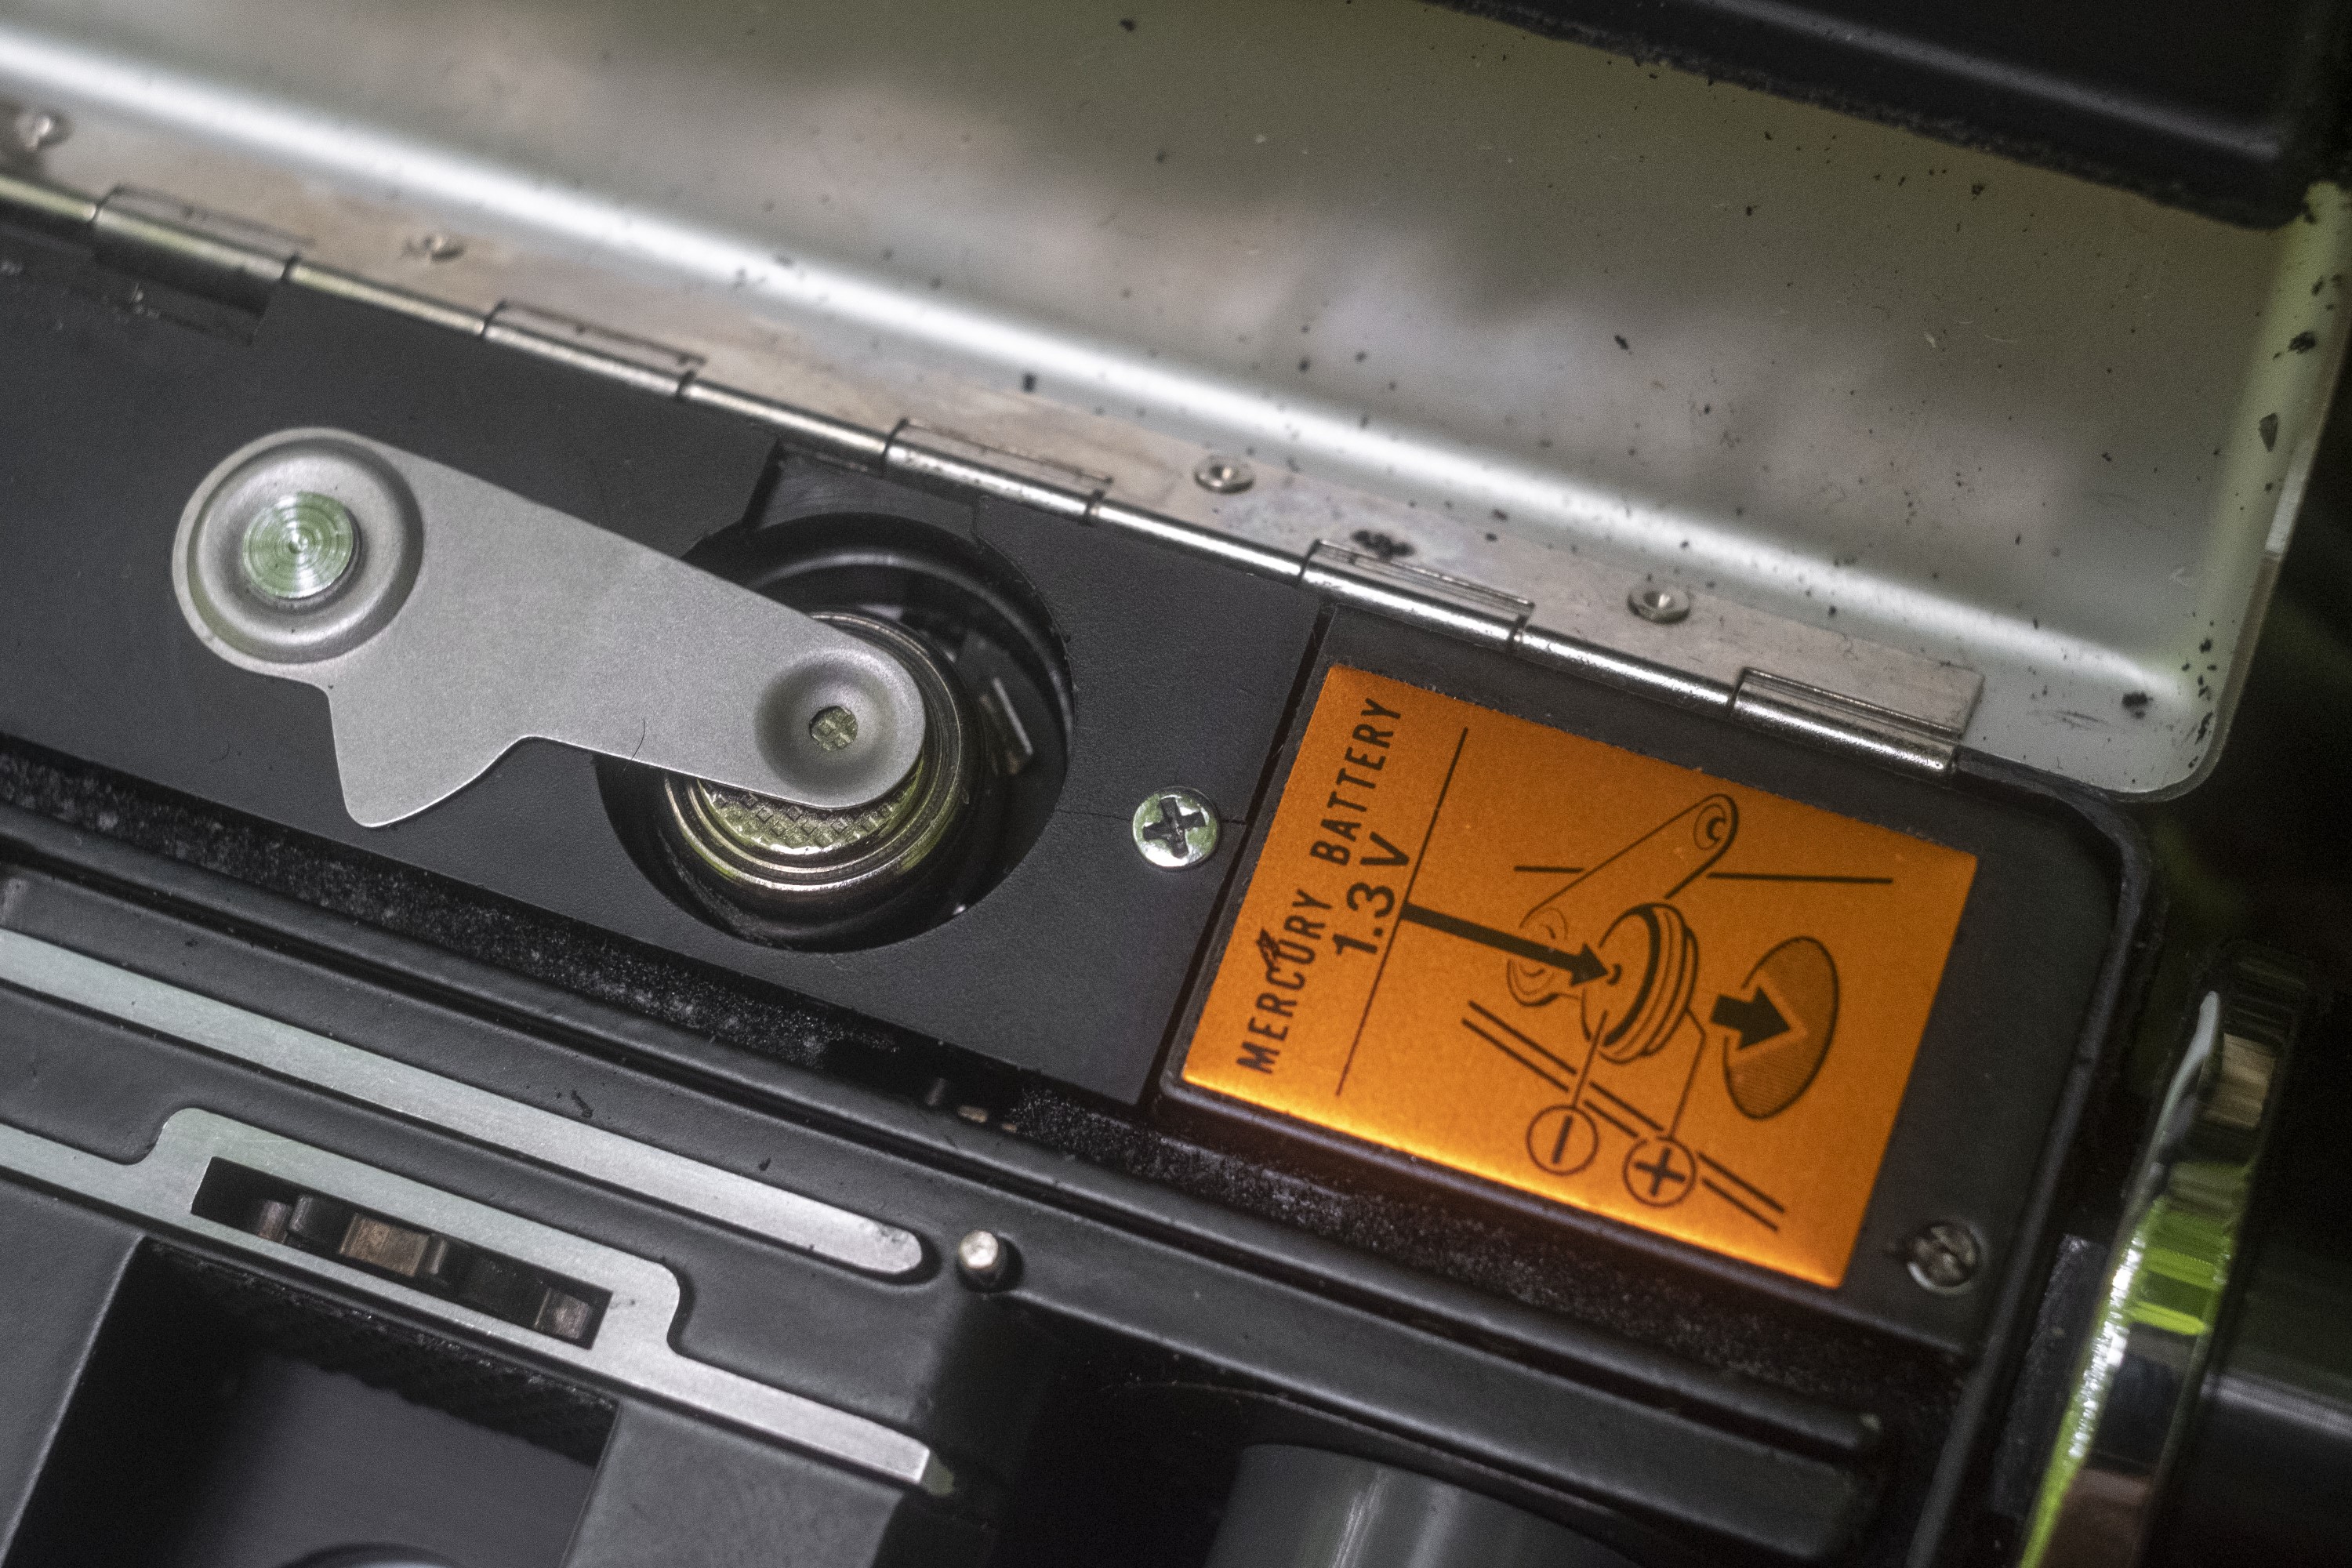
With the door open, we can see also see the location of the battery. This might be an issue if the battery ever were to die with film loaded into the camera. Although its always a good idea to check the status of a battery before using any film camera, it is especially important with this one as changing it requires opening the film compartment.
The Canon Dial 35-2 is designed to use a 1.35v 625 Mercury battery but in the image to the left, I have a silver oxide SR44 battery installed which although is a bit smaller, worked fine. I did not try an alkaline PX625 equivalent, but it likely would have worked fine.
With the door open, we can see both the film compartment and the location of the battery. The Canon Dial 35-2 is designed to use a 1.35v 625 Mercury battery but in the image to the left, I have a silver oxide SR44 battery installed which although is a bit smaller, worked fine. I did not try an alkaline PX625 equivalent, but it likely would have worked fine.

The Canon Dial’s viewfinder is large enough so that I had no problems seeing the frame lines while wearing prescription glasses. The lack of a rangefinder and beamsplitter meant it was bright enough to be used indoors and other low light situations. On the left side is a zone focus scale with three icons to indicate close, group, and landscape distances.
The bottom has a color coded aperture readout which is coupled to the exposure meter. Red marks on both sides of the scale indicate that there is either insufficient or too much light for whatever shutter and film speed you have selected. Either change shutter speeds, use a flash, or find more or less external light to get a proper exposure.
When looking at images online and reading about the Canon Dial, it is hard to get a sense of how nice of a camera it is to use. The strange design and protruding wind up knob don’t exactly jump out and say “use me”, but when you have a chance to hold one in your hands, the appeal of the Dial becomes apparent. It is evident that some thought went into the ergonomics of the camera as I found it very comfortable to hold and shoot. If you are on the fence about picking one of these cameras up, I definitely recommend it, or at the very least, finding one you can borrow as simply looking at pictures of it online, does not do the camera enough justice.
My Results
The economy of half-frame cameras is both a blessing and a curse. While it is great to get more exposures on a single roll of film, it also takes longer to finish that roll.
An oddity of shooting film cameras that I’ve observed a number of times is that with digital cameras, it is not a challenge to fire off hundreds of exposures in a single outing, yet load in a 36 exposure roll of film in a half frame camera, and finishing all 72 exposures seems impossible.
To overcome this mental block I have, whenever testing a half frame camera, I either use a short 12 or 24 exposure roll of film, or I split a 36 exposure roll with another camera, which is what I did with the Dial. In the camera went a half used roll of Kodak ProImage 100 that I shot in the early spring of 2020, shortly after the COVID pandemic hit.


My choice of film for the images above was Kodak ProImage 100, which I have since learned does pretty well in brightly lit outdoor scenes, but isn’t the best for lower light overcast days. This is not a vibrant film that can compensate for dreary light and ends up making images that in hindsight, would have been more appropriate for a black and white film.
Film choices aside, if you look at each of the half-frame images at full resolution, there’s quite a bit of detail. I don’t know that anyone would be able to differentiate these images from those shot on an Olympus Pen SLR or any other half-frame camera with a high spec lens. The 5-element f/2.8 Canon SE lens did a fine job making images that were sharp corner to corner. An ever so slight amount of vignetting is visible in images where the sky is present, and in those of the graveyard scenes.
For anyone who might be nervous about shooting a scale focus camera with no rangefinder, don’t be. The zone focus system works really well, and with the benefits of a wide depth of field afforded by the 28mm lens, I don’t think I had a single image out of focus on the entire roll. If anything, my choice of a 100 speed film on heavily overcast days, resulted in a bit of body shake in a few images as the shutter speed was too low.
Another thing to be careful of is that due to how you hold the camera, I accidentally got my finger in a few images as it was partially covering the lens. See the McDonalds image, but there were three others on this roll where my finger was visible.
The Canon Dial 35 is a capable and fun to use camera that produces sharp exposures on par with any other half-frame camera out there. Canon decided that with the half-frame form factor, they would try something new to differentiate itself from others on the market, and I’d say they were successful…mostly.
While I had no issues using the camera, its strange design definitely required me to read up on how the camera worked before picking it up, and I have to imagine that back in the 1960s when these cameras were sold new, it was that lack of familiarity that probably caused it be passed up in favor of more traditionally designed cameras.
Canon did the safe thing and offered the half frame Demi concurrently with the Dial for those who couldn’t (or didn’t want to) buy into the Dial’s strange interface, but for me, the appeal of this camera is definitely in its controls. Although I have yet to handle a Demi, I feel as though it is too similar to other similar half frame cameras of the era to be interesting enough for a review, so between the two, my pick is the Dial for its uniqueness.
After handling the Dial, I now consider myself a fan, and had this not been a loaner that I sent back to its owner, I likely would have shot it again because of its high quality images and easy one handed operation. It took me until after a collector voluntarily sent one to me before I came to understand the appeal of this camera, so hopefully I’ve done a good enough job so that anyone reading this who might be on the fence, will take a chance at becoming a fan as well!
Related Posts You Might Enjoy
External Links
http://camera-wiki.org/wiki/Canon_Dial_35
https://blog.jimgrey.net/2013/02/20/canon-dial-35-2/
https://alysvintagecameraalley.com/2020/01/19/the-bell-howell-canon-dial-35/
https://global.canon/en/c-museum/product/film69.html
https://www.geekcamerablog.it/en/canon-dial-35-2-2/
http://www.135compact.com/135_half_canon_dial35.htm
https://www.photo.net/discuss/threads/the-quirky-canon-dial-35.438142/
Ah yes, the Canon Dial 35 — one of a very few cameras that I actively disliked. It was just too strange!
Man, I really enjoy your reviews. I looked at a Bell & Howell/Canon Dial 35 at a flea market a couple of months ago, but I passed. The winding knob kept winding and winding, which made me suspect that the spring was broken. It was otherwise a cool camera. I also have the Demi EE 17, which I’ve only used once. Turned out the seals were completely gone, and the entire roll had light leaks. It was otherwise an easy and fun camera to use. And I know what you mean about taking a thousand digital images in a day, but taking forever to finish up a roll on a half frame. I finally finished a roll of 36 (i.e. 72) exposures on my Pen FV the other day, after months with the roll in the camera. I can’t seem to find 12-exposure film anymore. I think they must have stopped selling it. Thanks again for a great review of what looks like a fun camera.
The Dial 35 was one of my Elvis/UFO cameras for years. I was very fond of it!
Good review of the Dial 35-2, one of my favorite 1/2 frame cameras. The reasons for cable release socket is found on Page 29 of the instruction manual. T allow the use of the Canon Selftimer 6 and the use of Canon’s Cable Release when using the camera on a tripod when shooting at slow shutter speeds.
Very nice camera to use, high quality built. I own both Canon Dial 35 and Canon Dial 35-2. The second one well fits to currently available battery sizes and has light meter calibration potentiometer hidden under rubber strip on the case. To whose are familiar with camera repairs, available on the net service manual is really well prepared and helped me a lot do dis/reassembly my cameras which were out of order.
Hi! Very useful — a service to the community.
I tend to shoot my cameras inentionally without a battery, and in “manual” (I use a phone lightmeter app). I’m glad that it’s possible to set the shutter speed manually — but do you have a sense of how the aperture can be set… or is it always “automatic” (in response to the selected shutter speed)?
I have an opportunity to pick one up used for about US$50 — and I have a camera repair guy who I trust — so I’m thinking of picking this up (and not worrying about the selenium cells, etc.) 🙂
Ah! Sorry — I just saw this, from another online review:
The aperture control can be overridden by pulling out and turning the aperture knob located underneath the viewfinder window. You would also pull this out to turn off the meter when the camera is not in use so as not to waste your battery.
So: Resolved. 🙂
(BTW, I have a Canon Demi and the “Kodak” H35 point-and-shoot. Love ’em both.) 🙂