

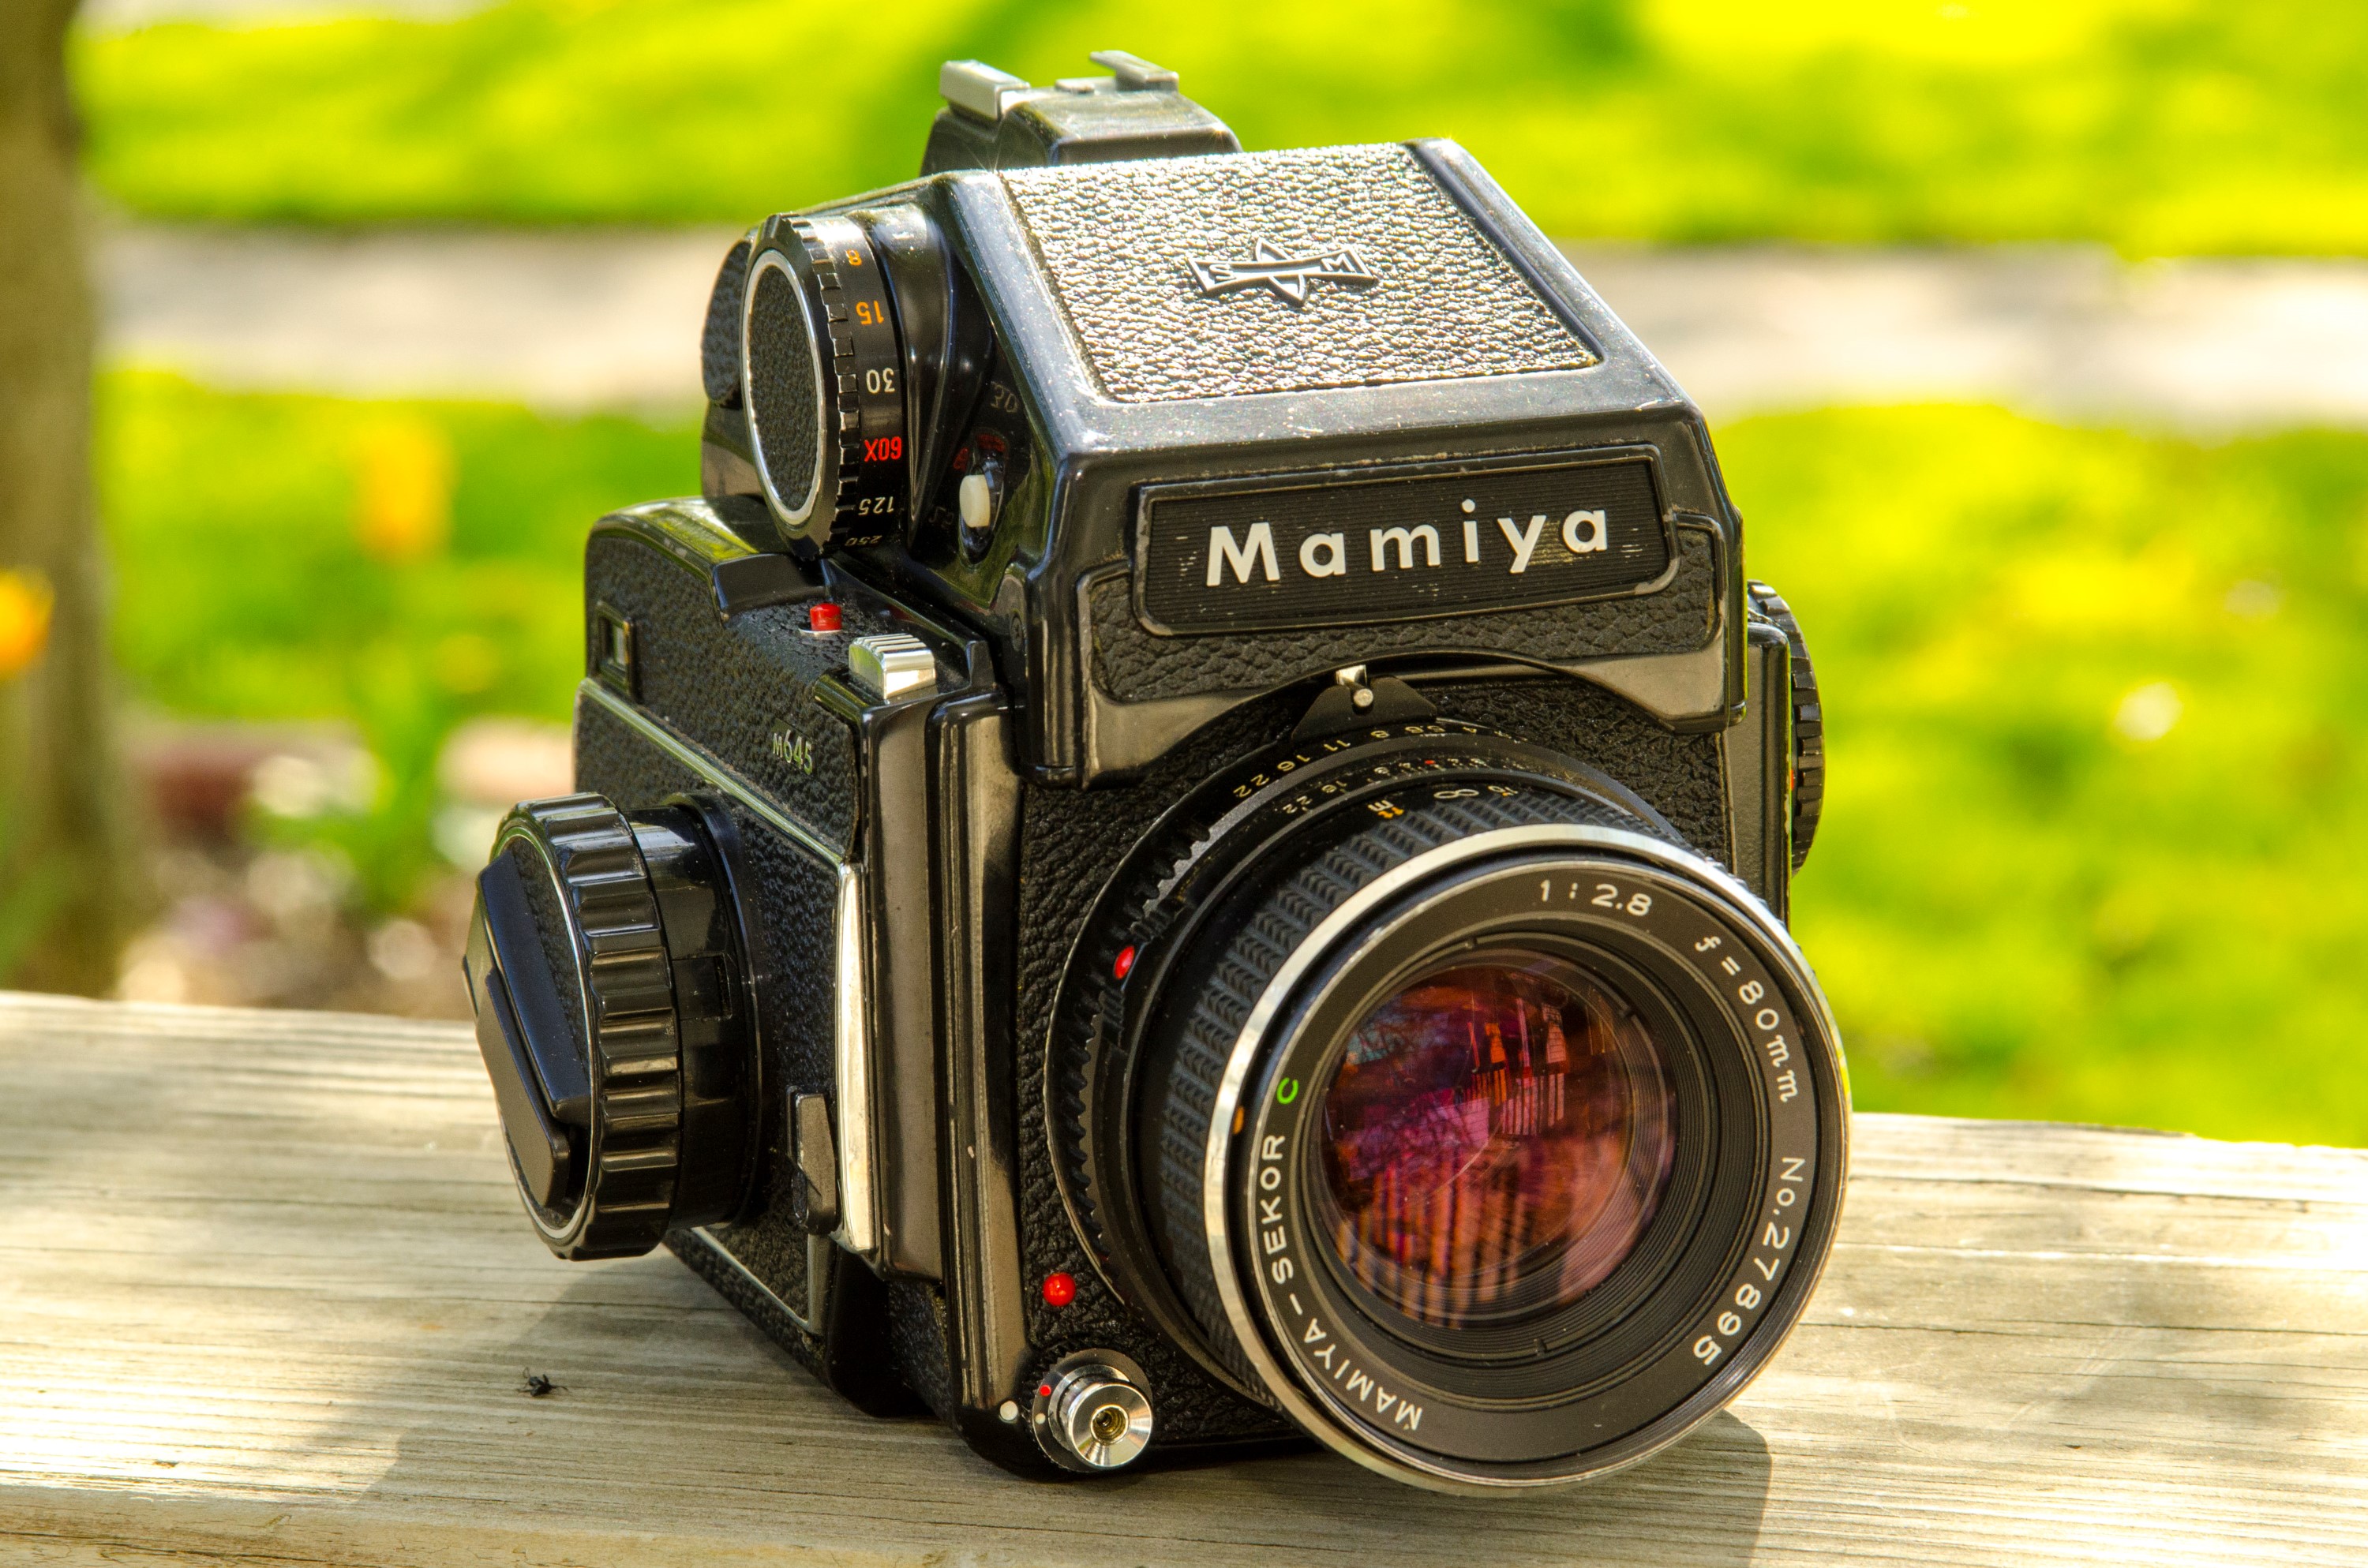
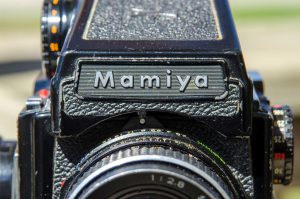
This is a Mamiya M645 semi-professional medium format Single Lens Reflex camera. This was one of the most popular cameras for professional and advanced amateur photographers of the late 70s and early 1980s. It was a popular choice of wedding photographers due to it’s rugged design, interchangeable lenses and viewfinders, support of 120 and 220 film, and wide assortment of accessories. The M645 was Mamiya’s first 6cm x 4.5cm medium format camera and was in production from 1975 – 1987. Mamiya made a total of 11 different 645 models over the course of over 25 years. There were many different variations over the years, and towards the end of the model’s production, the body design incorporated more and more plastic.
Film Type: 120 or 220 dual format (15 or 30 6cm x 4.5cm exposures)
Lens Mount: Mamiya M645 Bayonet Mount
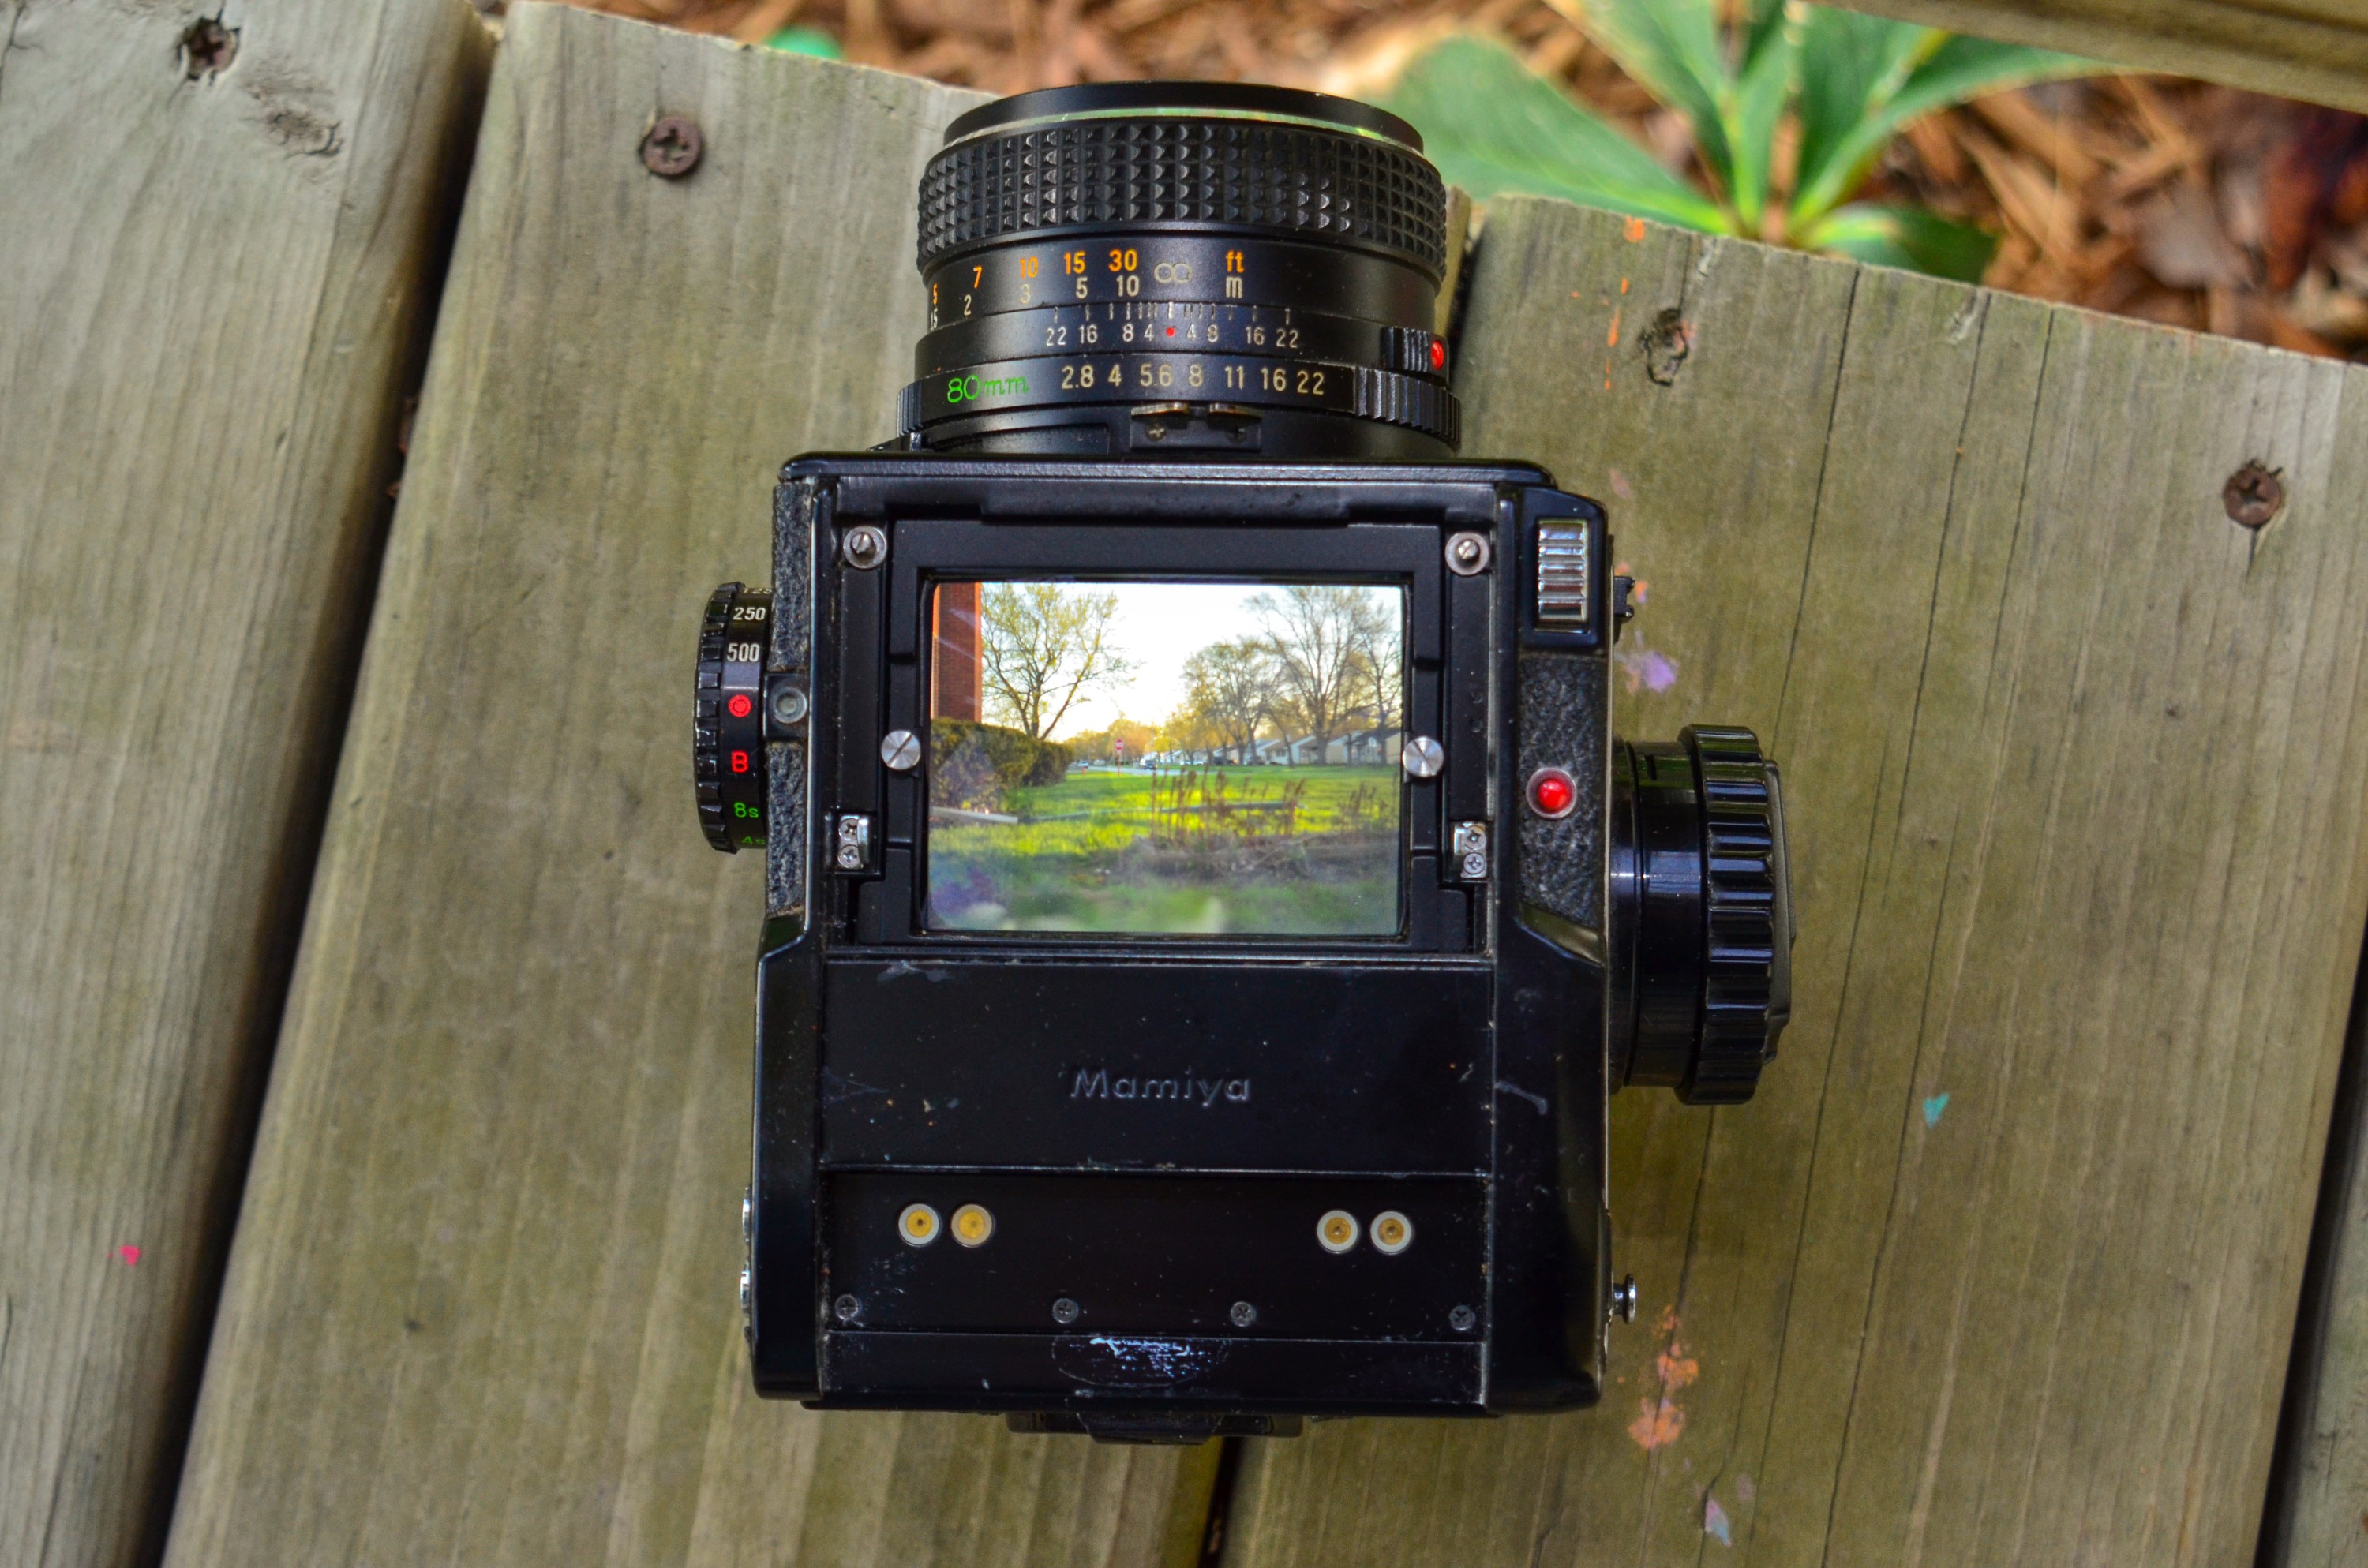
Lenses: Mamiya-Sekor C 80mm f/2.8 coated 6-elements
Focus: Interchangeable SLR Prism
Shutter: Focal Plane Cloth
Speeds: B, 8 – 1/500 seconds
Exposure Meter: TTL CdS meter with 7 segment LED Viewfinder Readout
Battery: PX28 or 4LR44 6v Siver-Oxide
Flash Mount: Hotshoe plus X and FP PC sockets
Manual: http://www.cameramanuals.org/mamiya_pdf/mamiya_m645.pdf
History
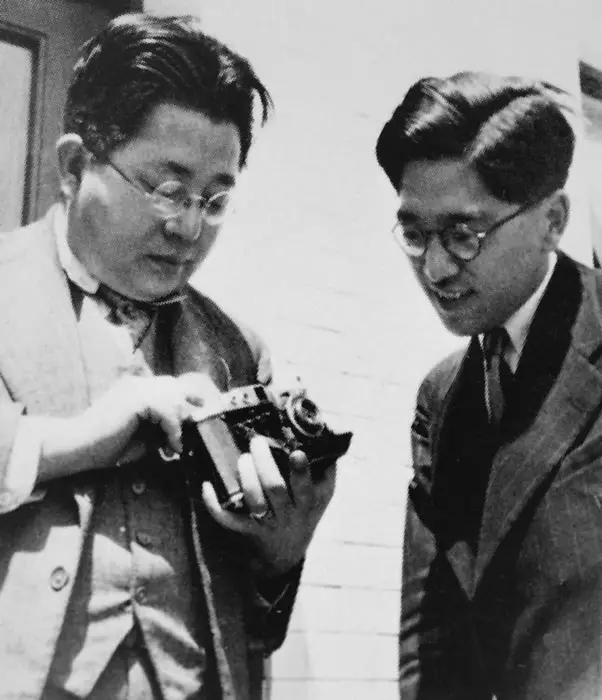
Mamiya was originally founded in 1940 by inventor Mamiya Seiichi and investor Sugawara Tsunejirō as Mamiya Kōki Seisakusho (Mamiya Optical Works). The company’s first camera was the Mamiya Six, a folding camera that shot 6cm x 6cm negatives on 120 roll film. Mamiya saw immediate success upon the release of it’s camera, and was one of the few optical companies that continued to grow during World War II. By early 1944, the company had grown to 150 employees and had expanded to a second facility on the grounds of Tokyo University to build lenses.
In October 1945, Mamiya was the first Japanese optical company to receive an order to resume production by the office of General Douglas MacArthur during the Allied occupation of Japan following World War II. A few months later in January 1946, Mamiya had resumed full scale production of the Mamiya Six at a new facility in Tokyo.
Over the course of the next 8 years, the Mamiya Six would be upgraded several different times, adding features like a rangefinder, dual 6×6 and 6×4.5 format, better shutters, and better lenses. In 1948, Mamiya would expand their product line to include a 6cm x 6cm TLR called the Mamiyaflex and a fixed lens 35mm rangefinder called the Mamiya 35. A year later, the Mamiya 16, a 16mm subminiature camera would be released.
During this time, Mamiya would acquire several smaller Japanese optics companies so that they could design and build their own lenses and shutters instead of relying on third party resources. By the mid 1950s, Mamiya would become one of the premiere Japanese camera makers.

By the mid 1950s, the Japanese camera market had become very crowded with as many as a dozen other Japanese competitors all making models covering many different film formats and camera designs. As a result in 1957, Mamiya would release two very innovative models, a 35mm rangefinder with an interchangeable film back called the Magazine 35, and the Mamiyaflex C, a 6cm x 6cm TLR with interchangeable lenses. The Magazine 35 was not very successful, but the Mamiyaflex C would be the first in a long running series of semi-professional TLR cameras with interchangeable lenses.
In 1960, Mamiya would release their fist 35mm SLR called the Prismat which was designed to compete with the growing number of Japanese 35mm SLRs in the market, but they would also step up to the professional market with a Linhof inspired medium format press camera called the Mamiya Press. This camera would be the first real indication of the direction the company would take over the next several decades.
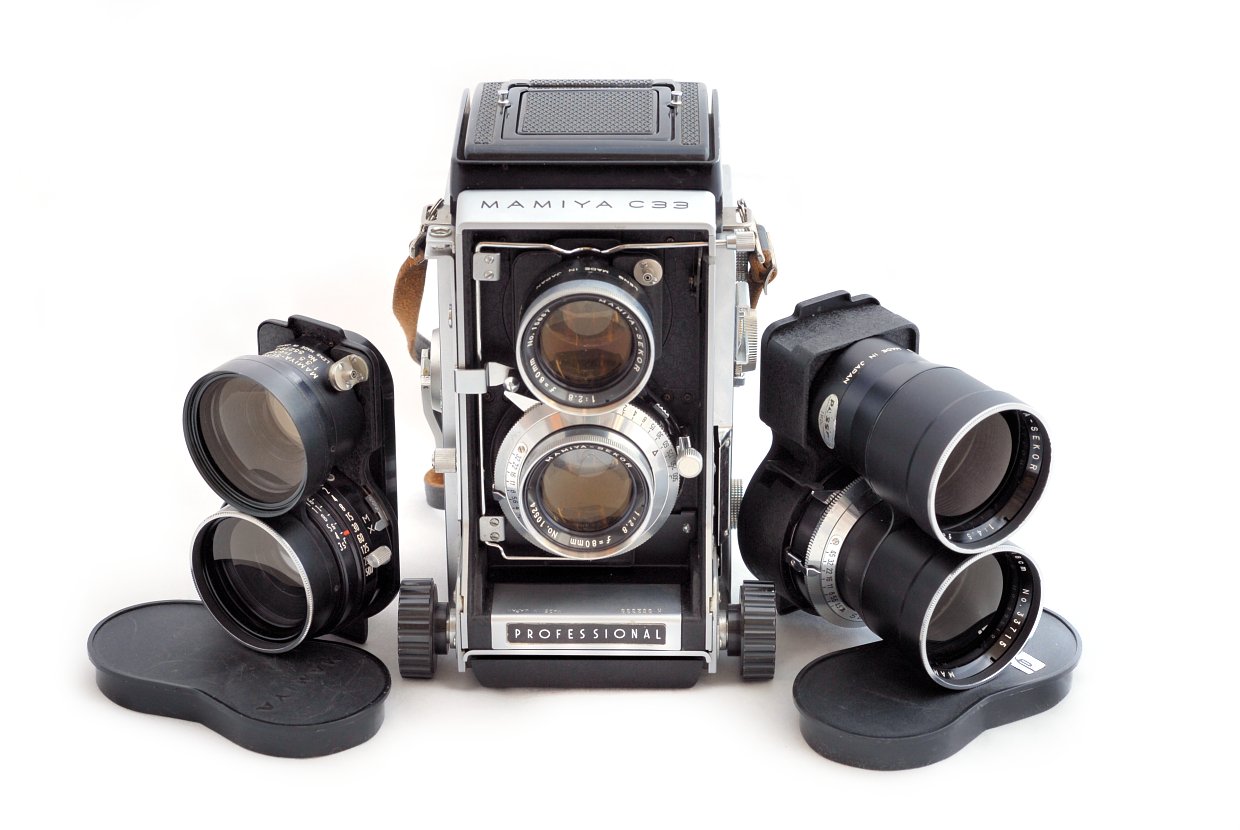
While the amateur and semi-pro markets were very crowded, there weren’t many Japanese companies making high end medium format cameras. The Mamiya Press and Mamiyaflex TLRs would be very successful throughout the 1960s as was their line of 35mm SLR cameras. In 1971, Mamiya would release the Mamiya AutoXTL, arguably the most advanced 35mm SLR of it’s time. It featured full shutter priority auto exposure, dual aperture and shutter speed readouts in the viewfinder, and came equipped with a fast 55mm f/1.4 lens.
Sadly, the design was a bit ambitious as the camera predated CPU controlled auto exposure or LCD/LED readouts, making the settings very hard to read inside of the viewfinder. This, combined with the high price of the camera, led to very poor sales. Mamiya would slowly start to pull out of the amateur and semi-pro 35mm market throughout the rest of the 1970s with their name appearing on models made by other companies by the end of the decade.
Edit 9/17/2020: The following review of the M645 from the September 1975 issue of Modern Photography gives a pretty excited look at what was then the smallest medium format SLR.
Instead, the company would focus on professional level medium format cameras like the completely modular RB67 and M645 cameras in 1970 and 1975 respectively. Both the RB67 and M645 models would sell extremely well and become the preferred cameras for press and wedding photographers. Despite the success of these two models, the company did not fare well into the 1980s. Mamiya could not maintain their profits based solely on these two professional cameras, and all of their previous attempts at introducing amateur cameras had failed. The final nail in the coffin came in 1984 when Mamiya’s largest international distributor went out of business, and as a result, the company went into bankruptcy.
As the saying goes “sometimes you need to take a step backwards to take two steps forward”, Mamiya came out of bankruptcy as a more streamlined company that was able to concentrate on a smaller number of professional models. Their two most successful models, the RB67 and M645 would continue to evolve adding new features like interchangeable magazines, a wider variety of lenses and viewfinders, and eventually auto focus. Mamiya would even add a new model, a 6cm x 6cm rangefinder called the Mamiya 6, in 1989.
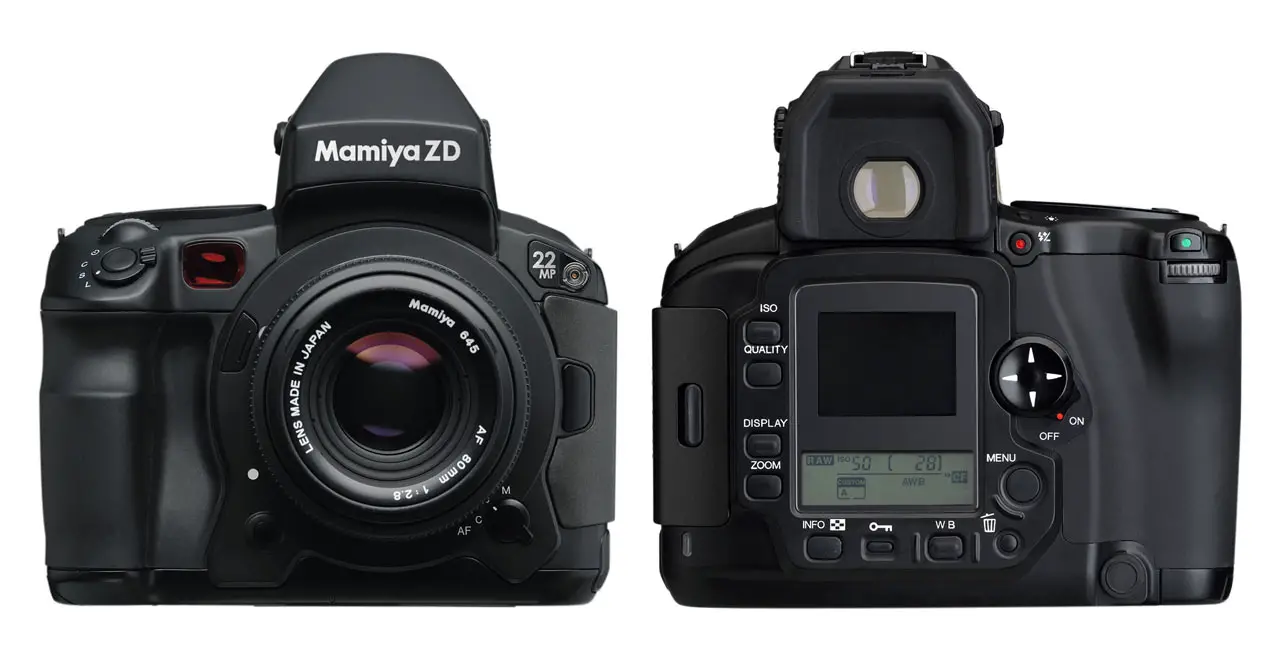
Mamiya would remain successful as a niche company throughout the 90s and into the early 2000s and in 2004, tried their hand at a 22 megapixel medium format digital camera called the Mamiya ZD 22. It didn’t sell well, and as was common with many other film companies of the mid 2000s, the company was not able to sustain profits in the increasingly digital age. In April 2006, Mamiya sold their entire camera business to a new company called Cosmo Digital Imaging. The company was sold once again in 2009 to the Danish company, Phase One, who bought a majority share in the original company.
 Today, the name Mamiya still exists as a brand of very expensive and high end niche digital cameras like the Mamiya Credo 80, an 80 MP medium format digital camera and the Leaf Credo, which is an innovative digital camera allowing a wide assortment of digital enhancements within the camera body itself. All current Mamiya models are produced as part of the Phase One company.
My Thoughts
Prior to acquiring this camera, my collection lacked any real sort of high-end cameras. The reason for that is photography is an expensive hobby and I simply cannot afford expensive cameras. My primary digital camera, a Nikon D7000, was released almost 6 years ago, so I hardly have what would be described as anything bleeding edge whether it is digital or film. In the realm of “high end” film cameras, you have names like Leica, Hasselblad, Rollei, and Linhof, none of which are represented in my collection. Some might even argue that the Mamiya M645 isn’t quite high end either, but I’ll say it’s the closest I’ve some so far.
 All hobbies cost money, whether it is collecting baseball cards, building model airplanes, or being a Harley Davidson owner. There’s a saying that floats around photography groups that says something like “If you want to keep your kids away from drugs, get them into photography and they won’t be able to afford it.” While I would agree that this could be a true statement, I’ve been pretty successful getting cameras on the very low end of the price spectrum. The majority of my acquisitions come in the $20 – $30 range. I’ve picked up lots of cameras where the average price was around $10 per camera, and in some cases, I’ve been able to sell some parts of my acquisitions for more than what I paid for it, negating the cost altogether for the other cameras. It is rare that I’ve spent more than $50 on a single camera, the most of which was for my Kodak Medalist (which was worth every penny).
So it was with some hesitation that I bought this Mamiya because it was above my normal comfortable price level, yet still far below that of most sold auctions for Mamiya M645s. I picked this one up on eBay from a seller that had bought a large collection at an estate seller. Of course the seller didn’t know anything about the camera, but remarked that everything in the estate sale seemed to be very well maintained and in good working order. The seller’s failure at posting good pictures or any meaningful description was my gain, as I was able to get it for far below the going rate for other M645s.
I was nervous that it might not work, since the M645 has an all electronic shutter that doesn’t work without power. If the electronics were shot, the whole camera would be inoperable. The camera gods must have been shining down on me that day as when the camera arrived, not only was it in good working order, but there was still a fresh battery installed in the camera.
Upon receiving it, the very first impression I had was how sturdy and heavy this camera is. While you expect most “box” like cameras to have some heft, this thing is a lot heavier than any of my other TLRs. The weight of the camera with the 80mm lens and PD prism finder is 1720 grams or around 3.8 lbs, so it’s definitely not something you’d want have hanging from a neck strap for even a short period of time. In order to use this camera as a traveling camera, you’ll need to plan ahead for how you will transport it while not in use.
Using the Camera
Being unfamiliar with this model, I spent some time reading the manual on Mike Butkus’ site and I tested all of the operations. The shutter seemed to fire at all speeds, the meter worked, the curtains were in good shape, and the lens looked immaculate. One of the many exciting things about this camera is that it has interchangeable film magazines which can support both 120 and 220 film. This is good news as I had acquired a good supply of 220 film from an estate sale several months back that I was having a hard time putting to use. 220 film is twice as long as 120 film meaning you get twice as many exposures per roll. The catch with 220 is that it does not have backing paper behind the film, meaning that it cannot be used in cameras designed for 120 film that have a red window in the back for the frame numbers. The lack of backing paper also changes the thickness of the roll which requires a slightly different film pressure plate. As a result, 220 film cannot be used in a camera that is not specifically designed for it.
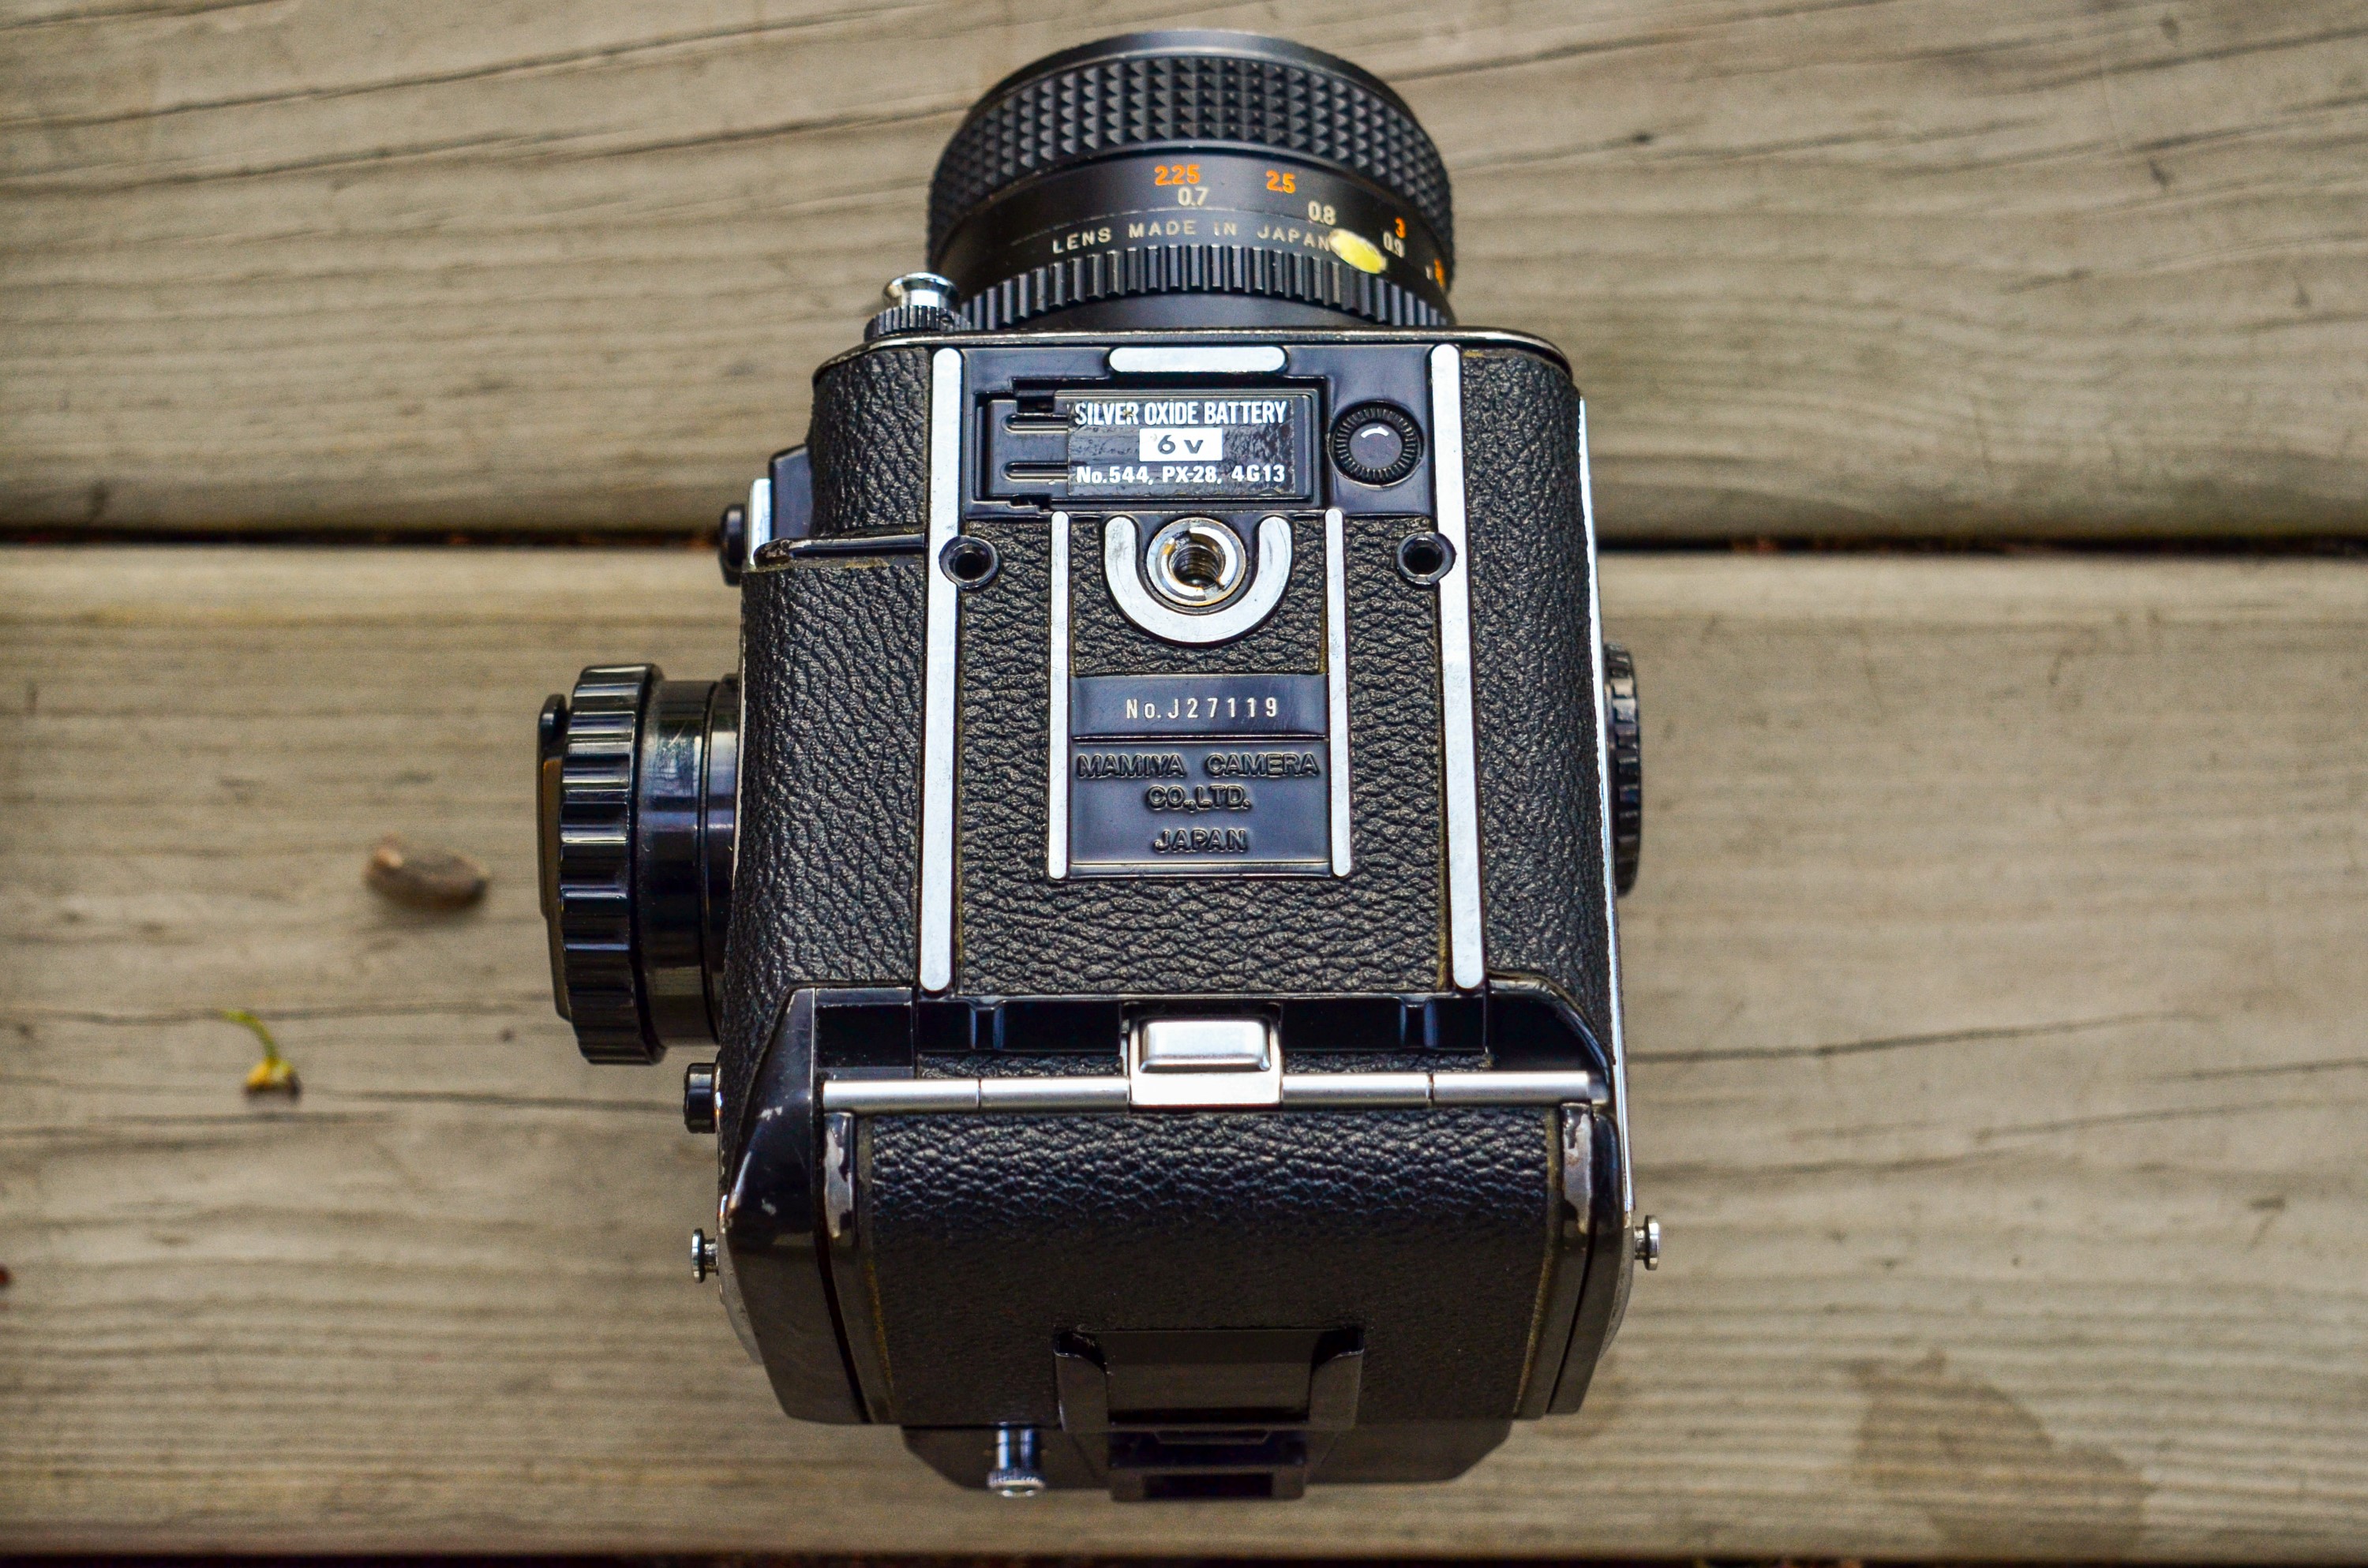
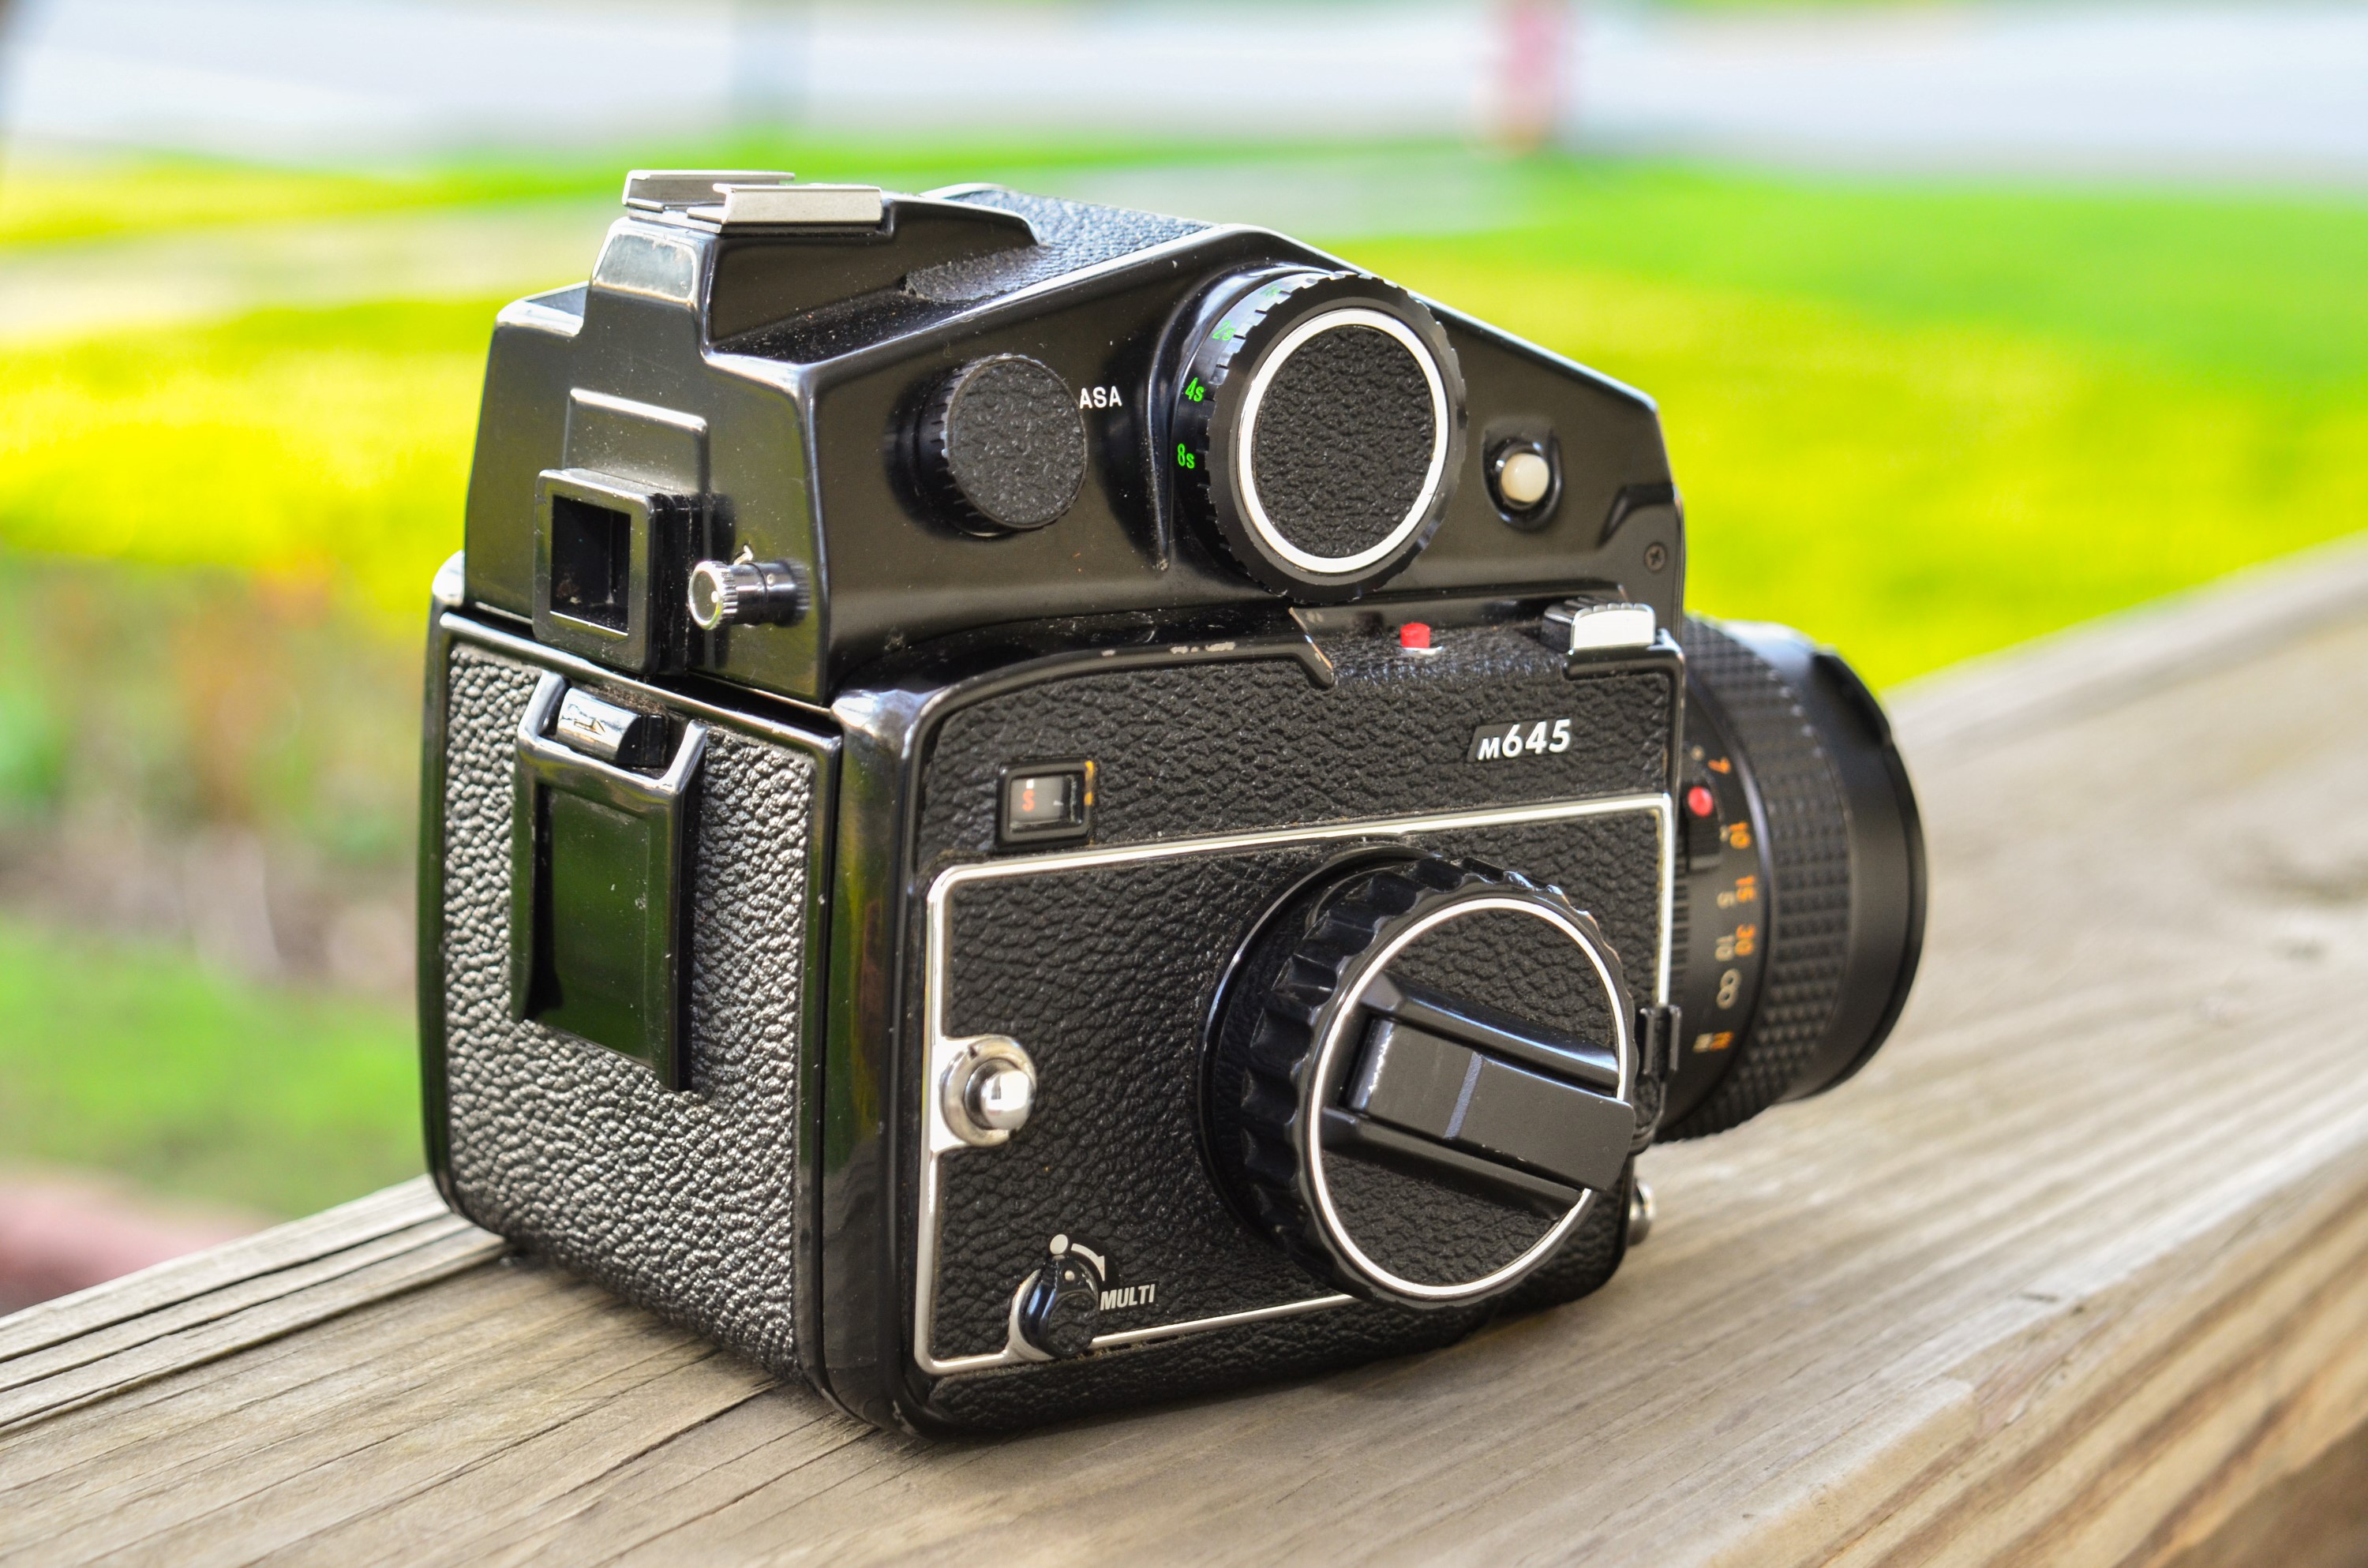
The Mamiya M645 uses a standard 6 volt PX28, 4SR44, or 544 battery. The battery installs into a compartment under the bottom plate of the camera. To open the battery compartment, you must turn a locking dial next to it. I had a bit of difficulty getting mine open as the lock was very tight. I guess it’s good that it is too tight, rather than too loose, but I can’t really be sure if the excessive force needed to open mine is unique to my specimen or if all M645s are like that.
The Mamiya M645 has an interchangeable lens mount. The mount is proprietary to this and all other 645 format Mamiyas, but as best as I can tell, it is not compatible with any other medium format SLRs. I only have the kit 80mm f/2.8 lens, so I had no need to change the lens. It’s a bayonet mount so the process is nearly identical to other bayonet mount cameras like Nikons and Pentaxes.
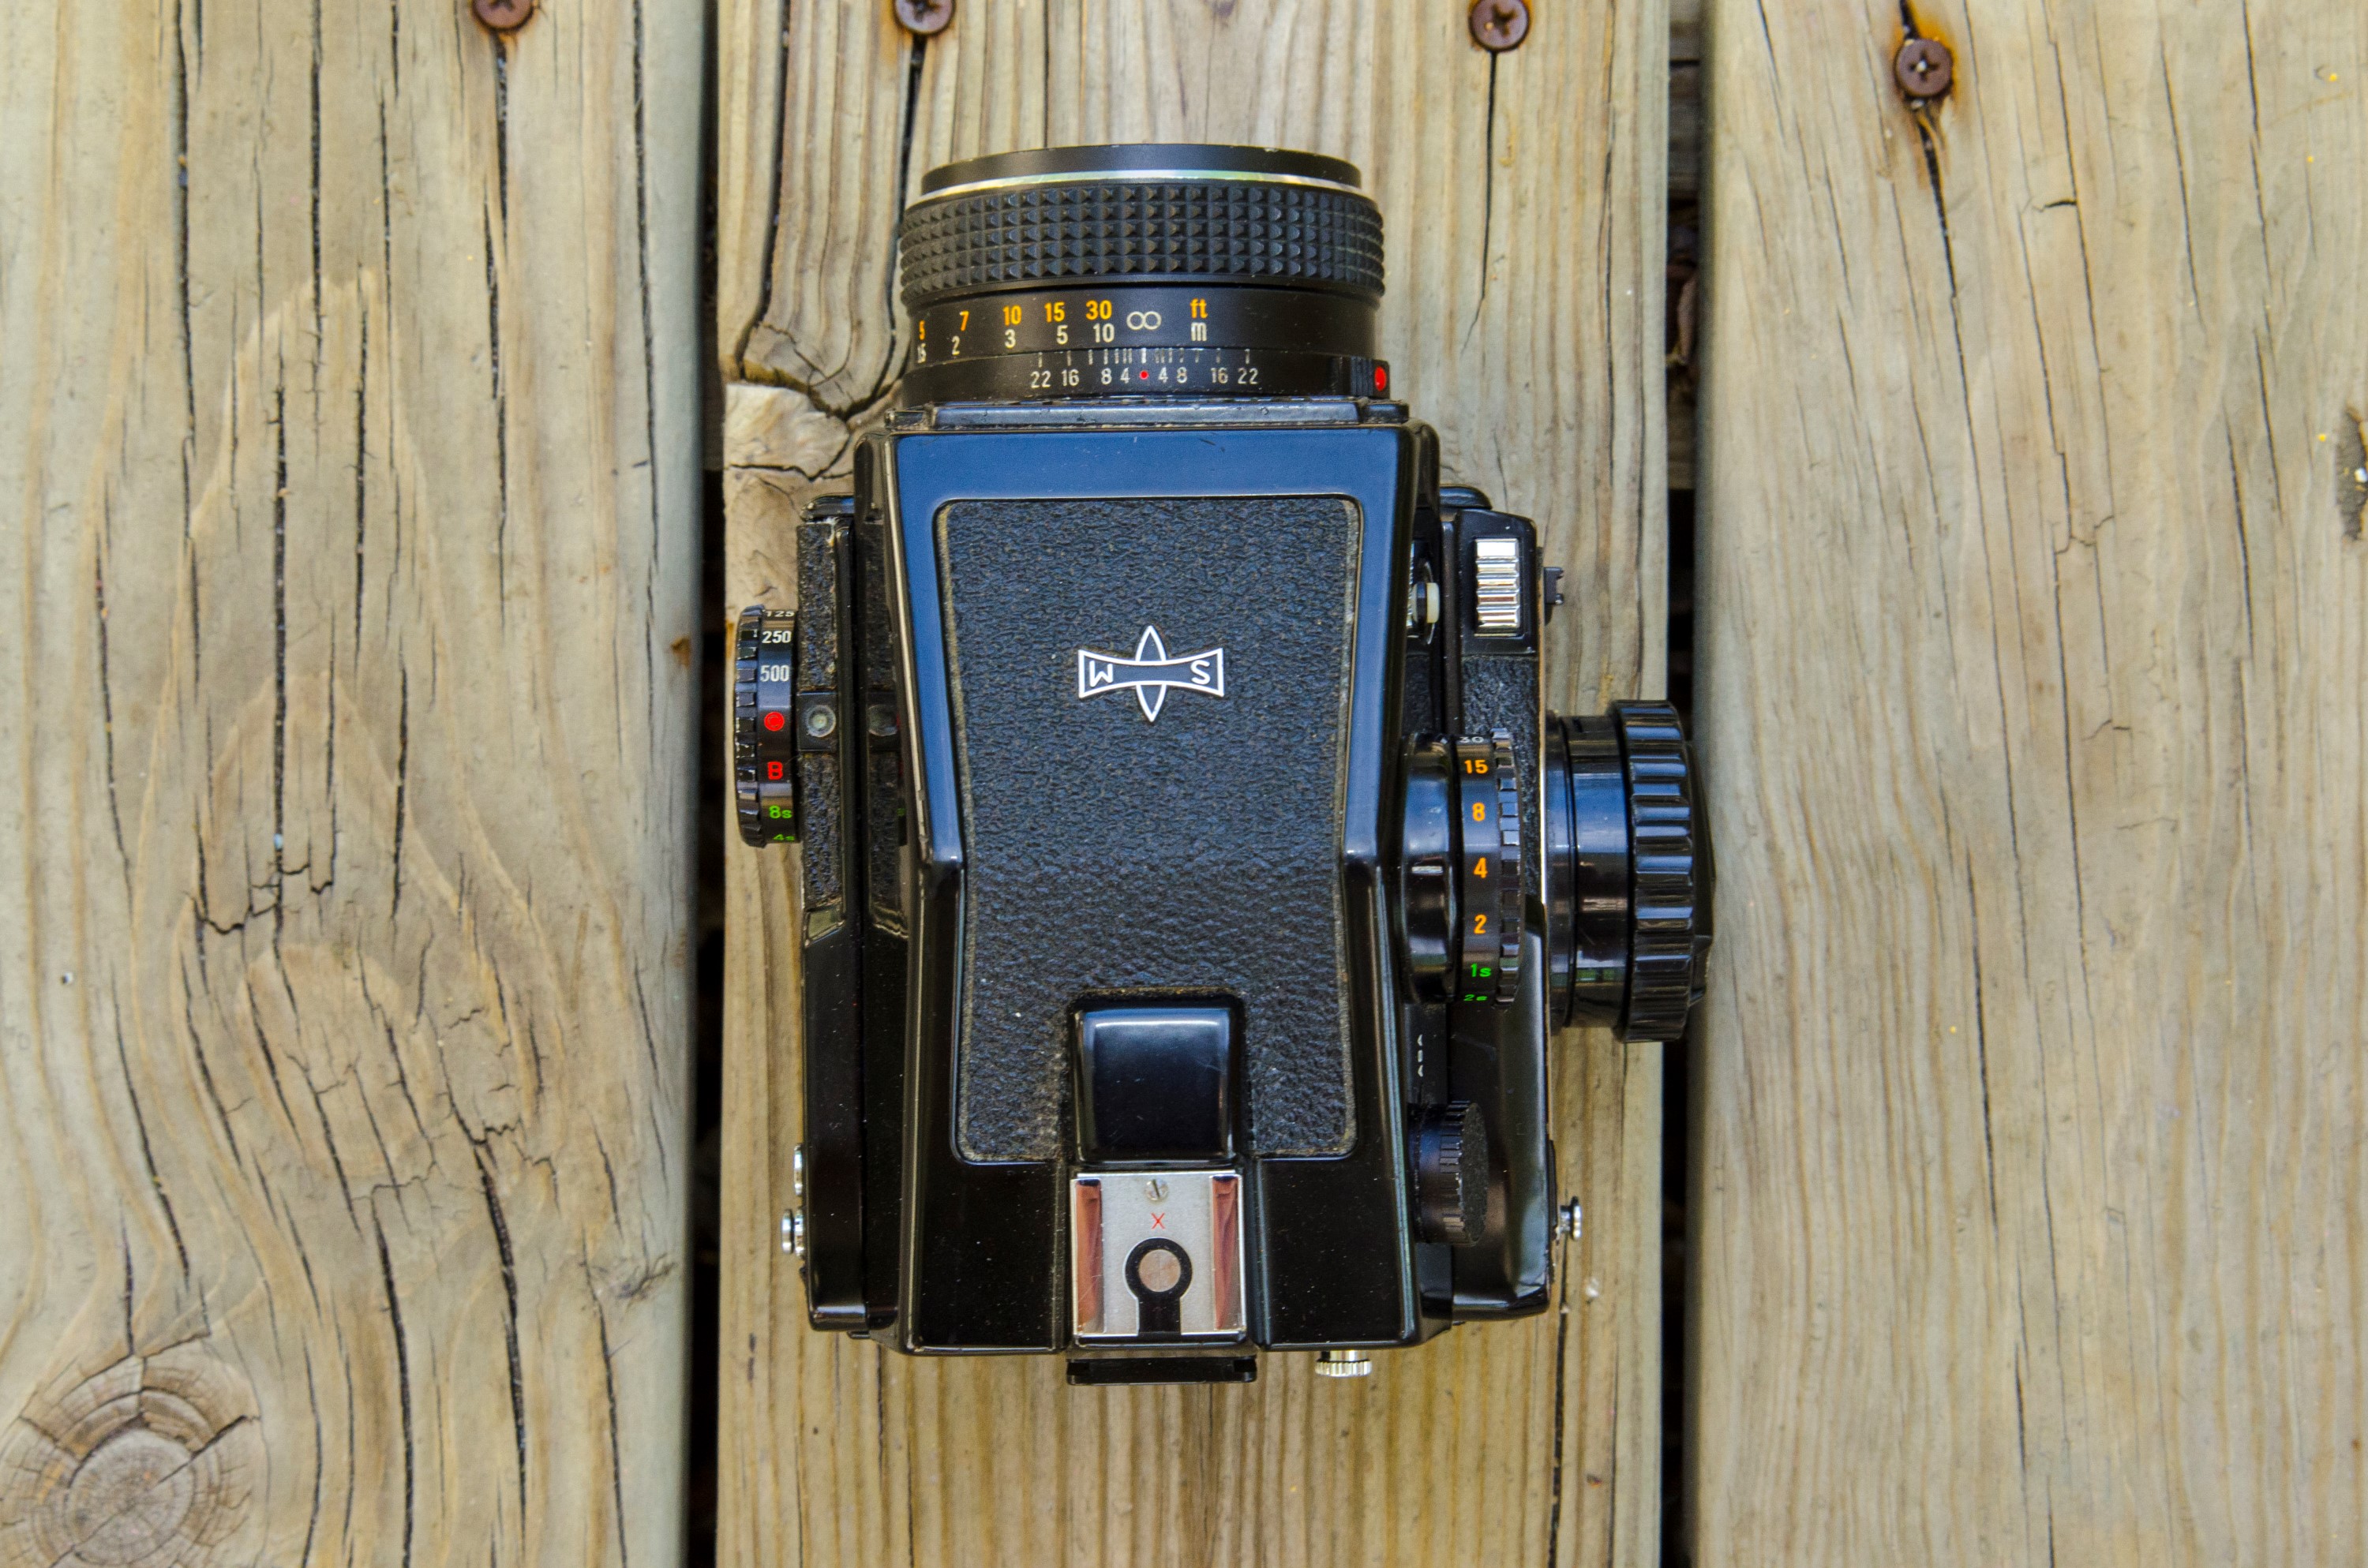
The Mamiya M645 had a variety of viewfinders available for it. There was a waist level finder that allows you to use the camera just like a TLR by peering down into the viewfinder from above. There were also 3 different eye level prism viewfinders. The first was a basic one with no metering of any kind. Next was the PD Prism finder which is what mine has. The PD finder has a silicon photo diode inside of the finder that controls a 7-segment LED display inside of the viewfinder to indicate proper exposure. The PD Prism finder does not do automatic exposure, so you still control aperture and shutter speeds manually, but you adjust the settings accordingly until the LEDs display proper exposure. The PD Prism finder does not have it’s own power supply. It gets it’s power from the camera’s main battery. Finally, there was the full AE Prism finder which did allow for aperture priority auto exposure. The AE finder does have a separate battery that must be installed inside the finder itself.
When using either of the PD or AE finders, you must set the camera’s main shutter speed selector to the position which shows a “bullseye” symbol. The meters of both viewfinders will not respond if the camera is not set to this position. The M645 manual warns that you should never put the camera into this bullseye position without either the PD or AE meters installed. If you have the basic or waist level finder, leaving the shutter speed selection in this position will drain the battery in a matter of hours.
Once you have the camera’s shutter speed selector in the bullseye position, you no longer need to use it unless you remove the prism. The PD finder has it’s own shutter speed selector on the right side which you will use for the remainder of shutter speed selections. The AE finder doesn’t have a speed selector of any kind. The only way to manually select a shutter speed with the AE finder is to disable the meter by changing the main shutter speed selector to something other than the bullseye position.
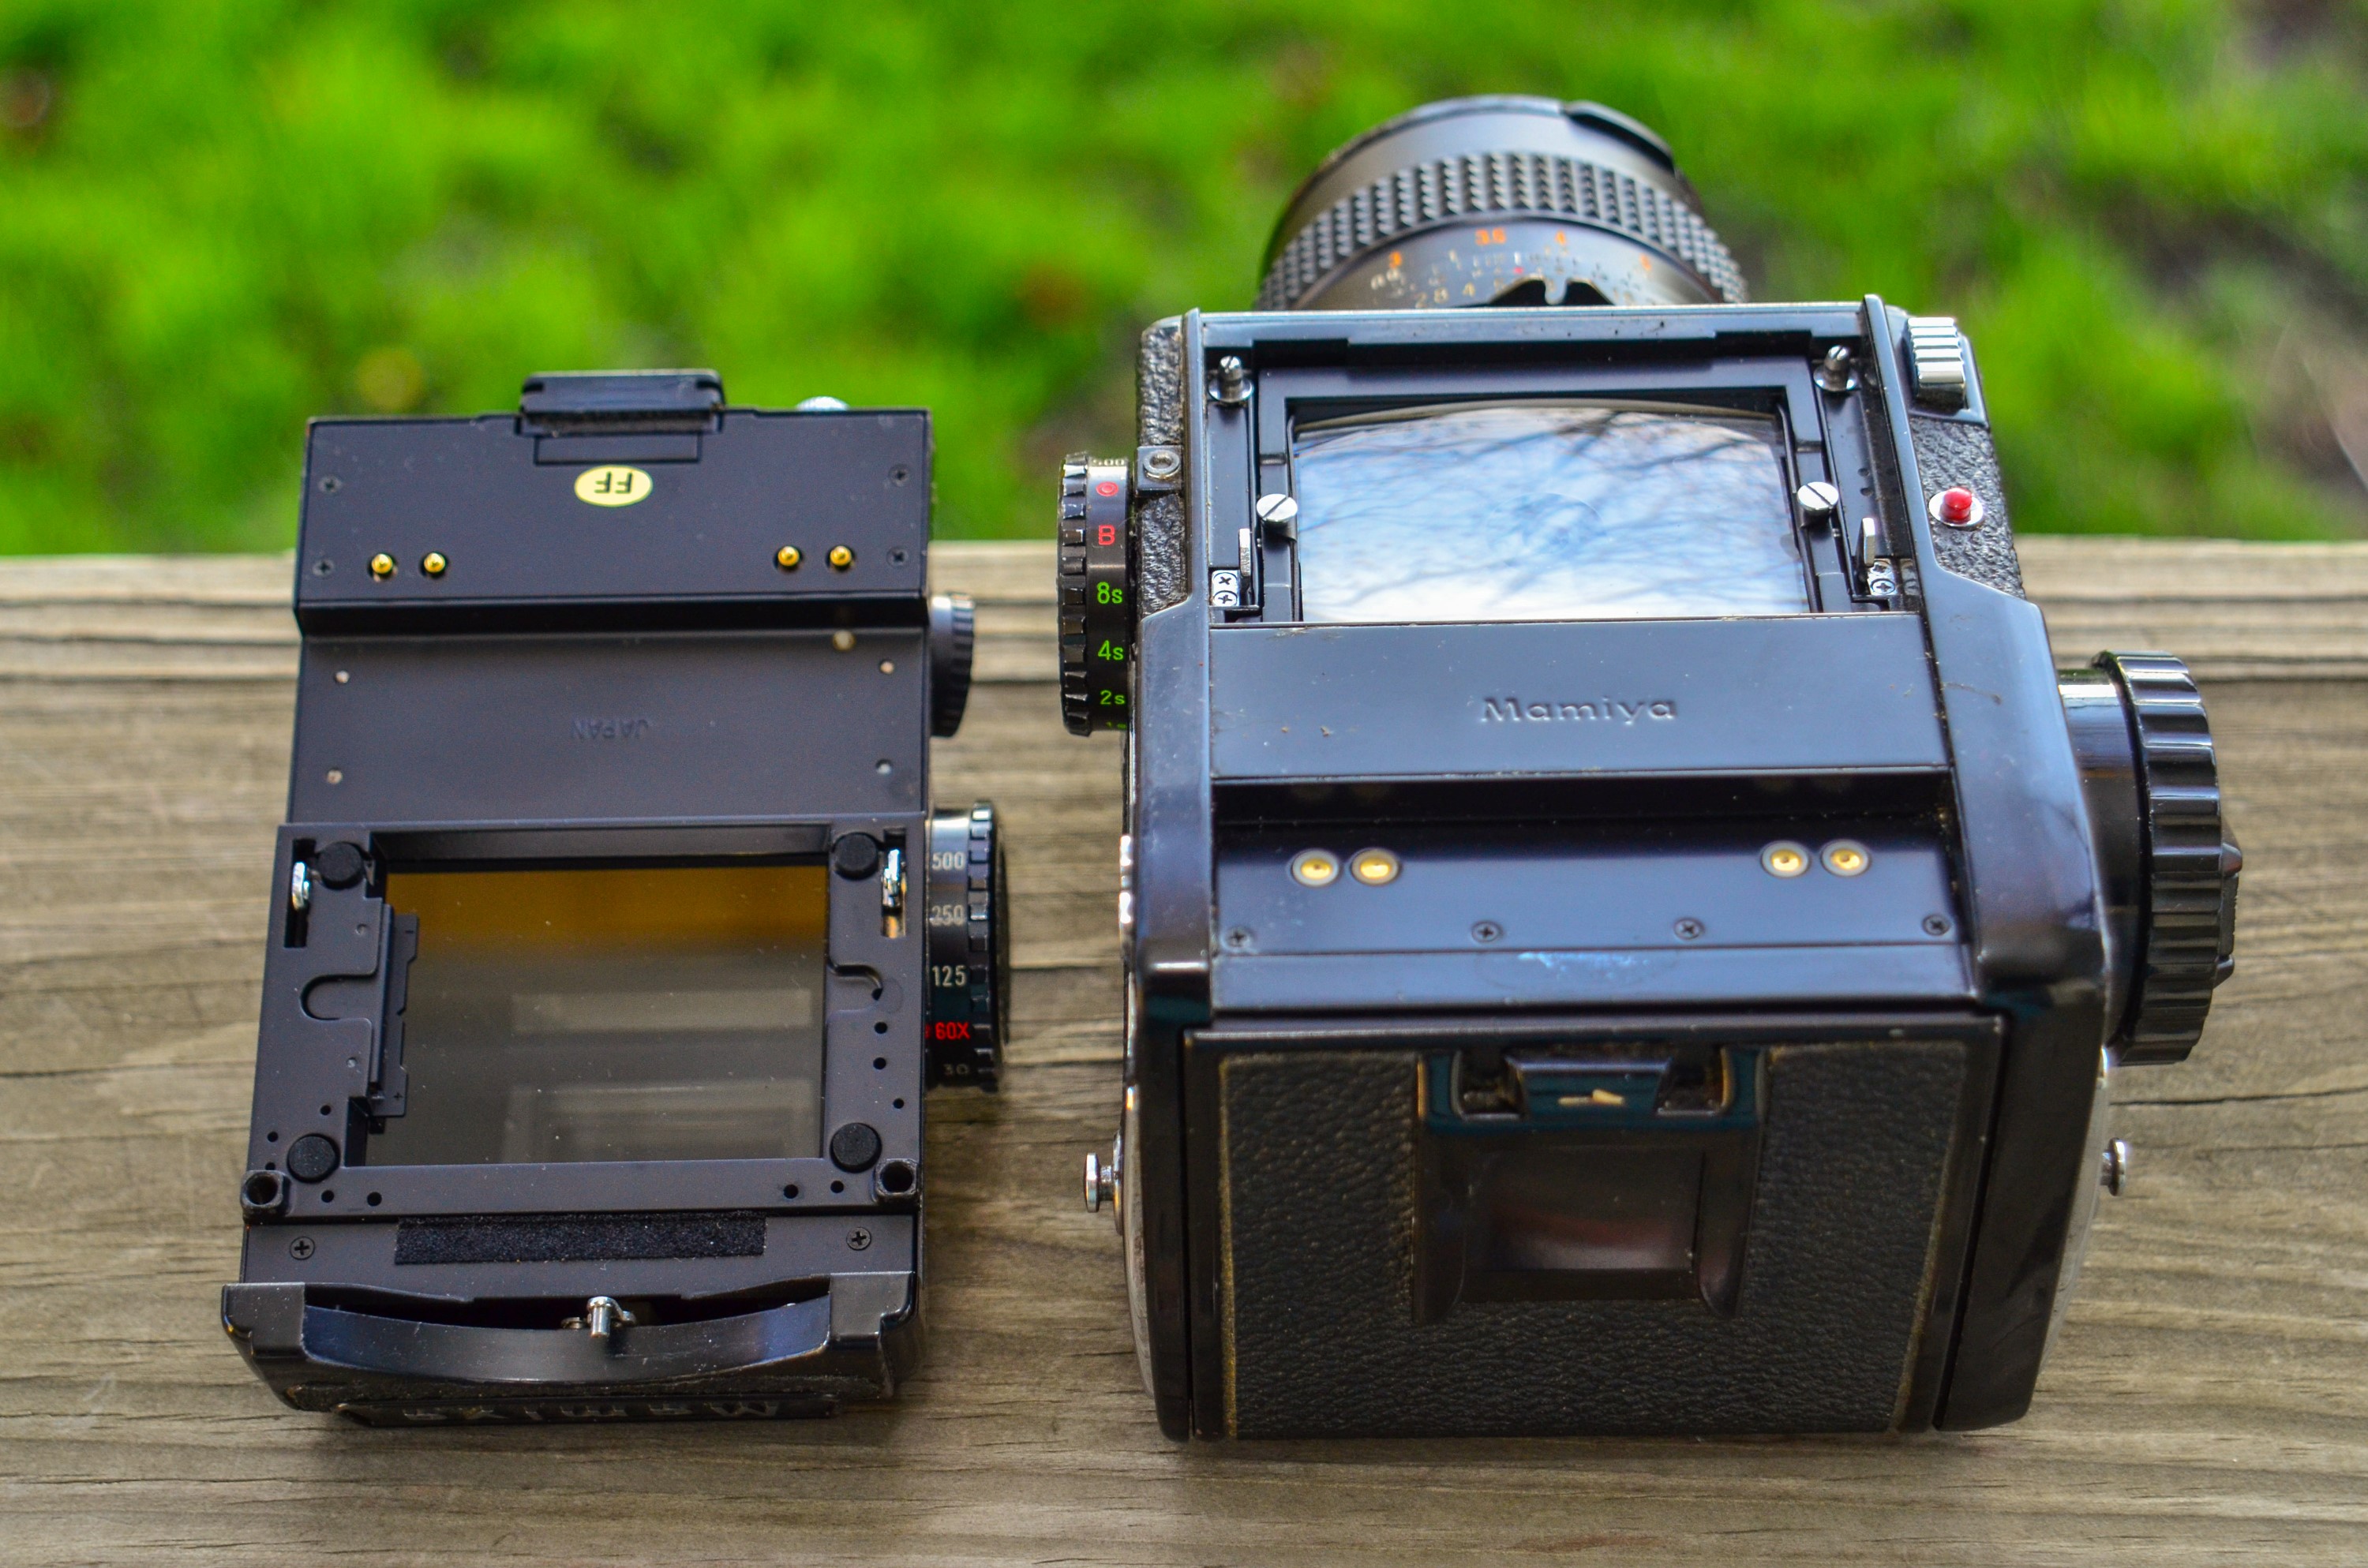
Loading film into the Mamiya M645 is different from most other medium format cameras. The process is even different between the earlier M645s and the later models. The original M645 does not have interchangeable film backs like the later ones do. This means you cannot swap film in the middle of the roll. You must complete a full roll before opening the camera to take it out. Later cameras have the film in a self contained cartridge that can be hot swapped mid roll allowing a photographer to pick and choose between multiple film stocks during a shoot without having to finish one roll first.
Opening the film compartment of the M645 is a two step process. You must slide the black plastic lever above the film reminder square to the right while simultaneously pushing in on the film reminder square. The film reminder square is actually a large button that acts as a door lock. This isn’t obvious to someone unfamiliar with the camera, so don’t try to force the door open without first pushing this button in. Once you have unlocked the door, it should easily pop open.
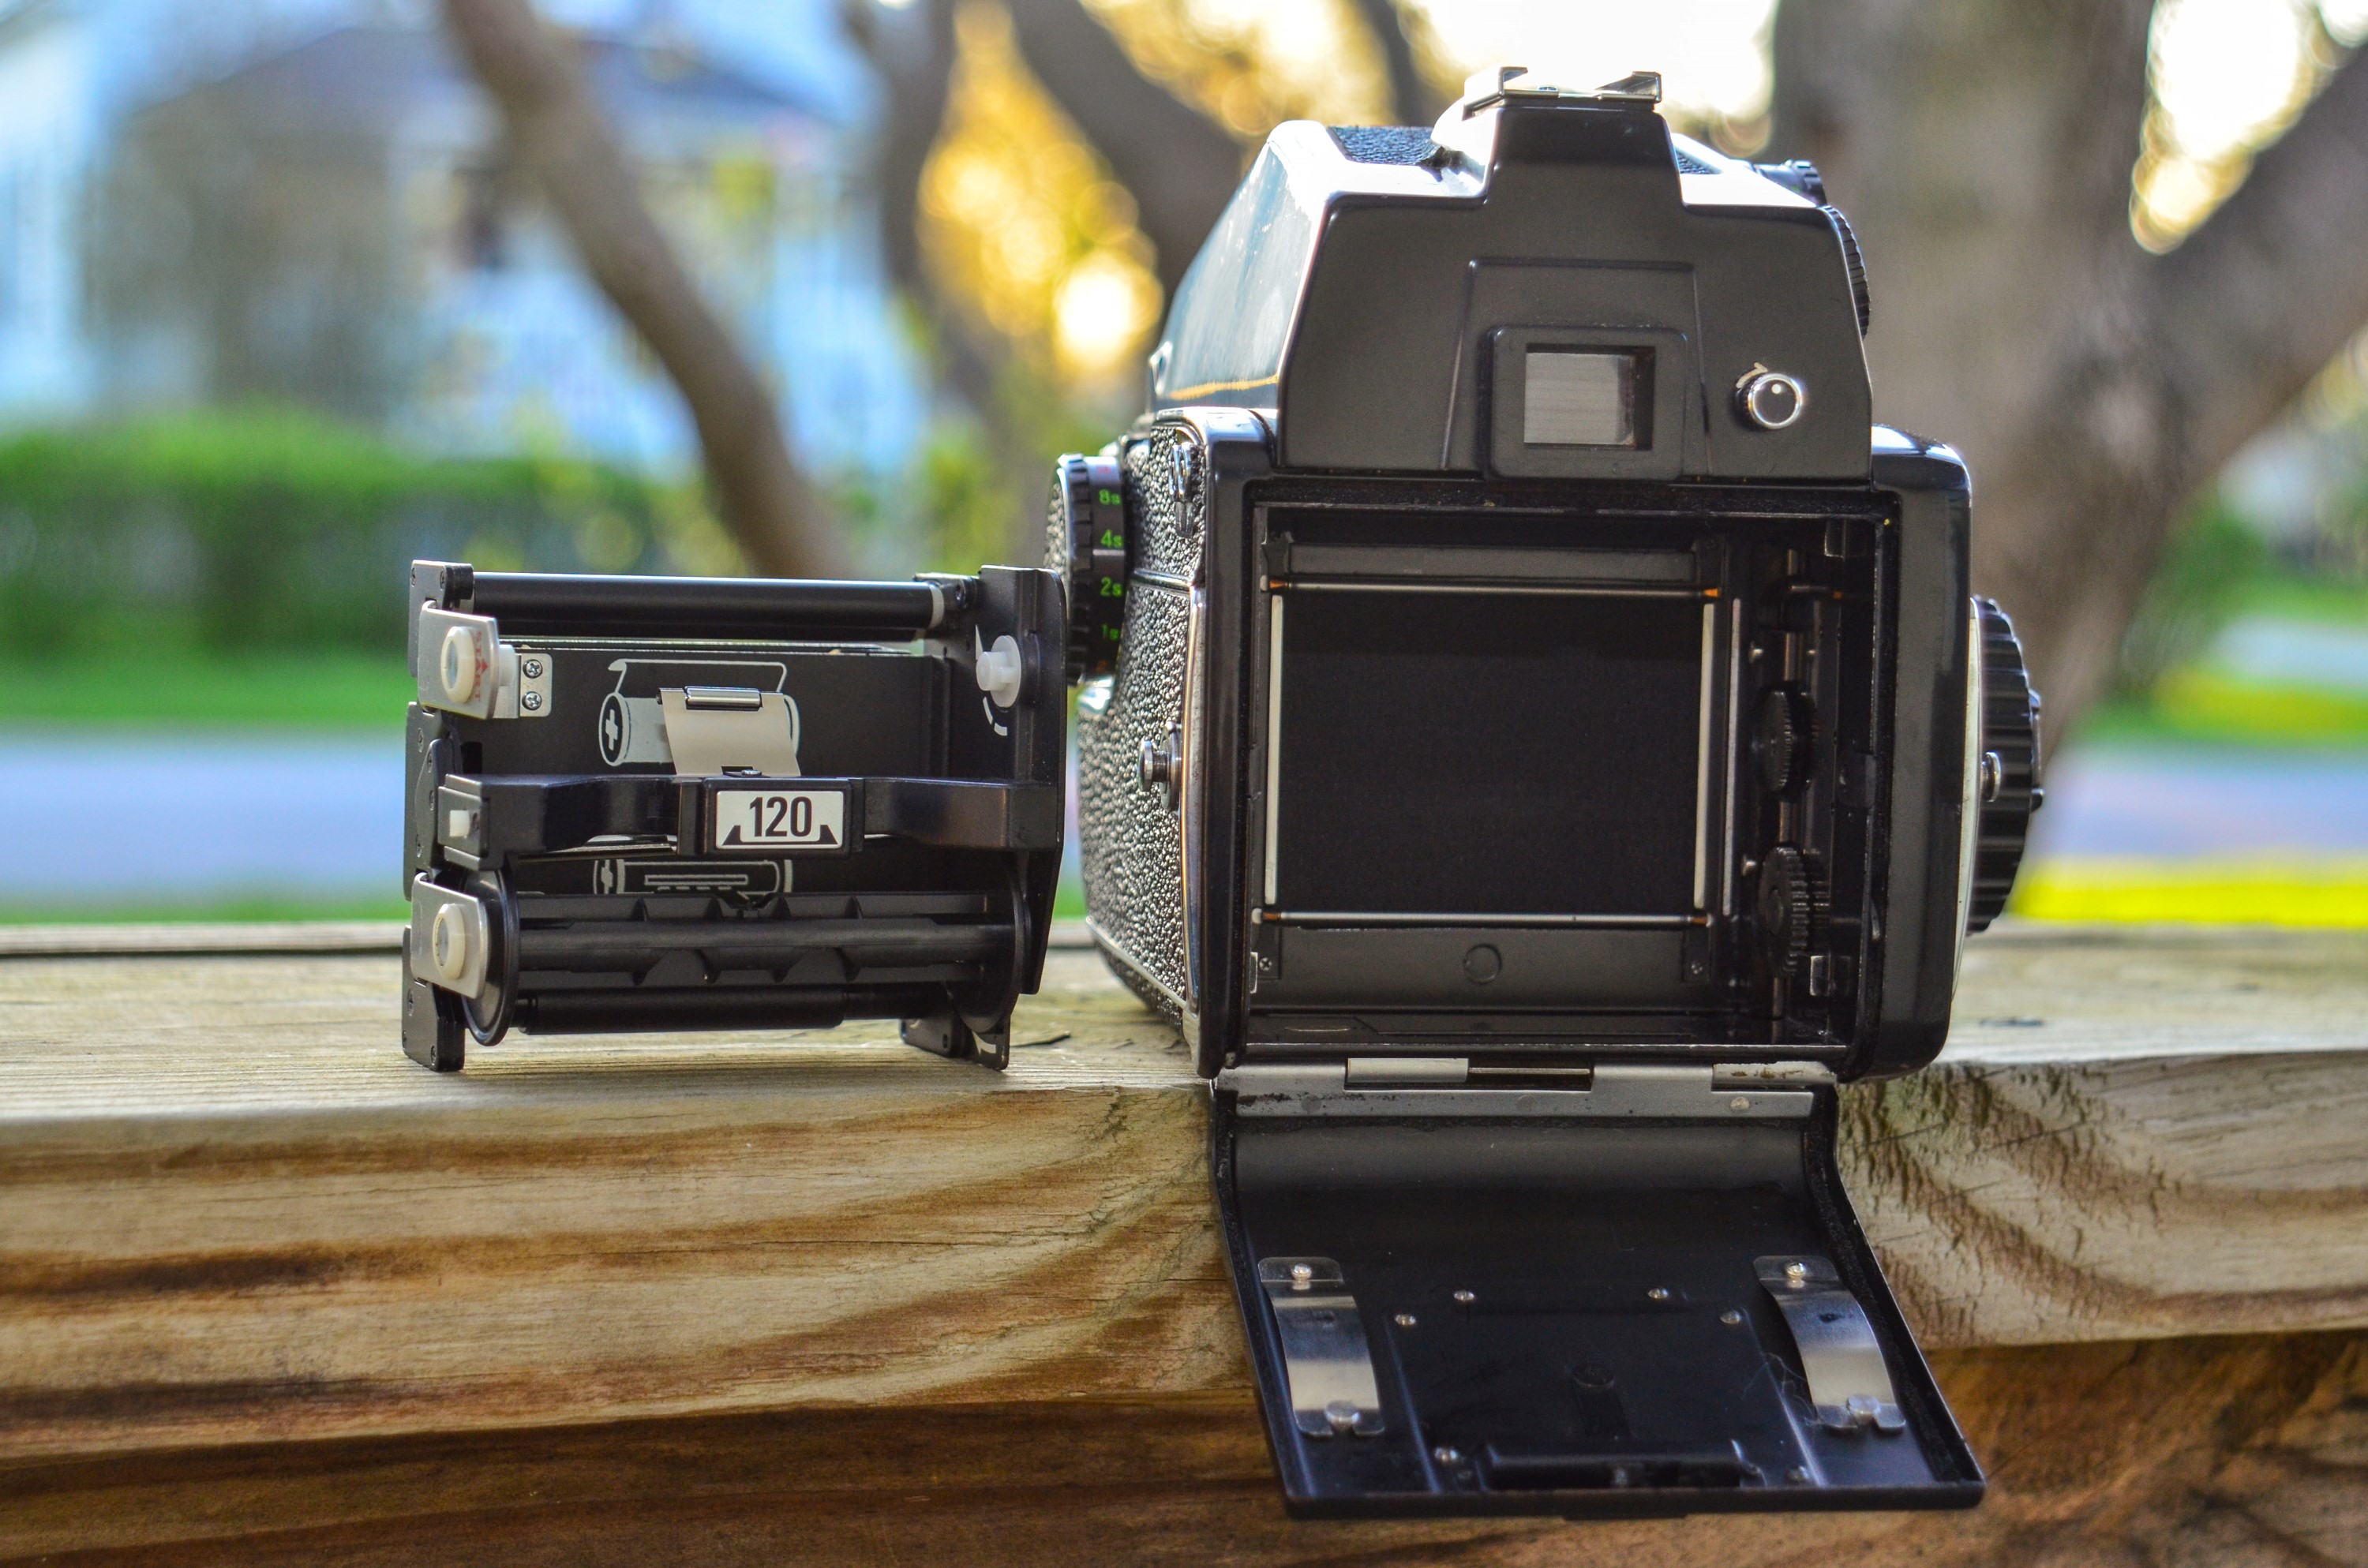
Upon opening the film compartment, you should see a plastic film holder which Mamiya calls the ‘magazine’. The magazine should have a sticker in the center of it indicating whether it is a 120 or 220 film holder. There are some dual 120/220 film holders that have a rotating film pressure plate, but I am not sure if they work in the original M645. My camera only came with a 120 magazine, so I’ll need to acquire a 220 one for my 220 film. Since these magazines are removable, they can be lost if you are careless. If you are considering buying a M645, make sure it has at least one film magazine, otherwise you won’t be able to use the camera.
To remove the magazine, simply grip the rectangular grip with the film speed logo on it, squeeze, and pull it out. Once you have the magazine in your hand, it’s time to load your film. I’d say it’s pretty self explanatory, but rather than use many words to explain a relatively simple process, I found a really great video on Youtube that will show you. This video uses a removable film back from a later Mamiya, so just ignore the first 15 seconds of the video and from that point forward, it is exactly the same with the older model.
If, after watching the video, you still have concerns about loading the film, you should know that the magazine is designed in a way so as not to allow you to roll the film in the incorrect direction. This makes the whole process pretty foolproof. You’d have to try pretty hard to not do it correctly.
After loading the film onto the magazine and making sure the start position on the backing paper lines up with the arrows, insert the entire magazine back into the camera the exact way it came out and close the door. You should hear a convincing click as the door locks.
Next, you’ll need to advance the film to the first frame. The Mamiya M645 does not have a motorized film advance like the later ones do, so you’ll need to manually turn the film advance knob until it locks into position. It will take a good 10 or so turns to get it into position, but assuming the camera is not defective, it should automatically stop at the first frame.
The final step to loading film only applies if you have either the PD or AE finders. You’ll need to set the appropriate film speed so that the meter can give you accurate exposure measurements for your chosen film. If you have the basic or waist level finders, you don’t need to do this.
At this point, you are ready to start shooting. Since the M645 takes 6cm x 4.5cm exposures, you will get 15 exposures per roll of 120 and 30 on a roll of 220. The difference between 120 and 220 film is that 220 film does not have backing paper, so it cannot be loaded into cameras not designed for it. This dual format compatibility of the M645 is one of the many reasons it was popular for so long with professional photographers.
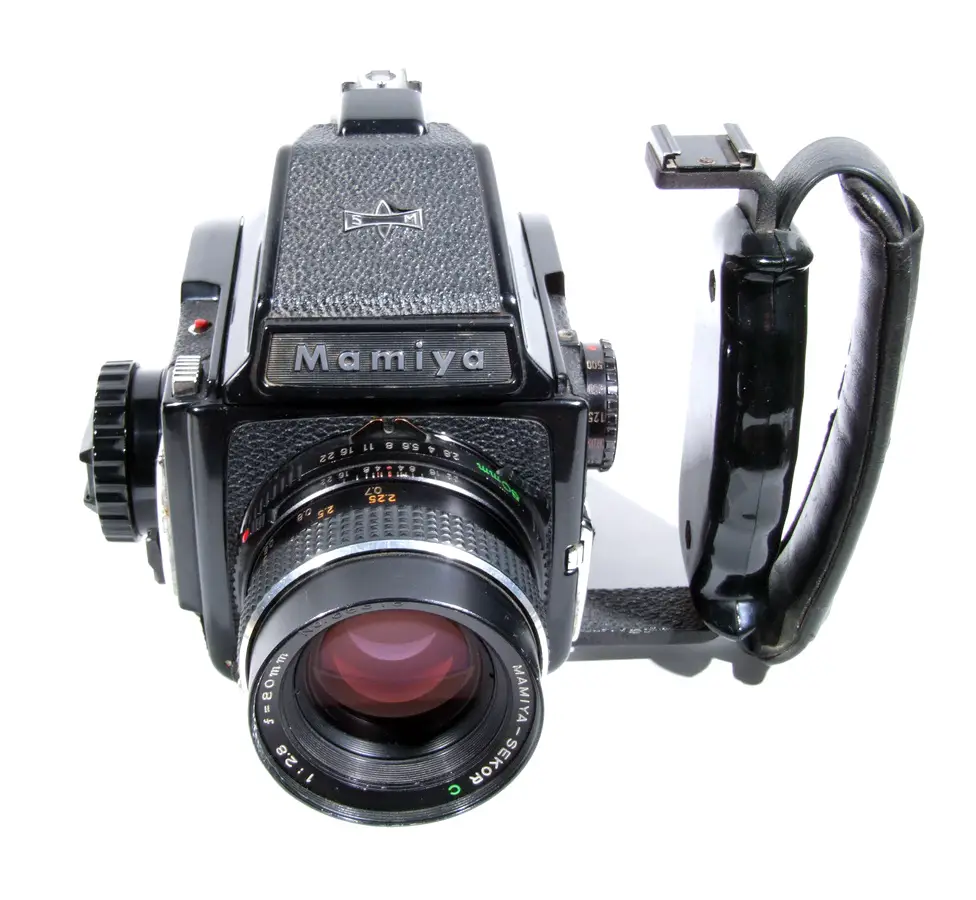
When shooting with the Mamiya M645, the very first thing that most everyone notices is it’s weight. The earlier models have a mostly metal body which is heavy. With the 80/2.8 lens attached and the PD finder, the camera comes in at just under 3.8 lbs which might not seem like a lot, until you try to carry this thing around with you for an extended period of time. In addition to it’s weight, by itself the camera is not very easy to hold as there are no hand grips or anything to get a firm grasp on the camera when not in use. A popular accessory is a handle bar bracket that attaches to the bottom tripod mount and gives a large molded grip next to the camera. Having one of these increases the size of the camera, but makes it quite a bit more comfortable to hold. As I do not have one of these grips, I had to exercise extreme caution while carrying mine around. Later M645s switched to an all plastic body to keep weight down.
I found that while shooting, this camera was a bit awkward to use. There just isn’t a natural way to hold a large cube to your face for eye level shots. While it is convenient to have two different shutter releases, I found that there wasn’t a way to hold this camera where your hands naturally rest where the controls need to be. I am sure that with time and more experience, it’s something you’d get used to, but coming from mostly rangefinders and 35mm SLRs, the position of the controls takes some getting used to. This camera might actually feel more natural with the waist level finder which would make it more like a TLR, but I did not have a waist level finder to use.
The viewfinder is large and bright and seeing the 7 segment LED scale is easy. The LED scale is green in the center position, and red above and below to indicate how many stops of over or under exposure you are at. While I can only assume that “up” means overexposure, and “down” means under, there are no + or – signs to indicate whether you are over or under.
Finally, I really disliked the position of the meter switch. Unlike many SLRs with match needle exposure meters, the meter is not activated with a half press of the shutter release. Instead, you press a small white button on the right of the prism. This activates the meter for about 15 seconds which should be enough time to compose and shoot your image. While I appreciate that the meter doesn’t stay on for a long time, 15 seconds seems to be a bit too short. If you are making quite a few shots with the camera, you have to repeatedly press this button because firing the shutter does not renew the 15 second countdown. Every 15 seconds you have to turn the meter back on whether you took a picture or not. It wouldn’t be so bad if this button was in a more natural position, but it’s location near the top of the side of the finder, in front of the shutter speed selector is awkward to locate, especially with the camera to your eye. I found that I had to keep pulling the camera away from my face to find the button. Like I said earlier, I am sure with practice, I would get used to it, but for a first time user it’s not natural at all.
I can definitely see where the Mamiya M645 is an excellent studio camera where it remains mounted to a tripod, and it’s very possible this was it’s designed intention. It can be used as a walk around camera, and I imagine that many professional medium and large format cameras are just as large and heavy, but the weight and size is a compromise you should be aware of if this is your first semi-pro camera. If you want to take a trip to the zoo with your family and capture large negatives, there are better options.
My Results
This past spring, I was the high bidder on a lot of two expired 5-packs of Kodak Portra 800 120 film. I got the two boxes for a really great price and was eager to shoot the film. I had great success with Portra 160 and wanted to see what the higher speed film could do, especially indoors. Shortly after getting the film, my niece celebrated her first birthday, so seeing an opportunity to shoot the fast film indoors, I loaded in a roll and took it with me to my sister’s house.


The Portra 800 had expired around 2002, so using the rule of 1 stop overexposure per decade, I loaded the film into the camera and set the ASA speed dial to 400 instead of 800 and shot with it. A lesson that I, and probably everyone who shoots with old cameras, needs to learn is patience. Part of being patient is not getting ahead of yourself and introducing too many variables at once when using a camera. In this case, I didn’t do a good job of being patient because I quickly shot the roll indoors on a camera I wasn’t familiar with, on a film that I had never used before. Over half of the roll came out extremely underexposed to the point where even liberal adjustments in Photoshop could not salvage the picture.
I felt like when I was using the camera, I stayed true to what the meter was telling me, so perhaps the film aged more severely than 1 stop. Maybe instead of acting like a 400 speed film, it was more like a 200 or even 100 film. Does 800 speed film age faster than slower film? Was the film I got stored in a very hot environment prematurely aging it? I do not know the answers to these questions. I don’t even know that the meter was accurate on the Mamiya M645, so it is possible that this is just a case of an old meter not returning accurate measurements.
I’ll need more experience with this camera and this film to know for sure. Perhaps I’ll have better luck outdoors. I think for my next roll, I’ll ignore the meter and either use Sunny 16 or an auxiliary meter.
Of the 4 shots I did get that came out nice, I was pleasantly surprised with the smoothness of the pictures. I’ve seen 800 speed film before that was extremely grainy, and while there is some grain, it is definitely pleasing. When adjusted in Photoshop, I was able to resolve some really nice shadow detail, and of course that Mamiya lens is very sharp. I can tell this camera is certainly capable of much better shots, but it’s going to require a bit more patience and effort on my part to get them the next time I take this camera out.
Overall, I still enjoyed using the M645 for it’s first roll and am glad I bought it. I really think that in better circumstances I will get better shots out of it. I don’t believe that anything is mechanically wrong with the camera, and even if the meter is just a tad under, I feel as though with different film, I should be able to compensate for it.
My Final WordHow these ratings work |
The Mamiya M645 is an interesting beast of a camera. It is very heavy and awkward to carry around with you for an extended amount of time. The ergonomics are unlike other cameras I’ve used and it will take you some time to get used to where everything is. During my first roll, I found I had to repeatedly keep checking the positioning of my fingers before taking a shot. Although many of my shots came out underexposed, I think there were too many unknowns to really blame it on the camera. The build quality of the M645 is excellent, as it should be as this was a professional level camera. The Mamiya Sekor 80/2.8 lens is as sharp as they come and the only reason I would ever change it would be to get a different focal length. This is not a camera you would take with your family on a trip to a zoo, but in a more controlled shooting environment should give you truly spectacular results. I don’t love or hate this camera. The size and controls are it’s biggest cons, but on the up side, the quality of this camera is top notch and for that, I feel it is a camera everyone should try at least once in their lives. | ||||||
| Images | Handling | Features | Viewfinder | Feel & Beauty | History | Age | |
| 2 | 0 | 1 | 2 | 1 | 1 | 0% | |
| Bonus | none | ||||||
| Final Score | 7.0 | ||||||
Additional Resources
http://camerapedia.wikia.com/wiki/Mamiya_M645
http://camera-wiki.org/wiki/Mamiya_M645
http://www.collection-appareils.fr/x/html/page_standard.php?id_appareil=11292
http://acameradiary.blogspot.com/2011/04/product-review-mamiya-645-medium-format.html
The cost of buying, processing 120 film, scanning + prints one factored in is pretty inhibiting; unlike b4 the advent of DSLR. Twin lens is a pretty good substitute and just as fun.But I stick to fishing anytime.