

Disclosure: I was contacted by the manufacturer of this meter and was asked if I would be willing to give it a review in exchange for a free sample. While I did not pay for this product, I did not approach this review any different than if I had paid for it with my own money. What I have written below is entirely my opinion and was not influenced by Chi or any of its agents.
Over the past few years, the photographic industry has fallen over itself to remind us that “film is back”, that a resurgence of analog photography is imminently arriving. Supporting this message has been a constant barrage of crowdfunded analog cameras on Kickstarter and other crowdfunding platforms. Even major companies like Pentax and Kodak have released new analog cameras in the past few years, most of them which have been positively received by the analog community. While there has been an undeniable resurgence in interest, whether this means that film is back, still remains to be seen.
While there hasn’t quite been an onslaught of analog photographers ditching their Leica rangefinders or Nikon SLRs for these brand new cameras, one area in the ‘analog space’ which seems to be thriving is shoe mounted exposure meters. Within the last several years, a large number of new exposure meters have debuted from companies like DOOMO, TTArtisan, KEKS, AstrHori, and others. Prior to 10 years ago, if you wanted to add an accurate meter to your classic camera, your options were limited to something like the Voigtländer VC Meter II or some other vintage meter.
 Back in December 2021, I bought my first of these meters, a DOOMO Meter S and gave it a thorough review. I was impressed with its accuracy, ease of use, and that it looked nice on many of my classic cameras. Although clearly a new design, it didn’t look entirely out of place on my vintage cameras. In the years since, I’ve accumulated several other meters by AstrHori, TTArtisan, and one of the older Voigtländer meters.
For the most part, each of these meters are very accurate and all work the same way. They slide into the accessory shoe on top of the camera, all but the Voigtländer (and its copies) use some type of OLED LCD screen, they’re almost all USB powered (older models use button cell batteries), and they all have various shutter or aperture priority exposure modes, offering varying degrees of customization. While a few variances have been made, such as offering a spot metering mode, and some with instant/memory readings, there really hasn’t been much change in this segment in the past couple of years.
An Exposure Meter with a Laser Rangefinder
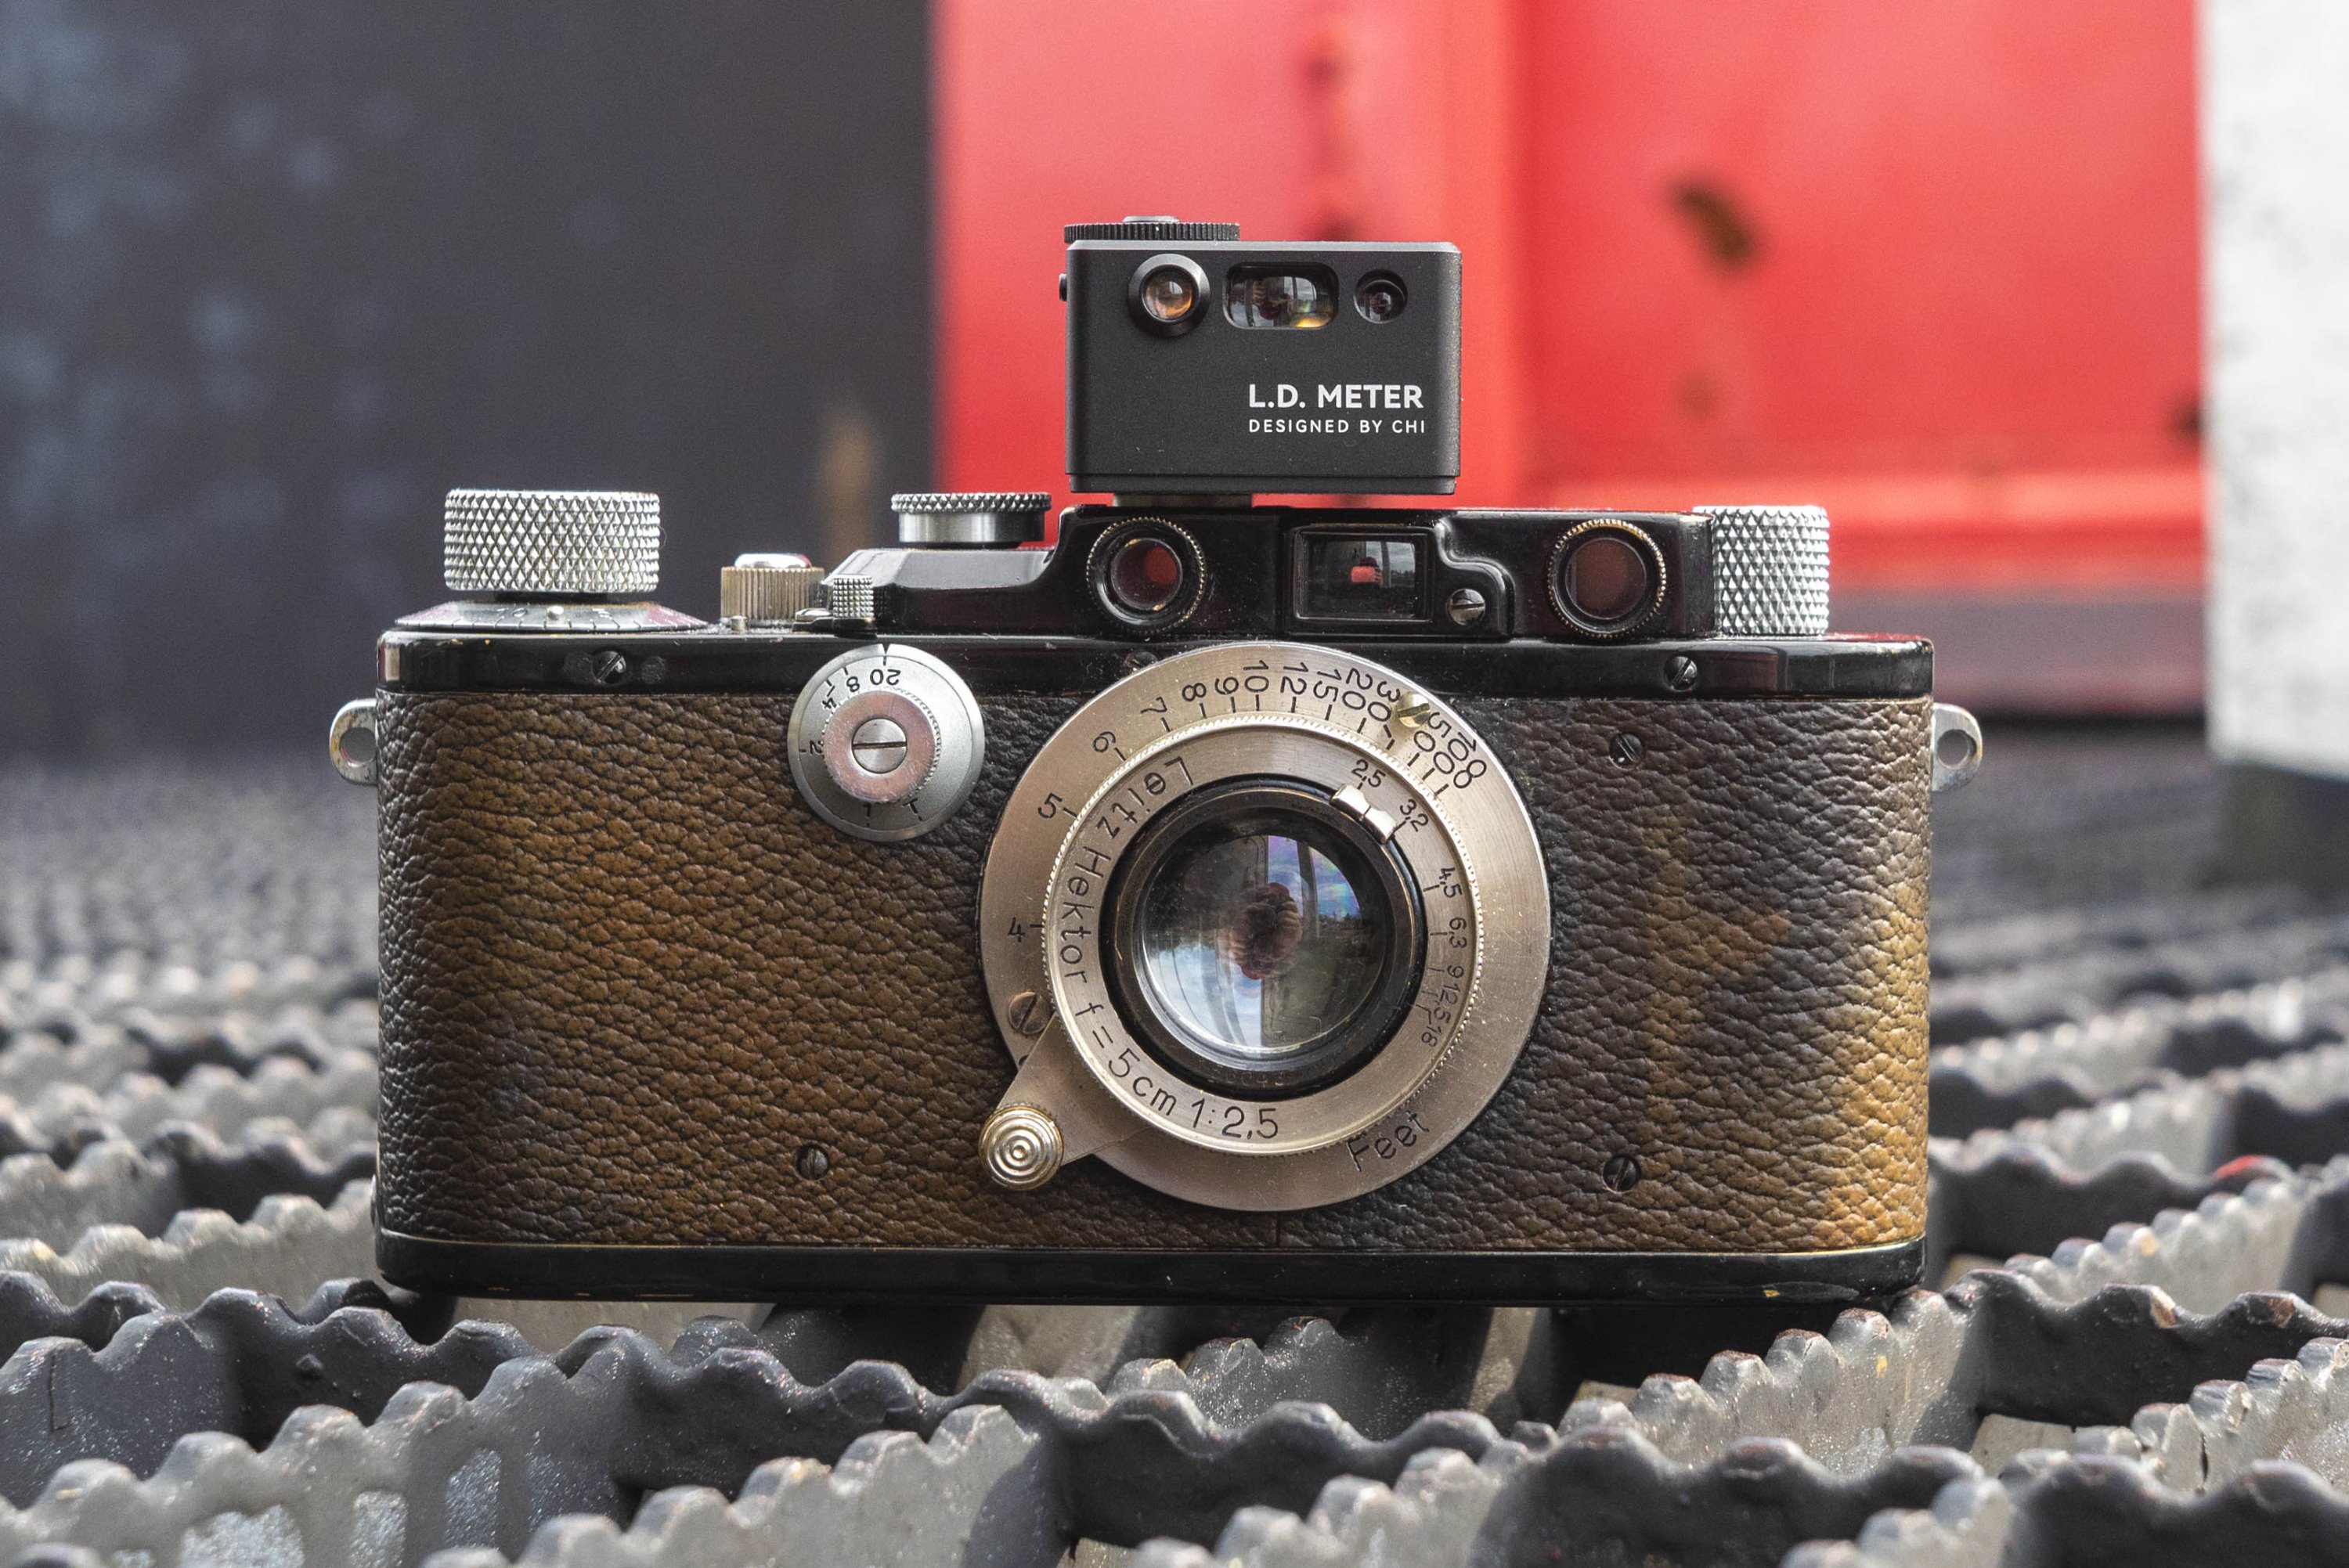
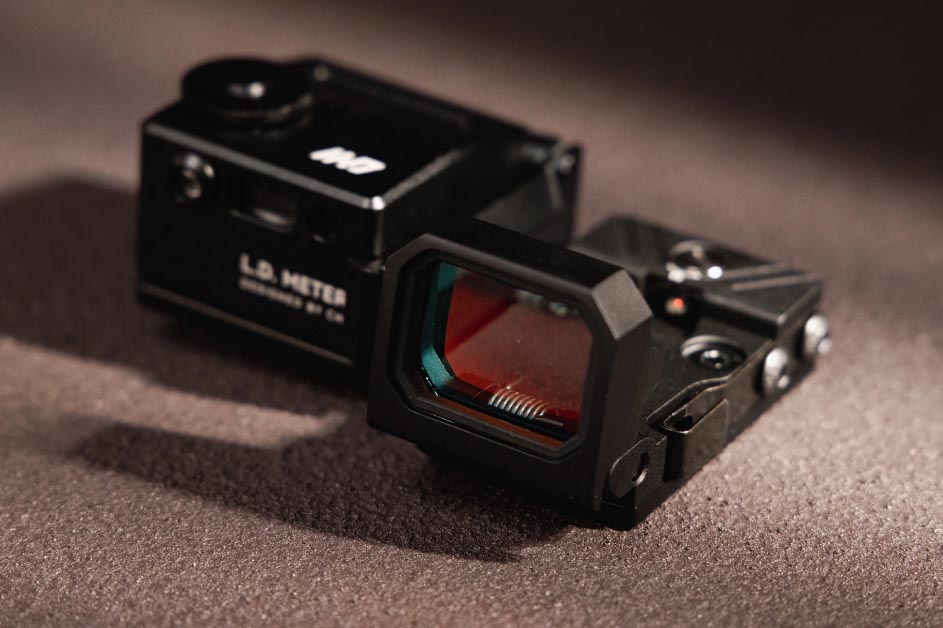
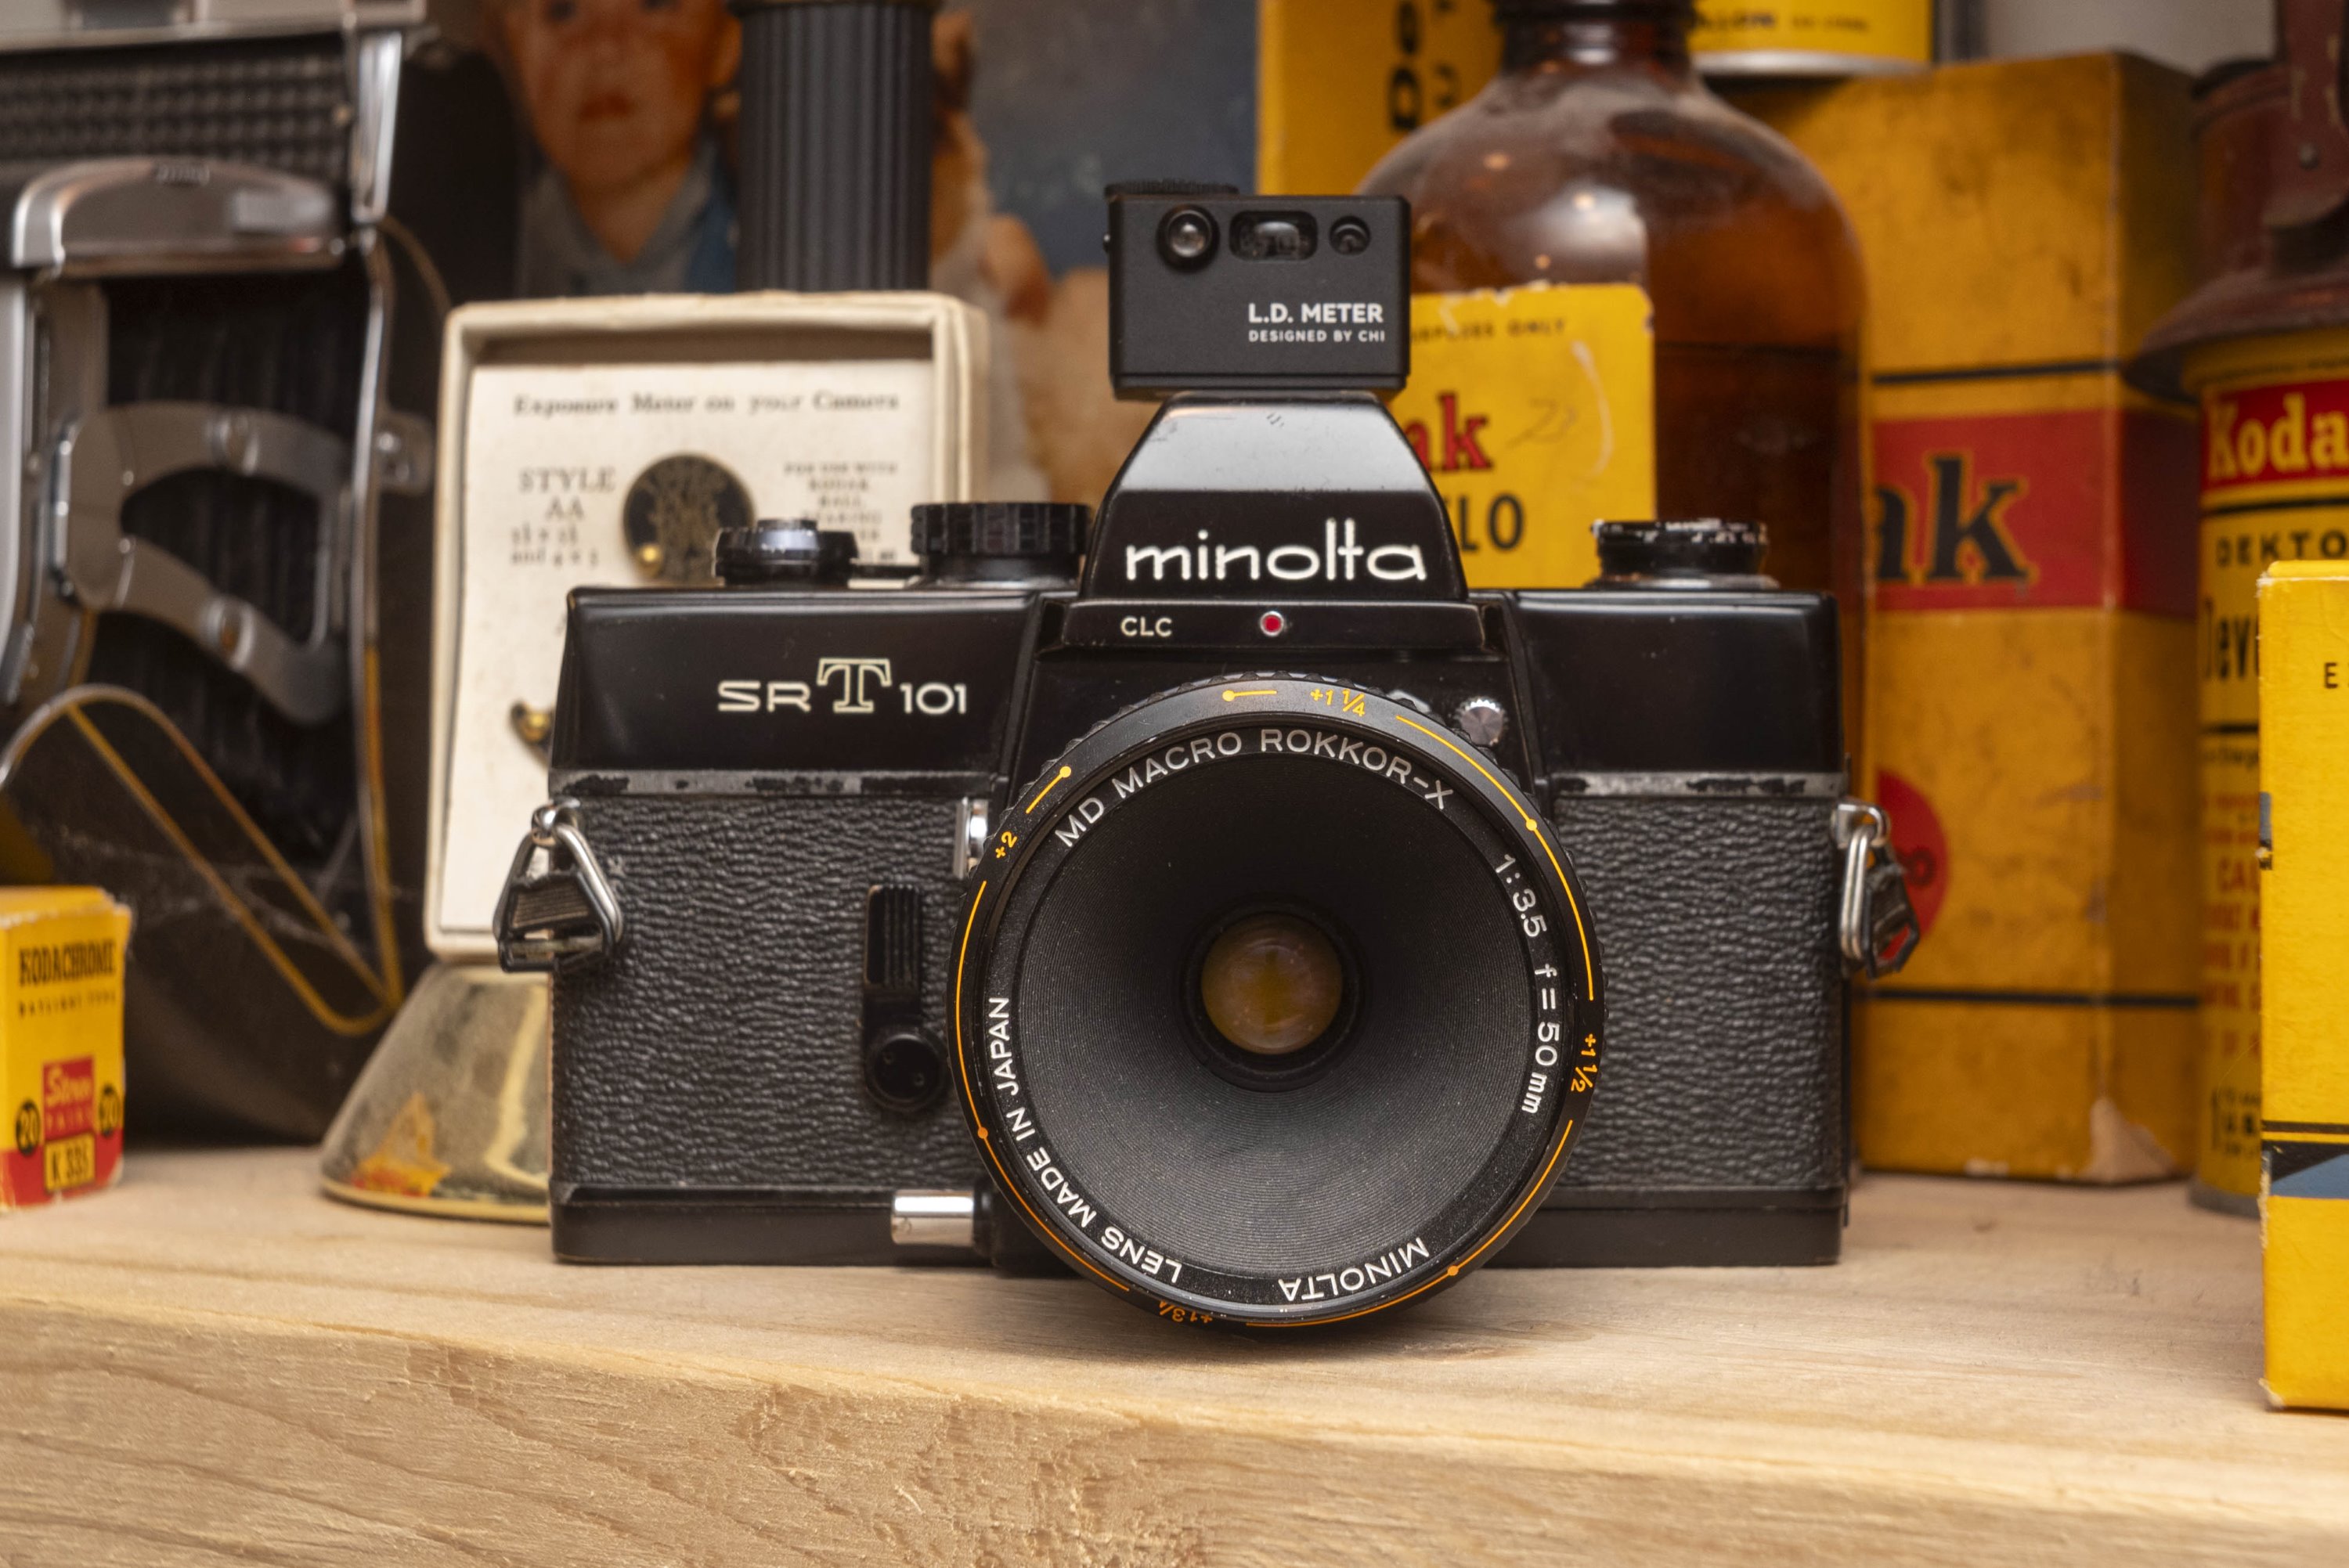
That was until a Chinese company called Chino Techs, or Chi for short, released something called the L.D. Meter. The letters “L.D.” stand for “lighting and distance” but more accurately refer to its most interesting feature, the inclusion of a Class 1, P1mW type red laser rangefinder which can detect distances from 0.1 meters to 50 meters (3.93 inches to 164 feet). A combined shoe mounted exposure meter with a laser rangefinder? Sign me up!

A quick look at the L.D. Meter’s specs, the range of ISO speeds, shutter speeds, and aperture values is impressive, offering a great deal of flexibility in 1/3 stop increments. The 0.96″ screen is more than large enough to display all of the meter’s settings, and the option for both continuous and single light measurement is convenient. Perhaps the most notable feature is the 370 mAh rechargeable battery, which for this style of meter is huge. Comparing the Chi L.D. Meter to three of its competitors, it is larger than the 80 mAh battery in the AstrHori XH-2, 120 mAh in the DOOMO Meter S, and 220mAh in the KEKS KM02. Where this comes in very handy is in how long it can remain in your camera bag before requiring a recharge. Chi claims that the L.D. Meter has a standby time of 90 days which although I have not been able to confirm, is entirely believable to me.

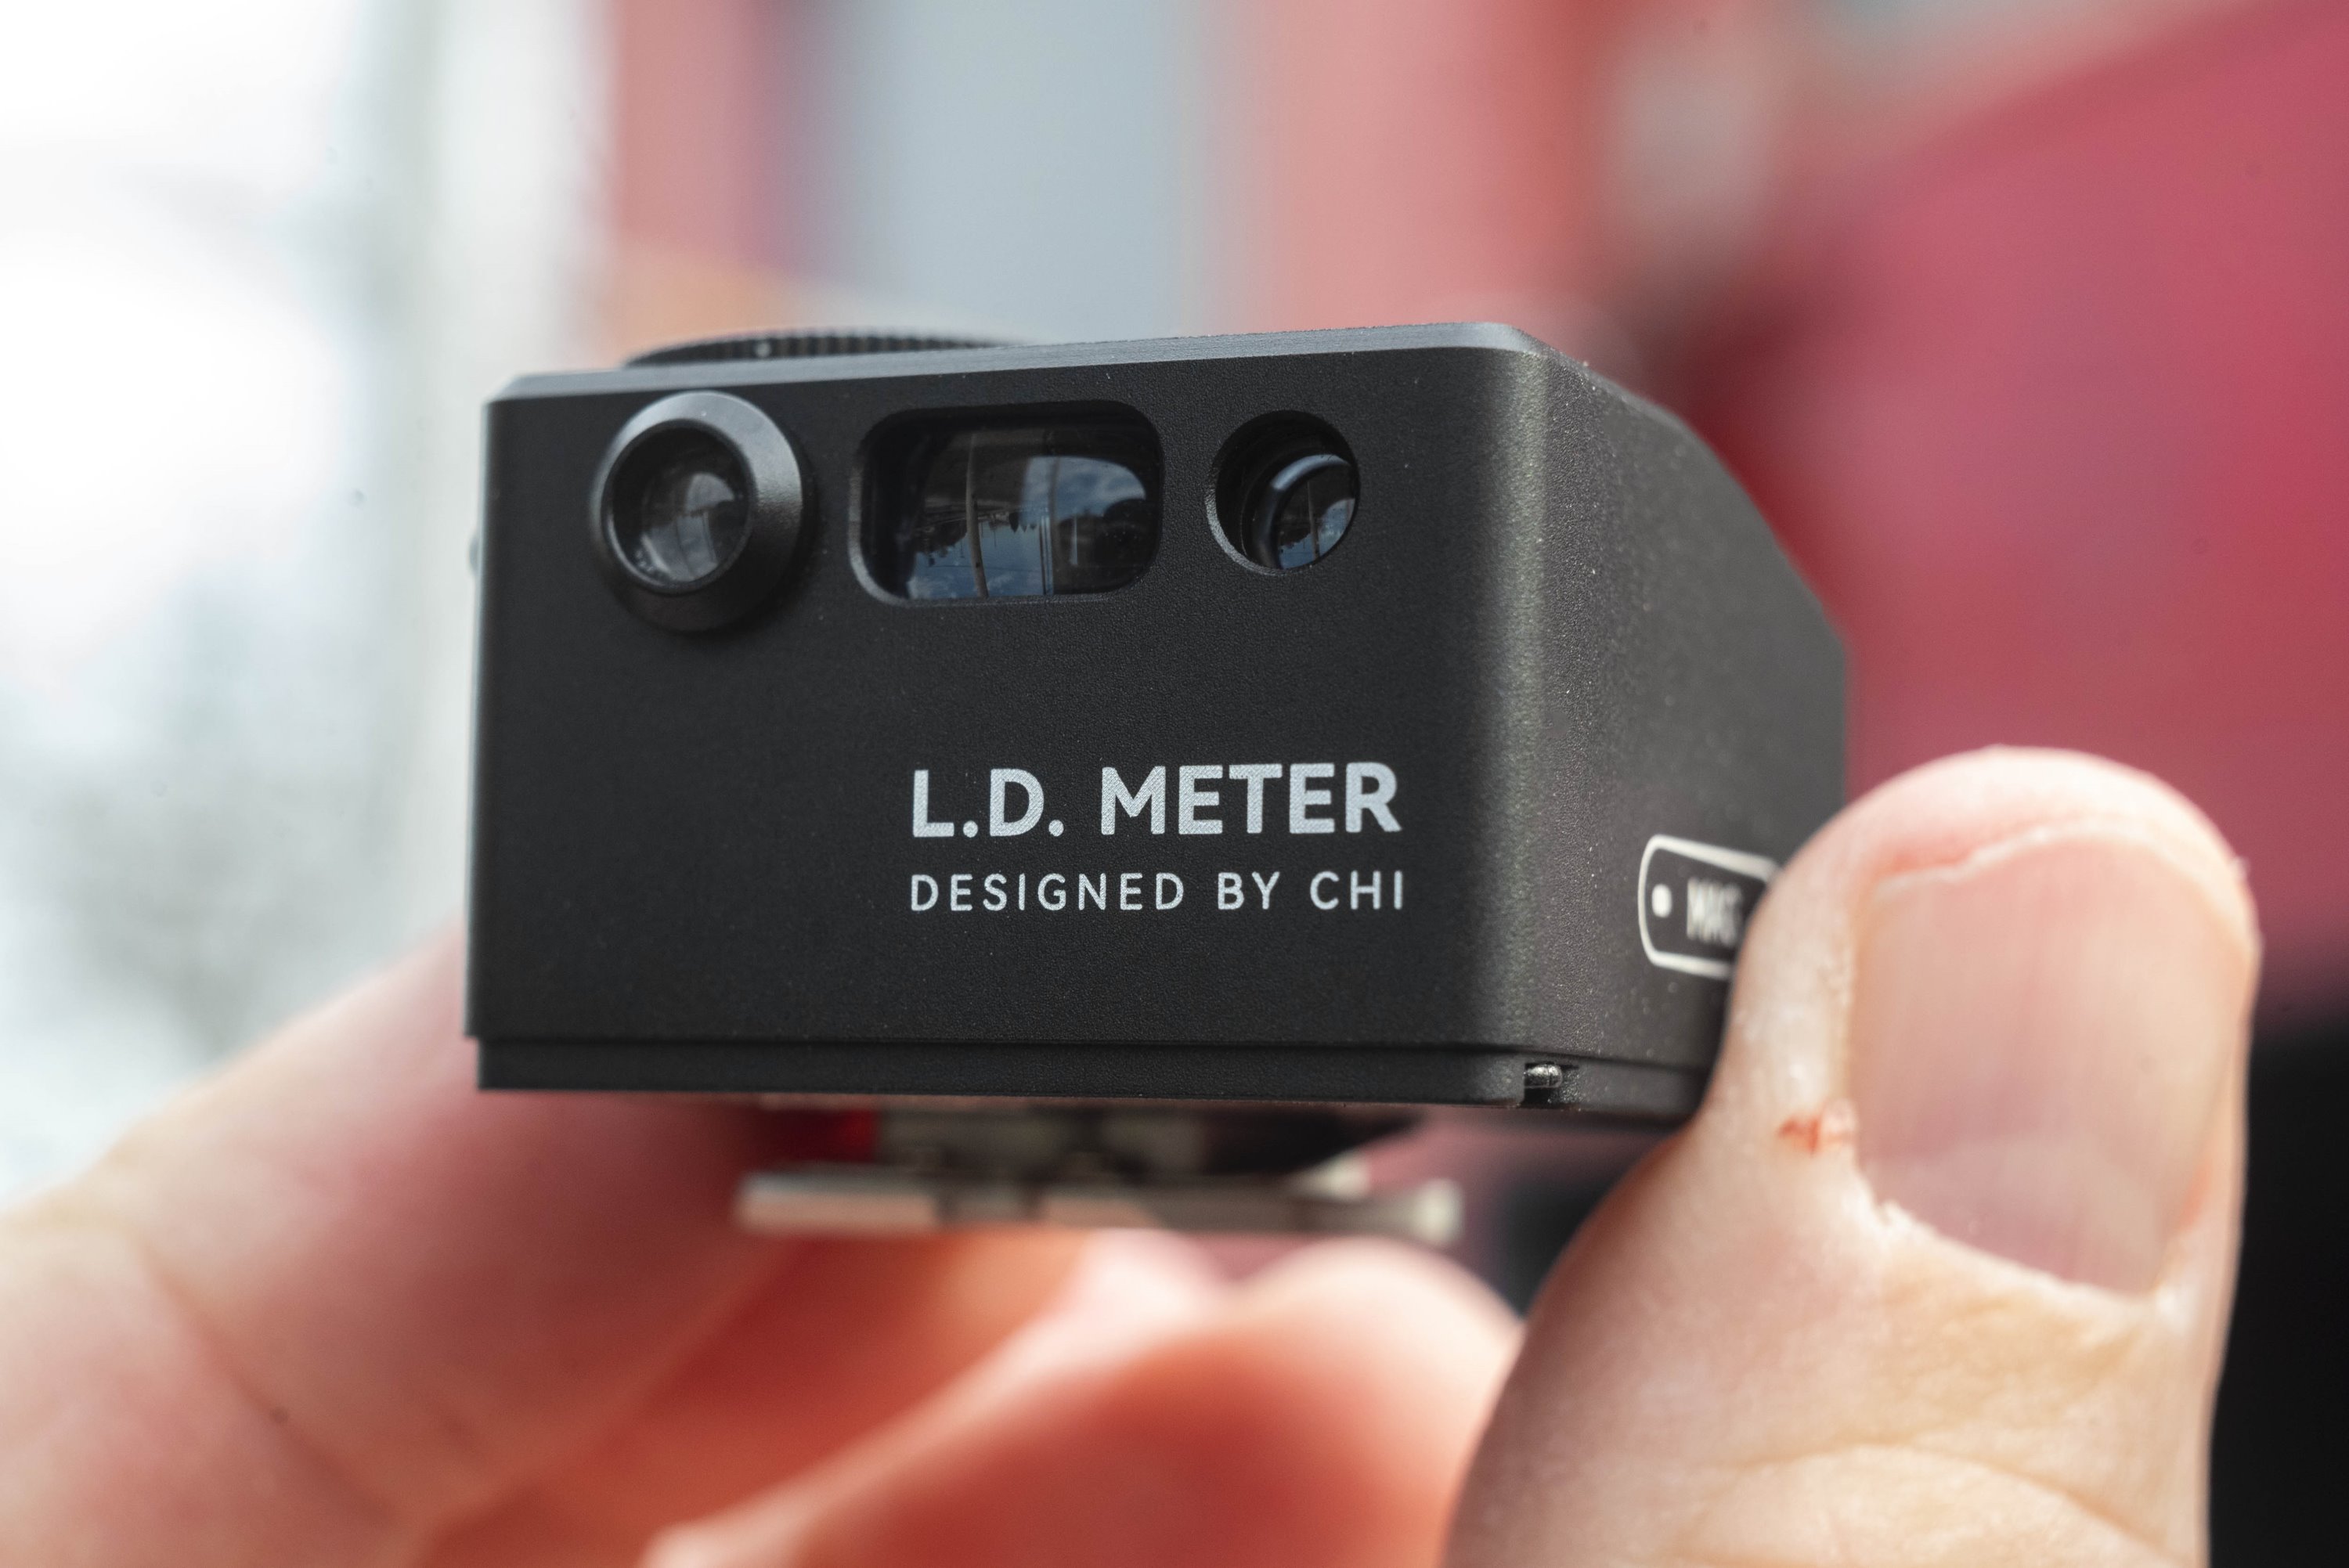
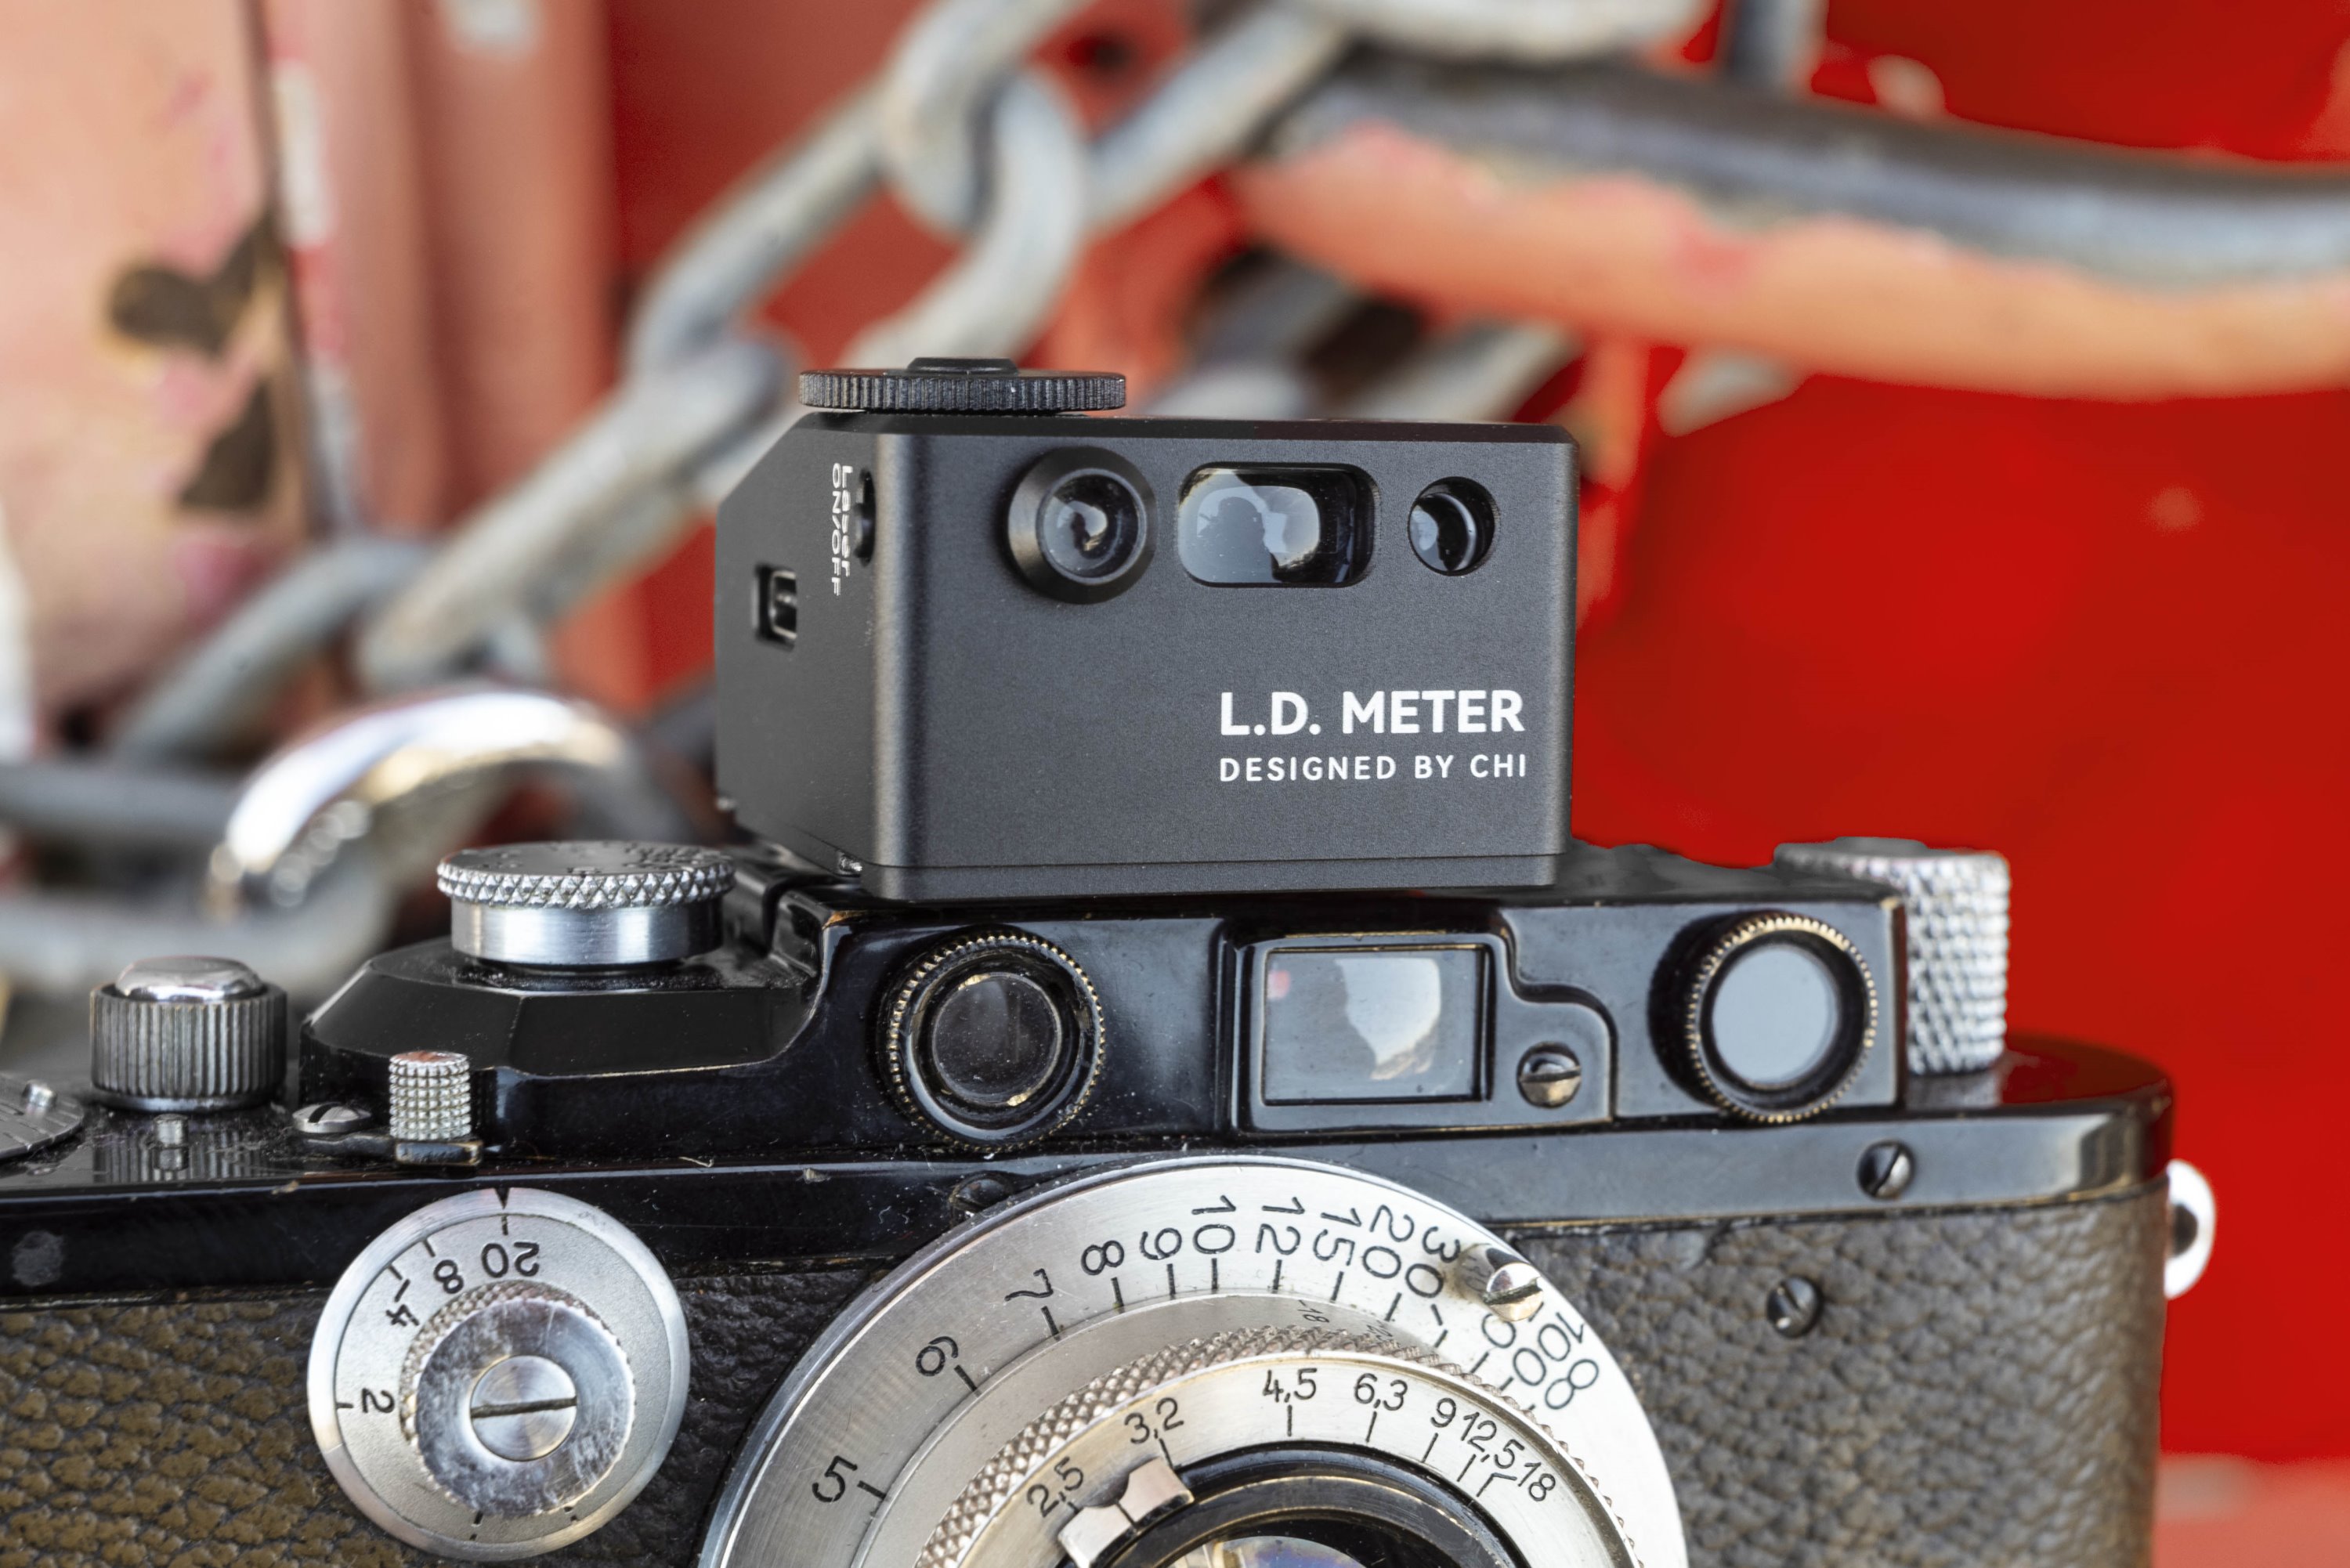
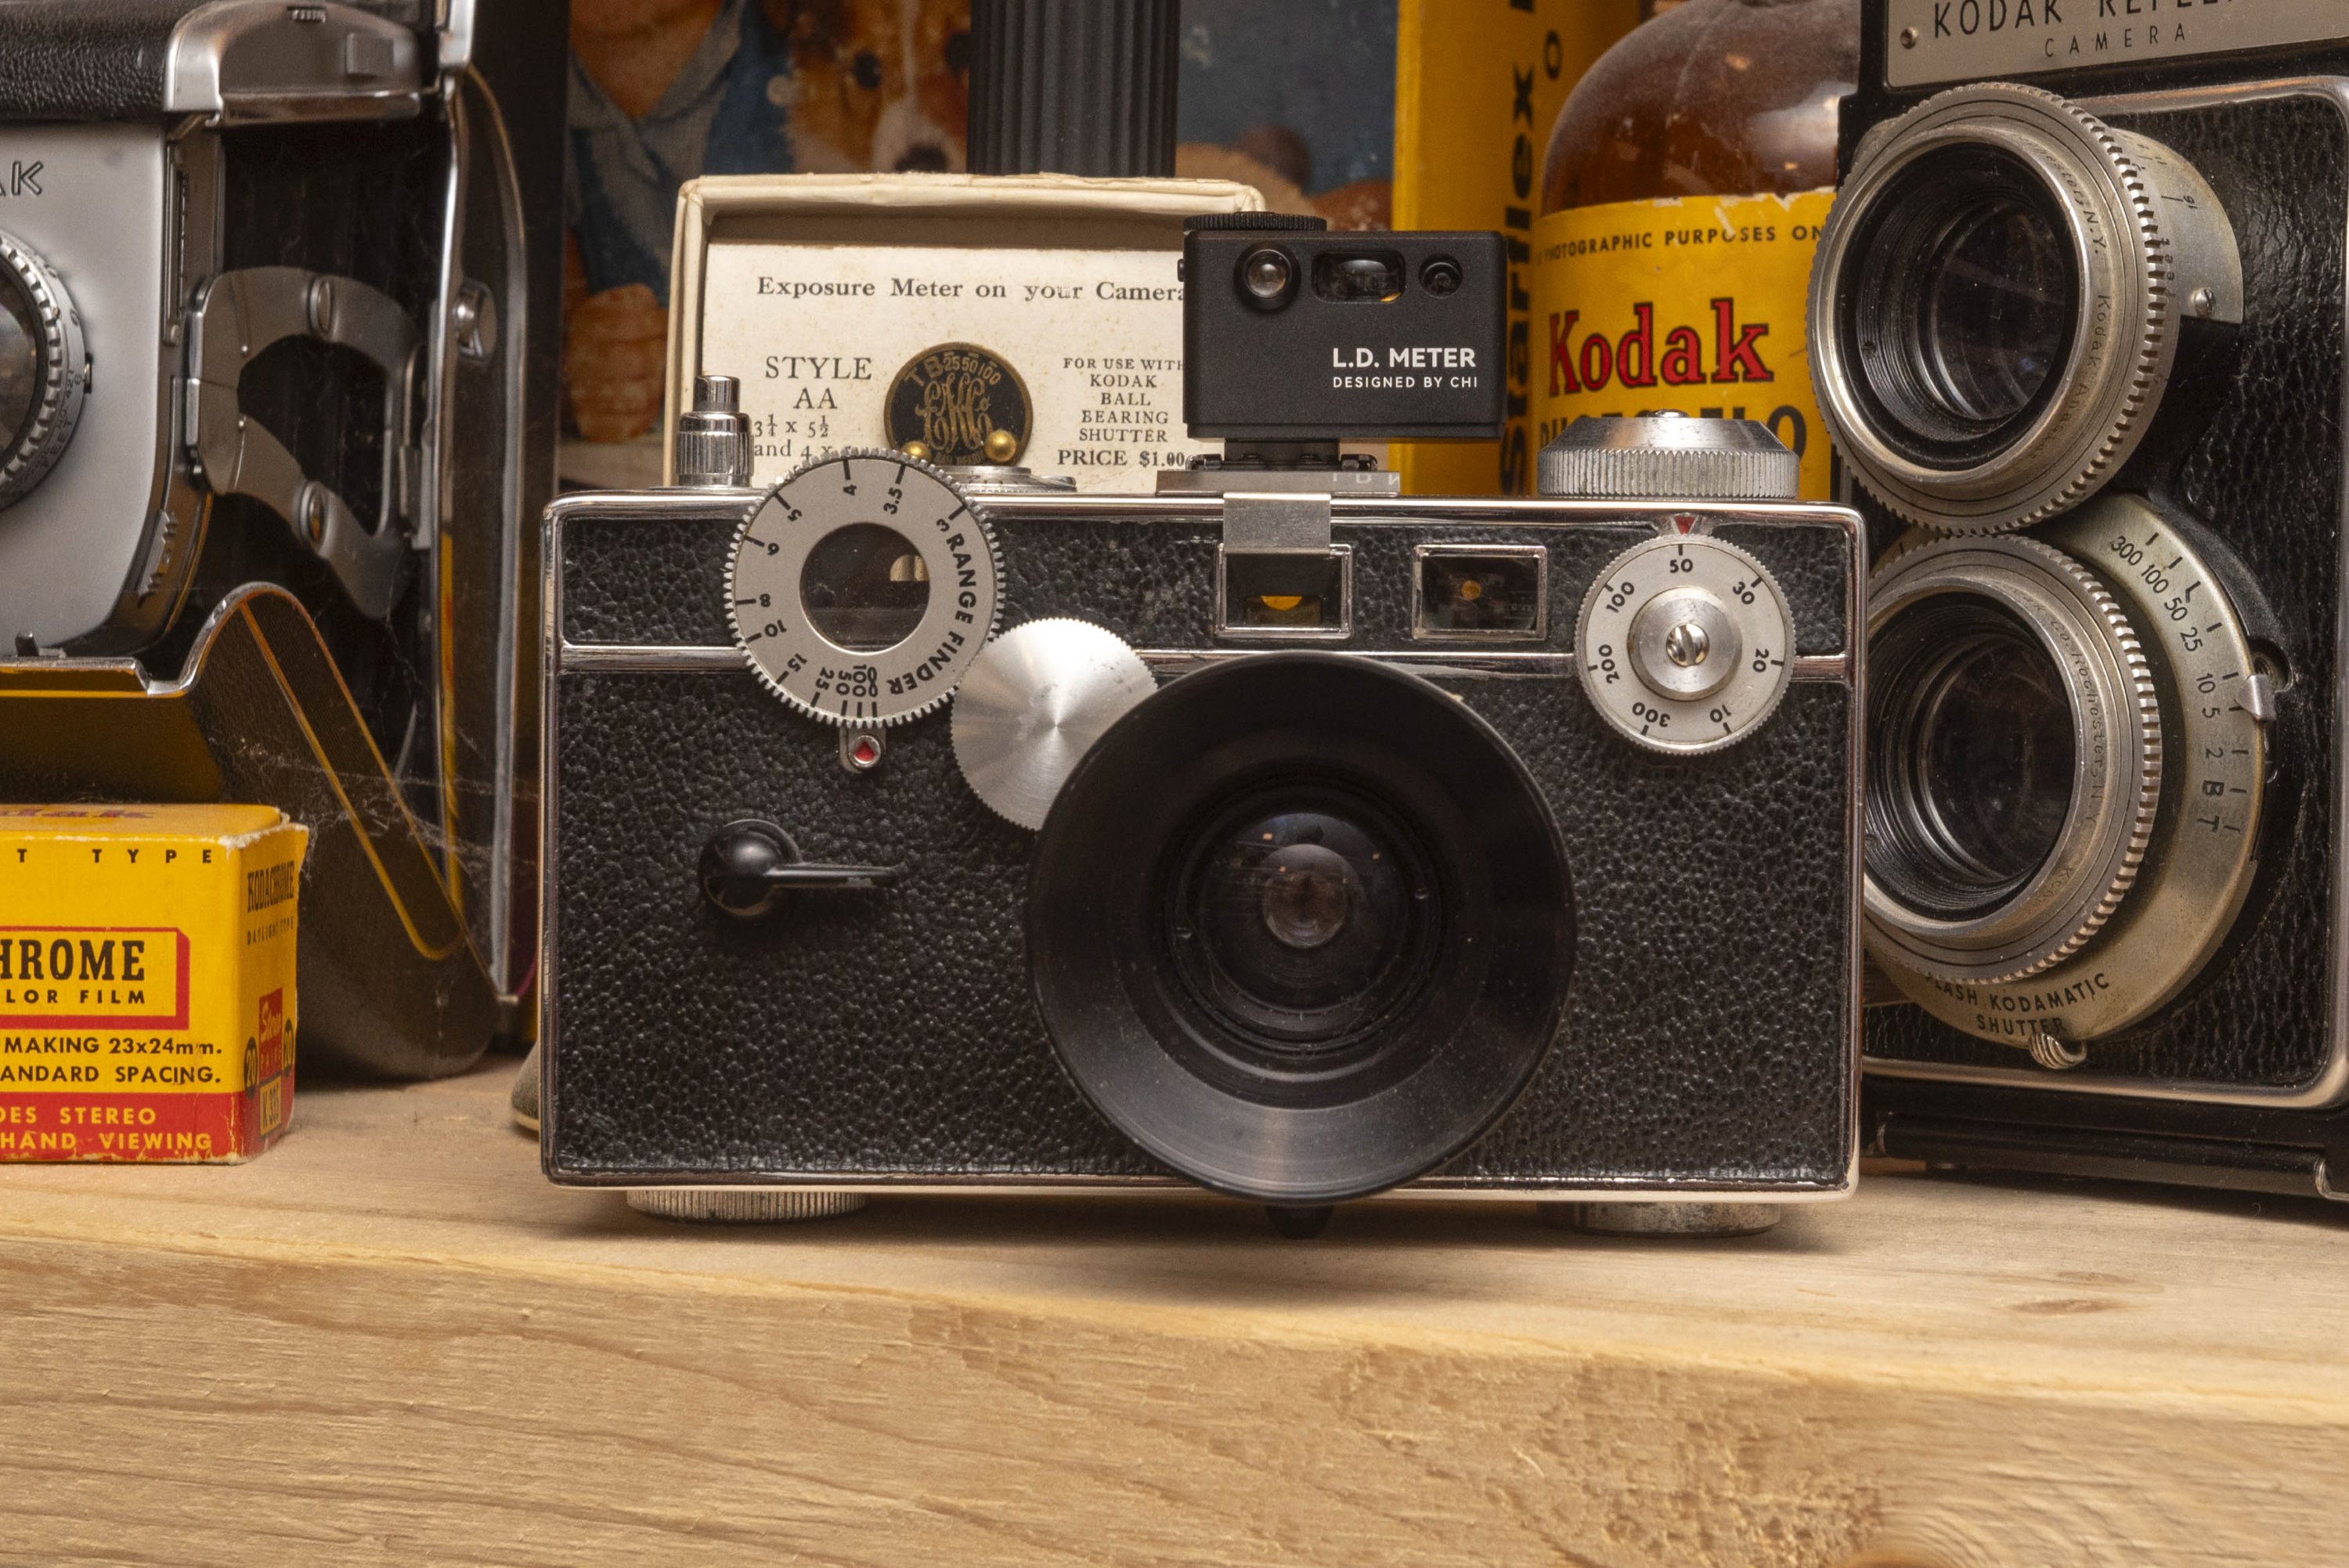
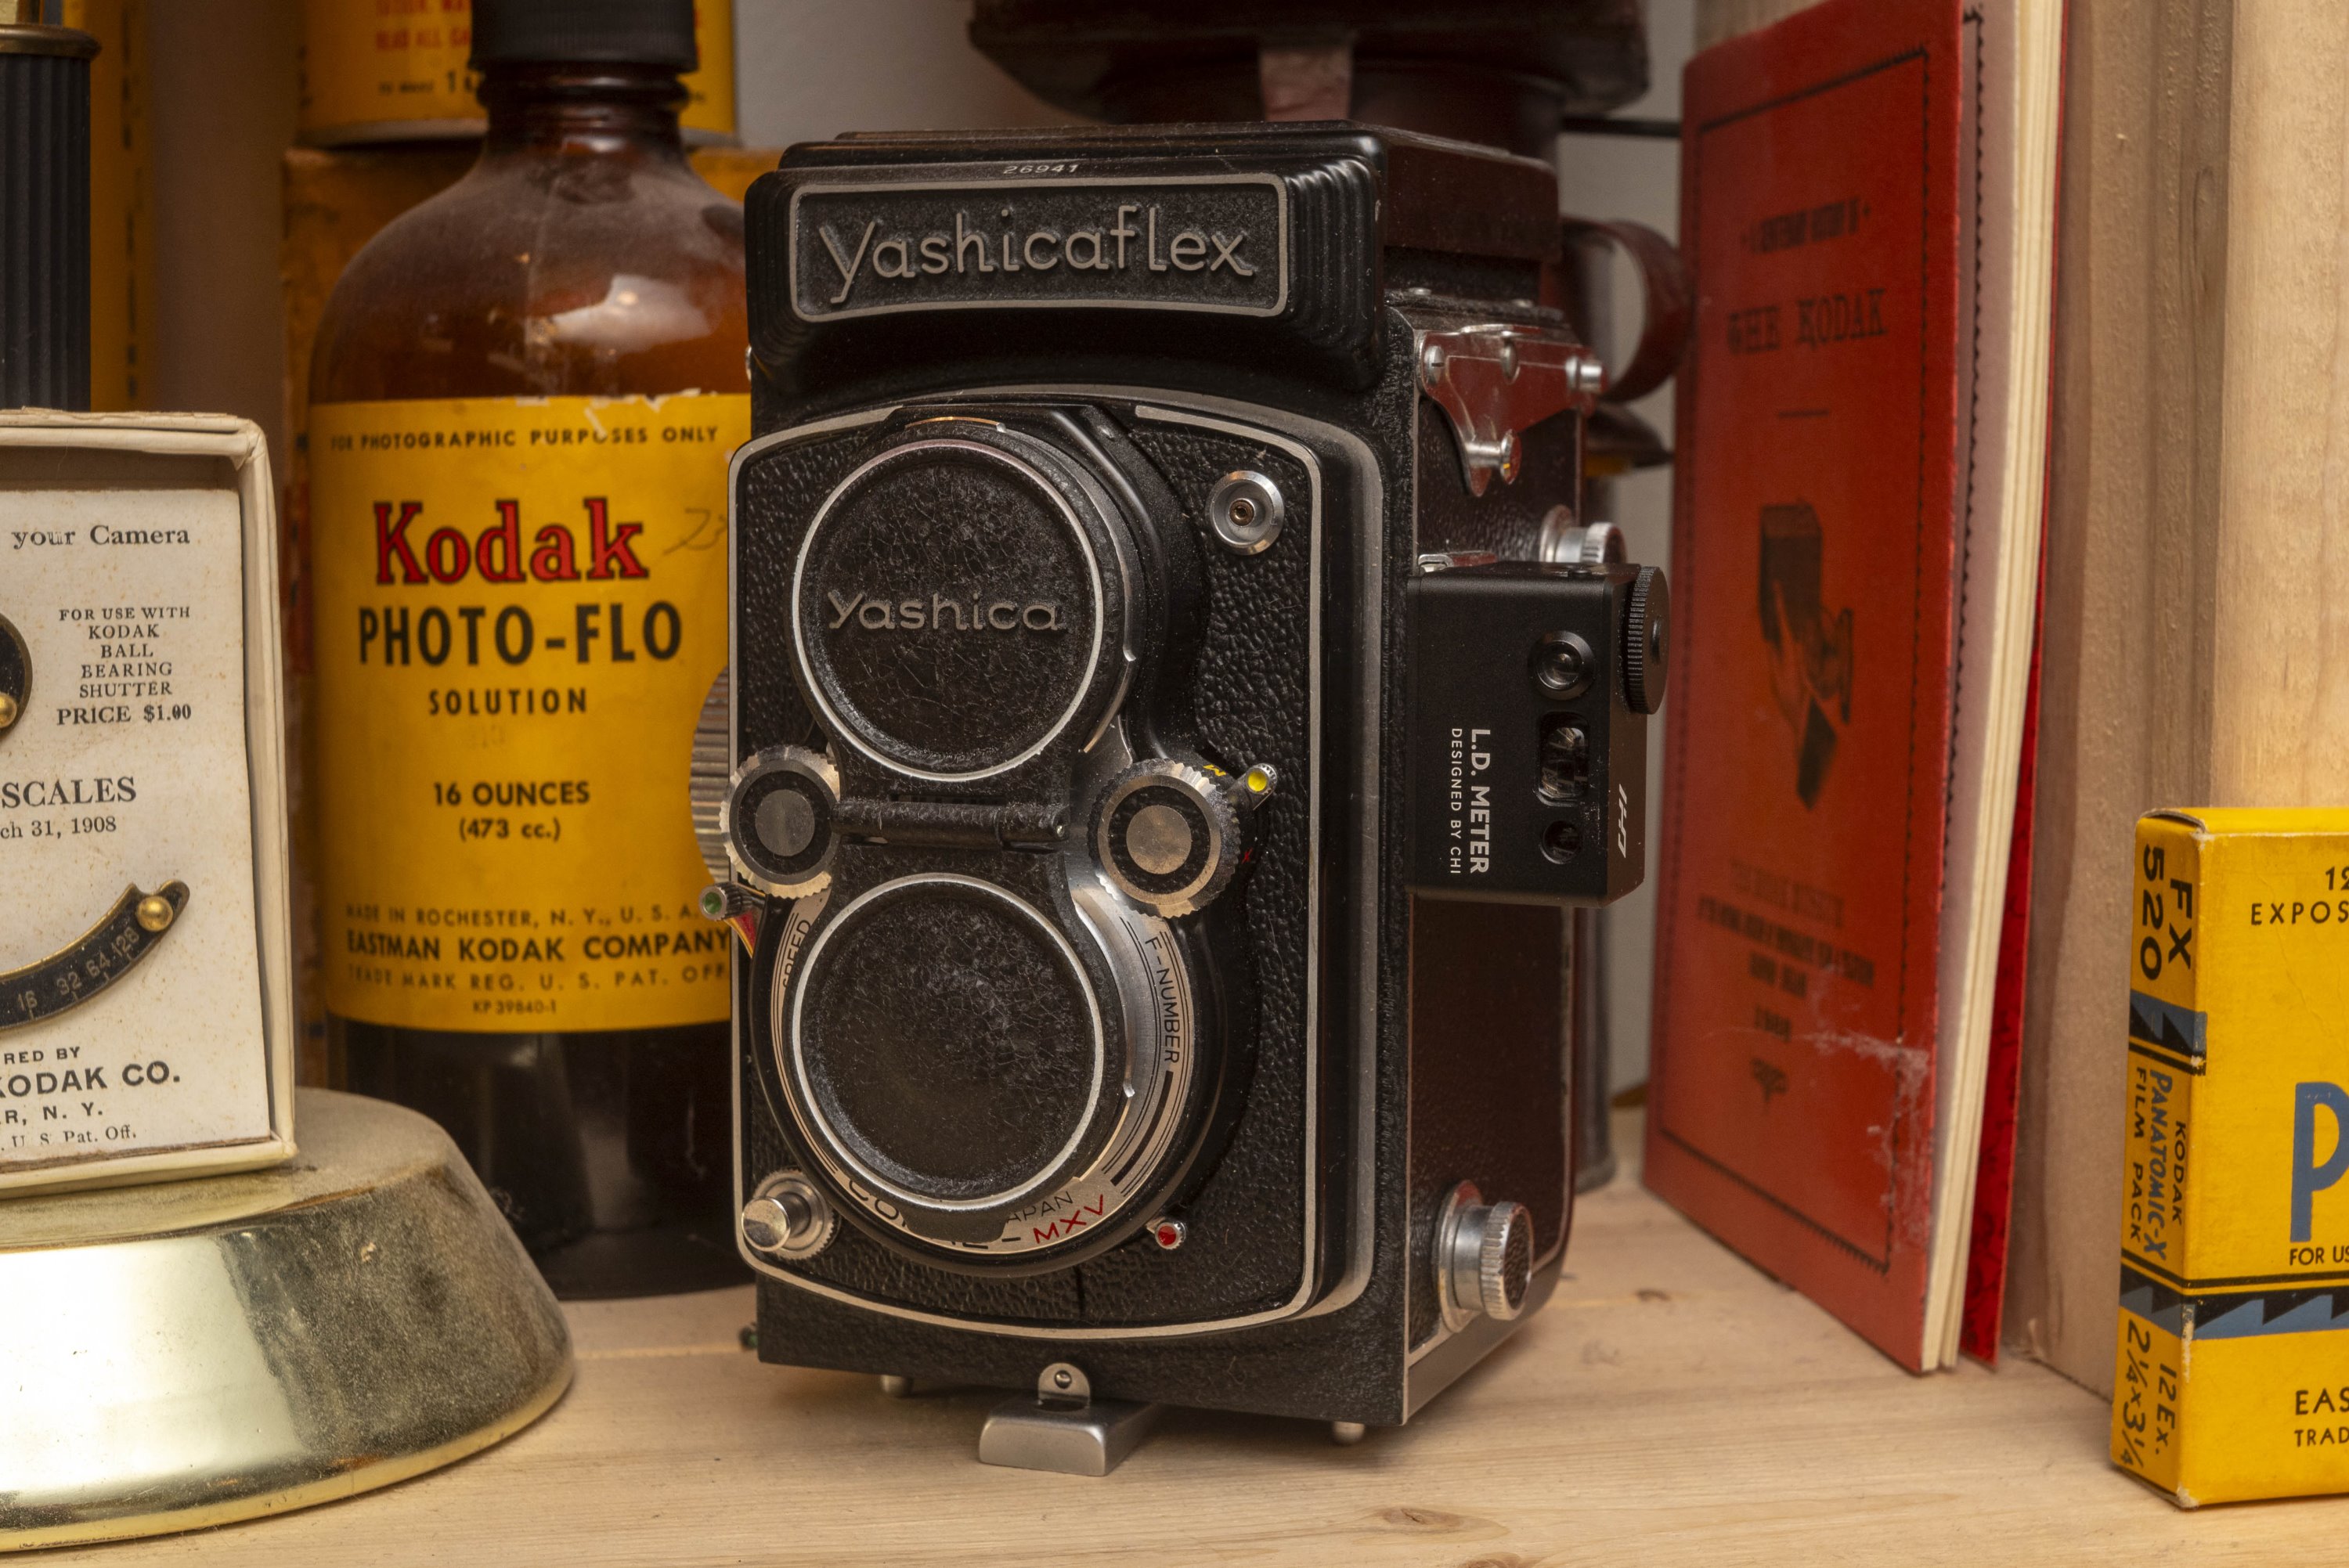
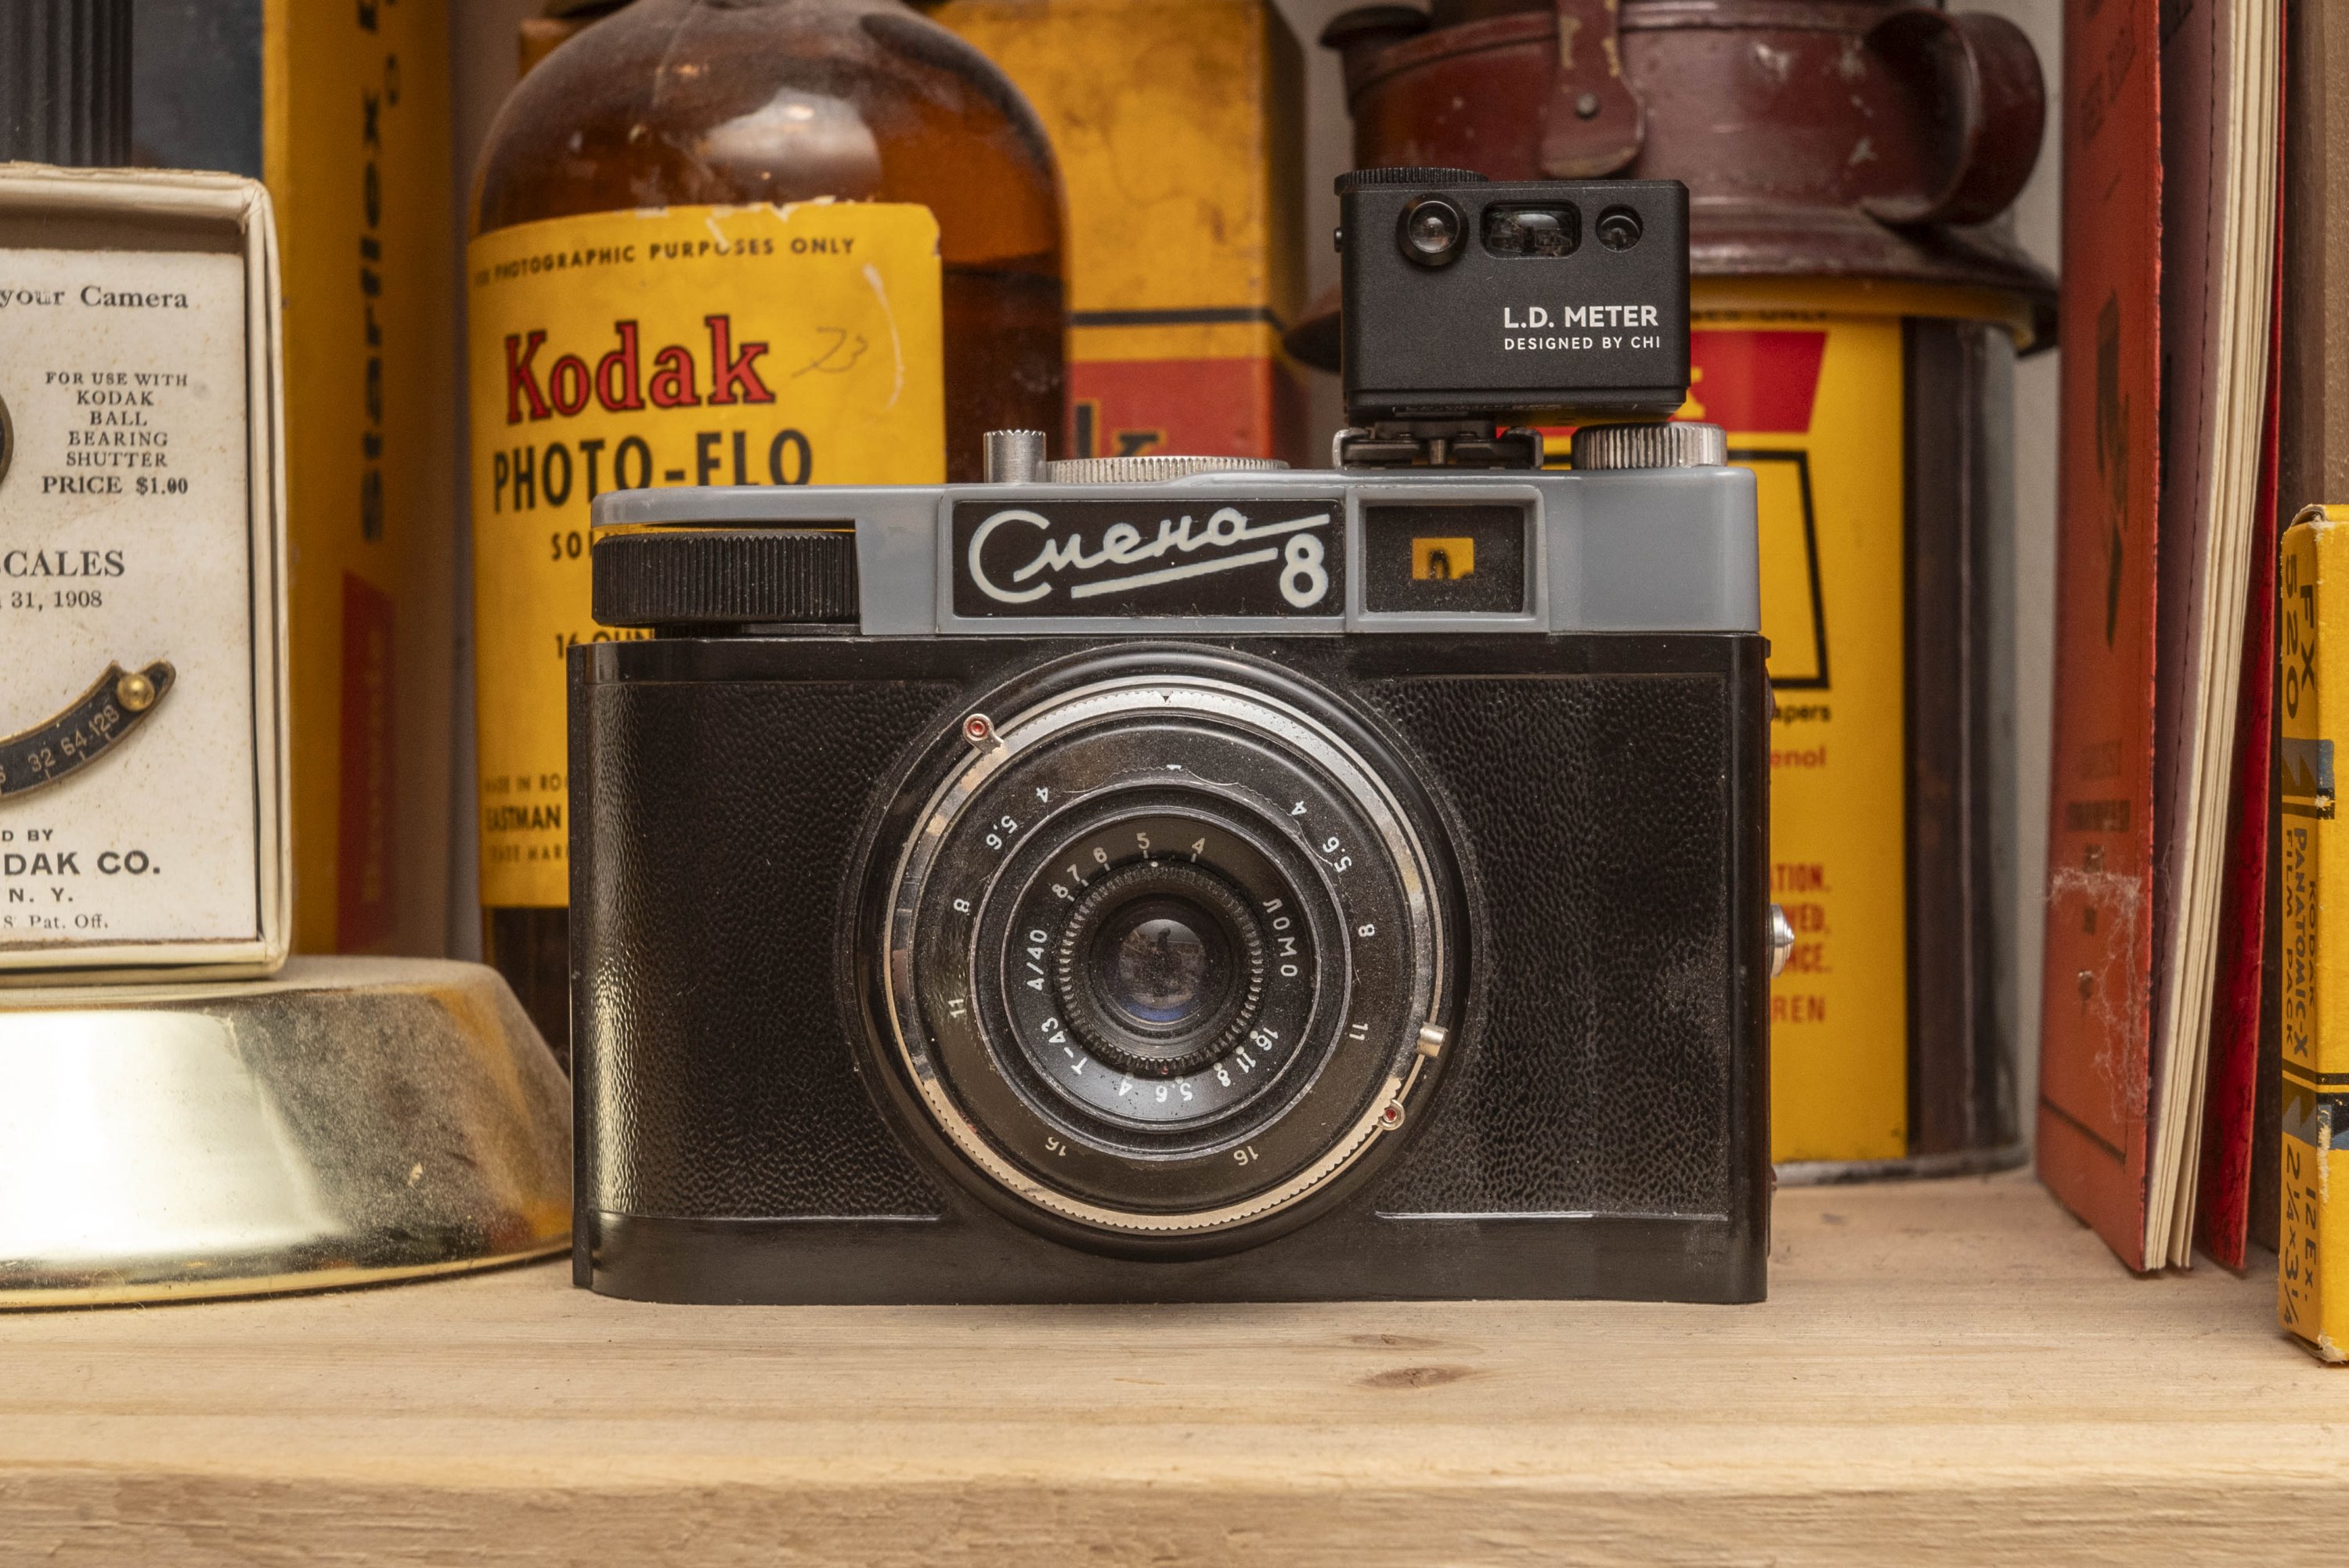
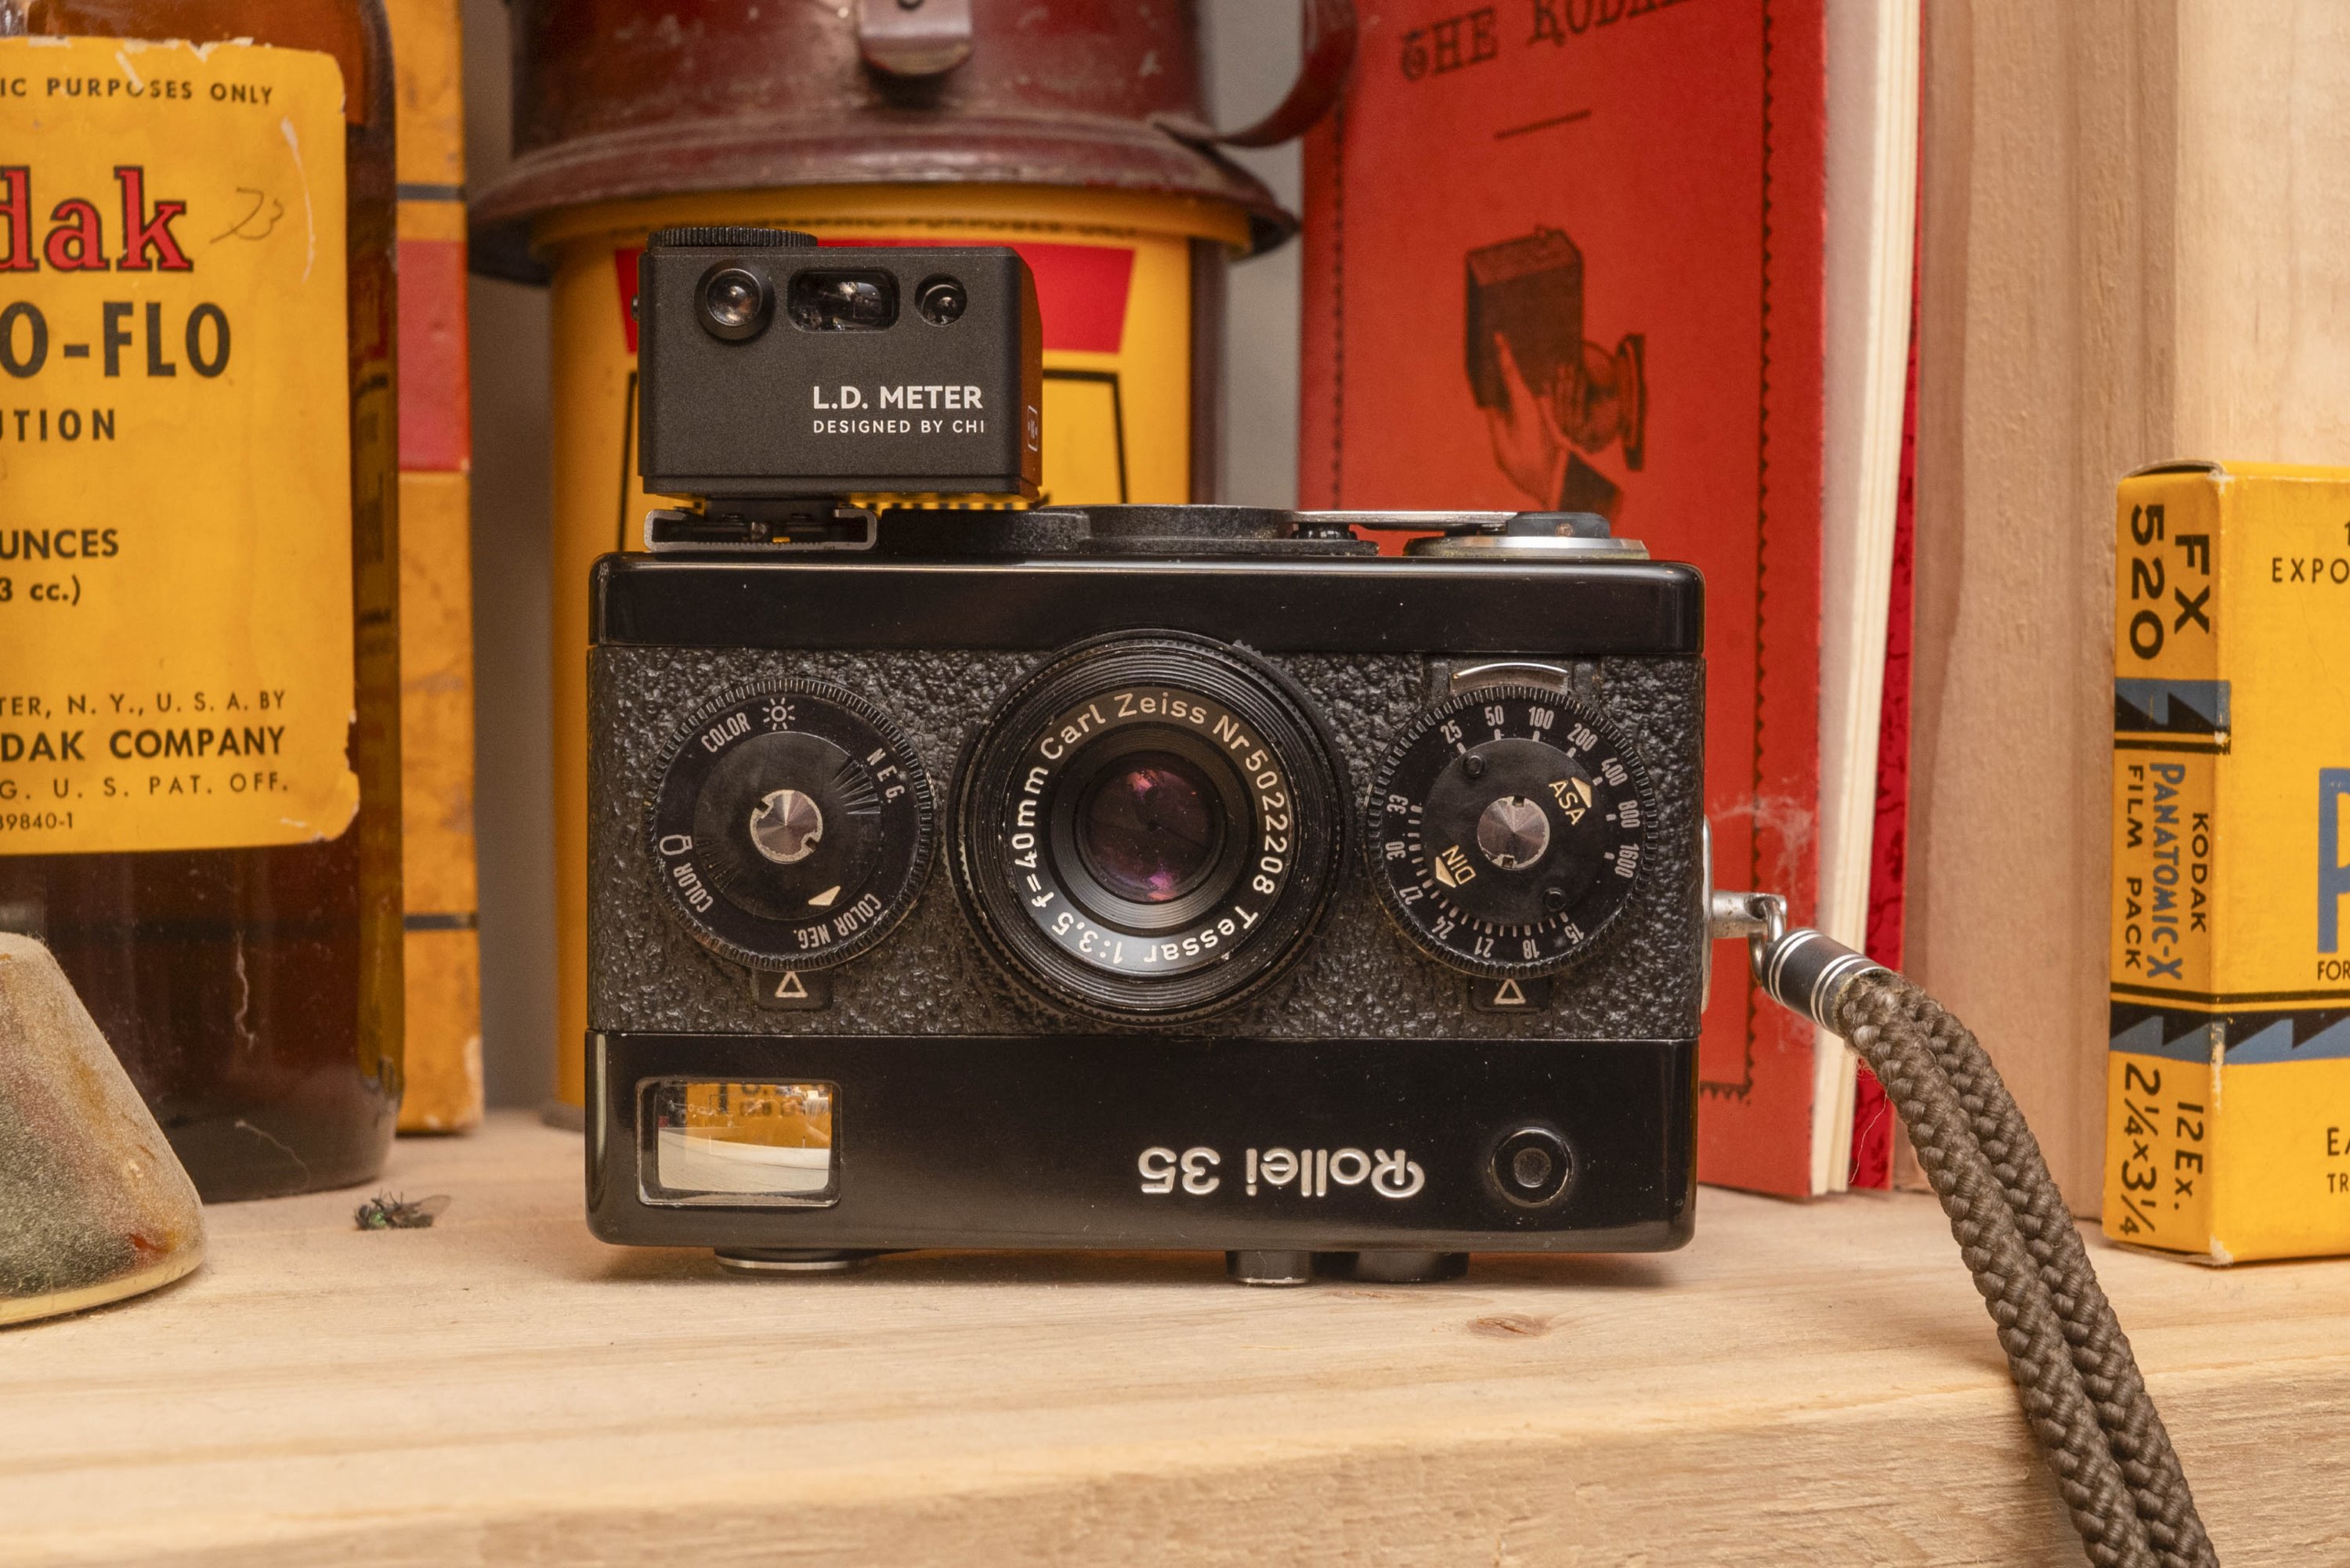
The Chi L.D. Meter shipped to me direct from China and arrived in exactly 11 days, which from experience is very good compared to how long it has taken other things to get from China to where I live in the US. It came in a small black box about the same size as one you might get a piece of jewelry in. A sticker on the box simply says “L.D. Meter, Designed by Chi”.

Inside the box was the meter wrapped in a white plastic bag, a USB charging cable, and a small manual with instructions. My initial impression of the meter was very positive. I chose to get the meter finished in black, but a chrome version is also available. The body is made of aluminum and has a nice matte finish which gives the whole thing the sense of quality. A round dial with strong click stops is on top, above and to the left of the 0.96″ LCD screen. Around back is an unlabeled button which both powers the meter on but is also used in conjunction with the mode dial for making changes to the meter’s settings. This button can be pressed with both with a half press and a full press, which changes its function. The button has a tactile feel in which is it very obvious whether you’ve half or fully pressed it down.
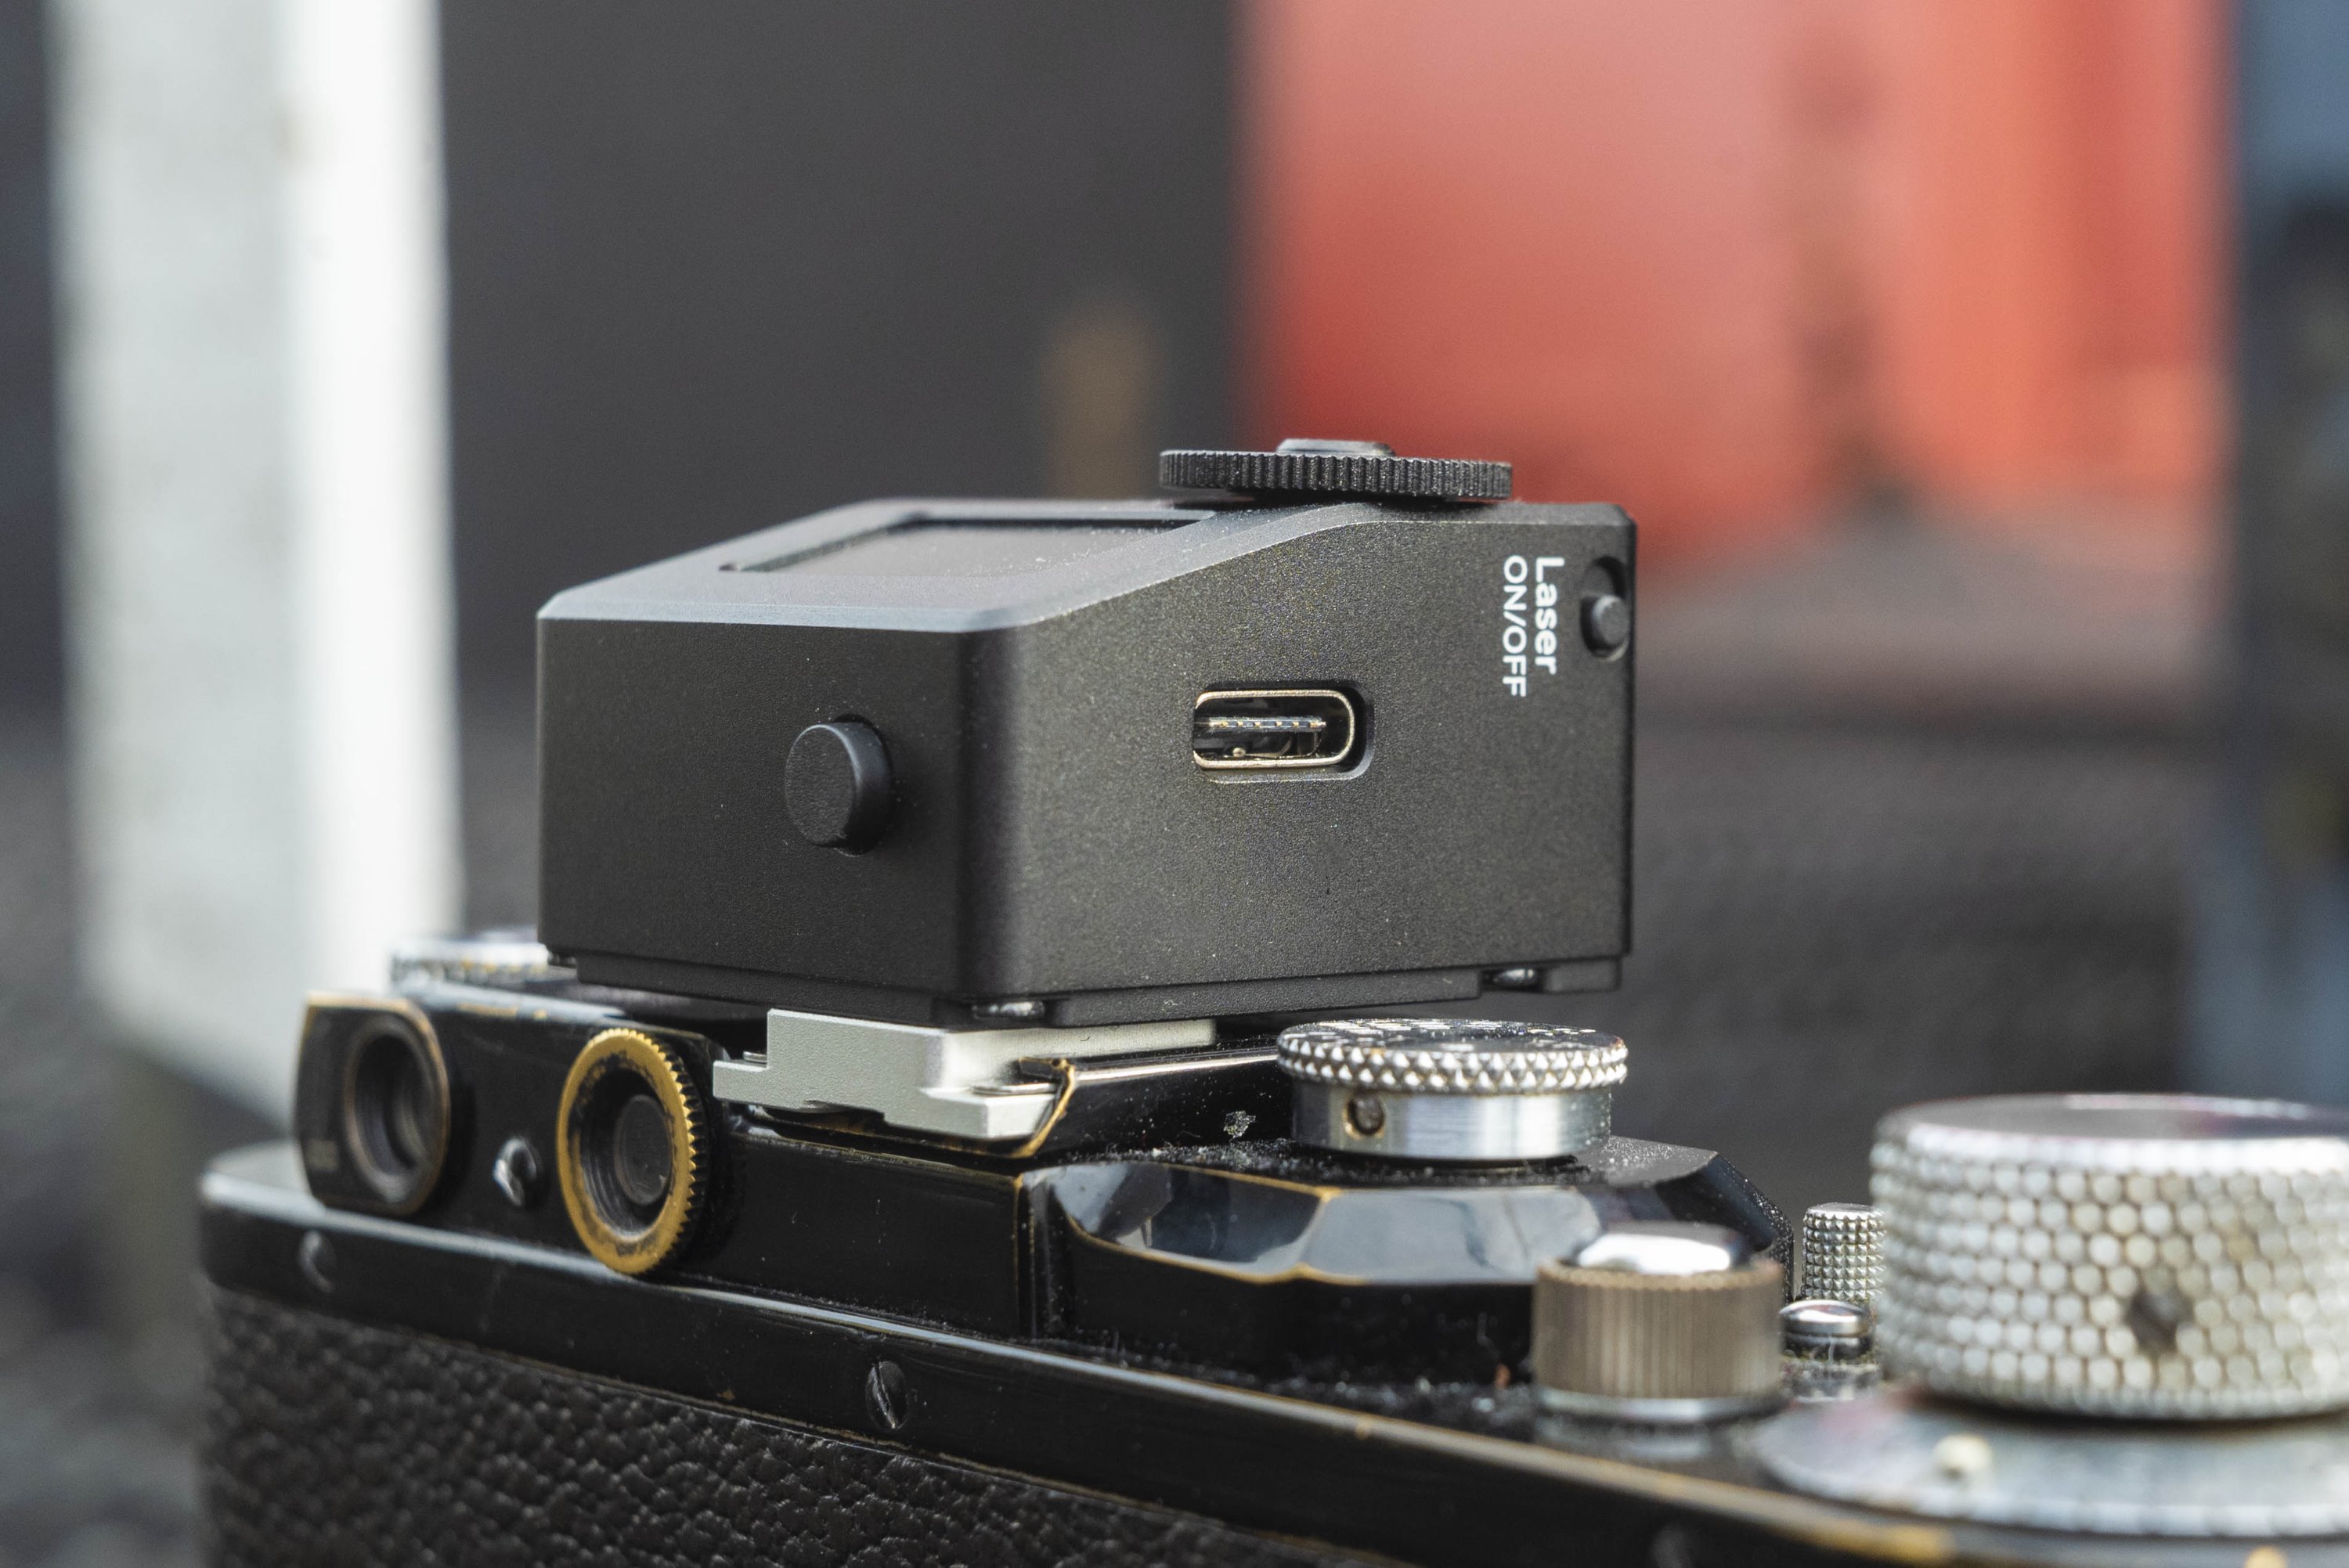
The right side of the meter has the USB-C charging port for the meter’s 370 mAh rechargeable battery, which Chi claims can last up to 90 days in standby mode, and an on/off switch for the laser rangefinder which is nice for when you just want to use the exposure meter without the laser. Printed on the meter’s left side is an long narrow circle with the letters “MAG” in the center which is a magnetic mounting point for optional viewfinder accessories that Chi makes. To test this, I placed the meter against a piece of iron to see if the meter would stick to it, and it did not. I then took a magnet from my refrigerator and held it to that spot and sure enough, the meter stuck to the magnet. The rest of the meter’s aluminum body is not attracted to magnets, but this one spot is.
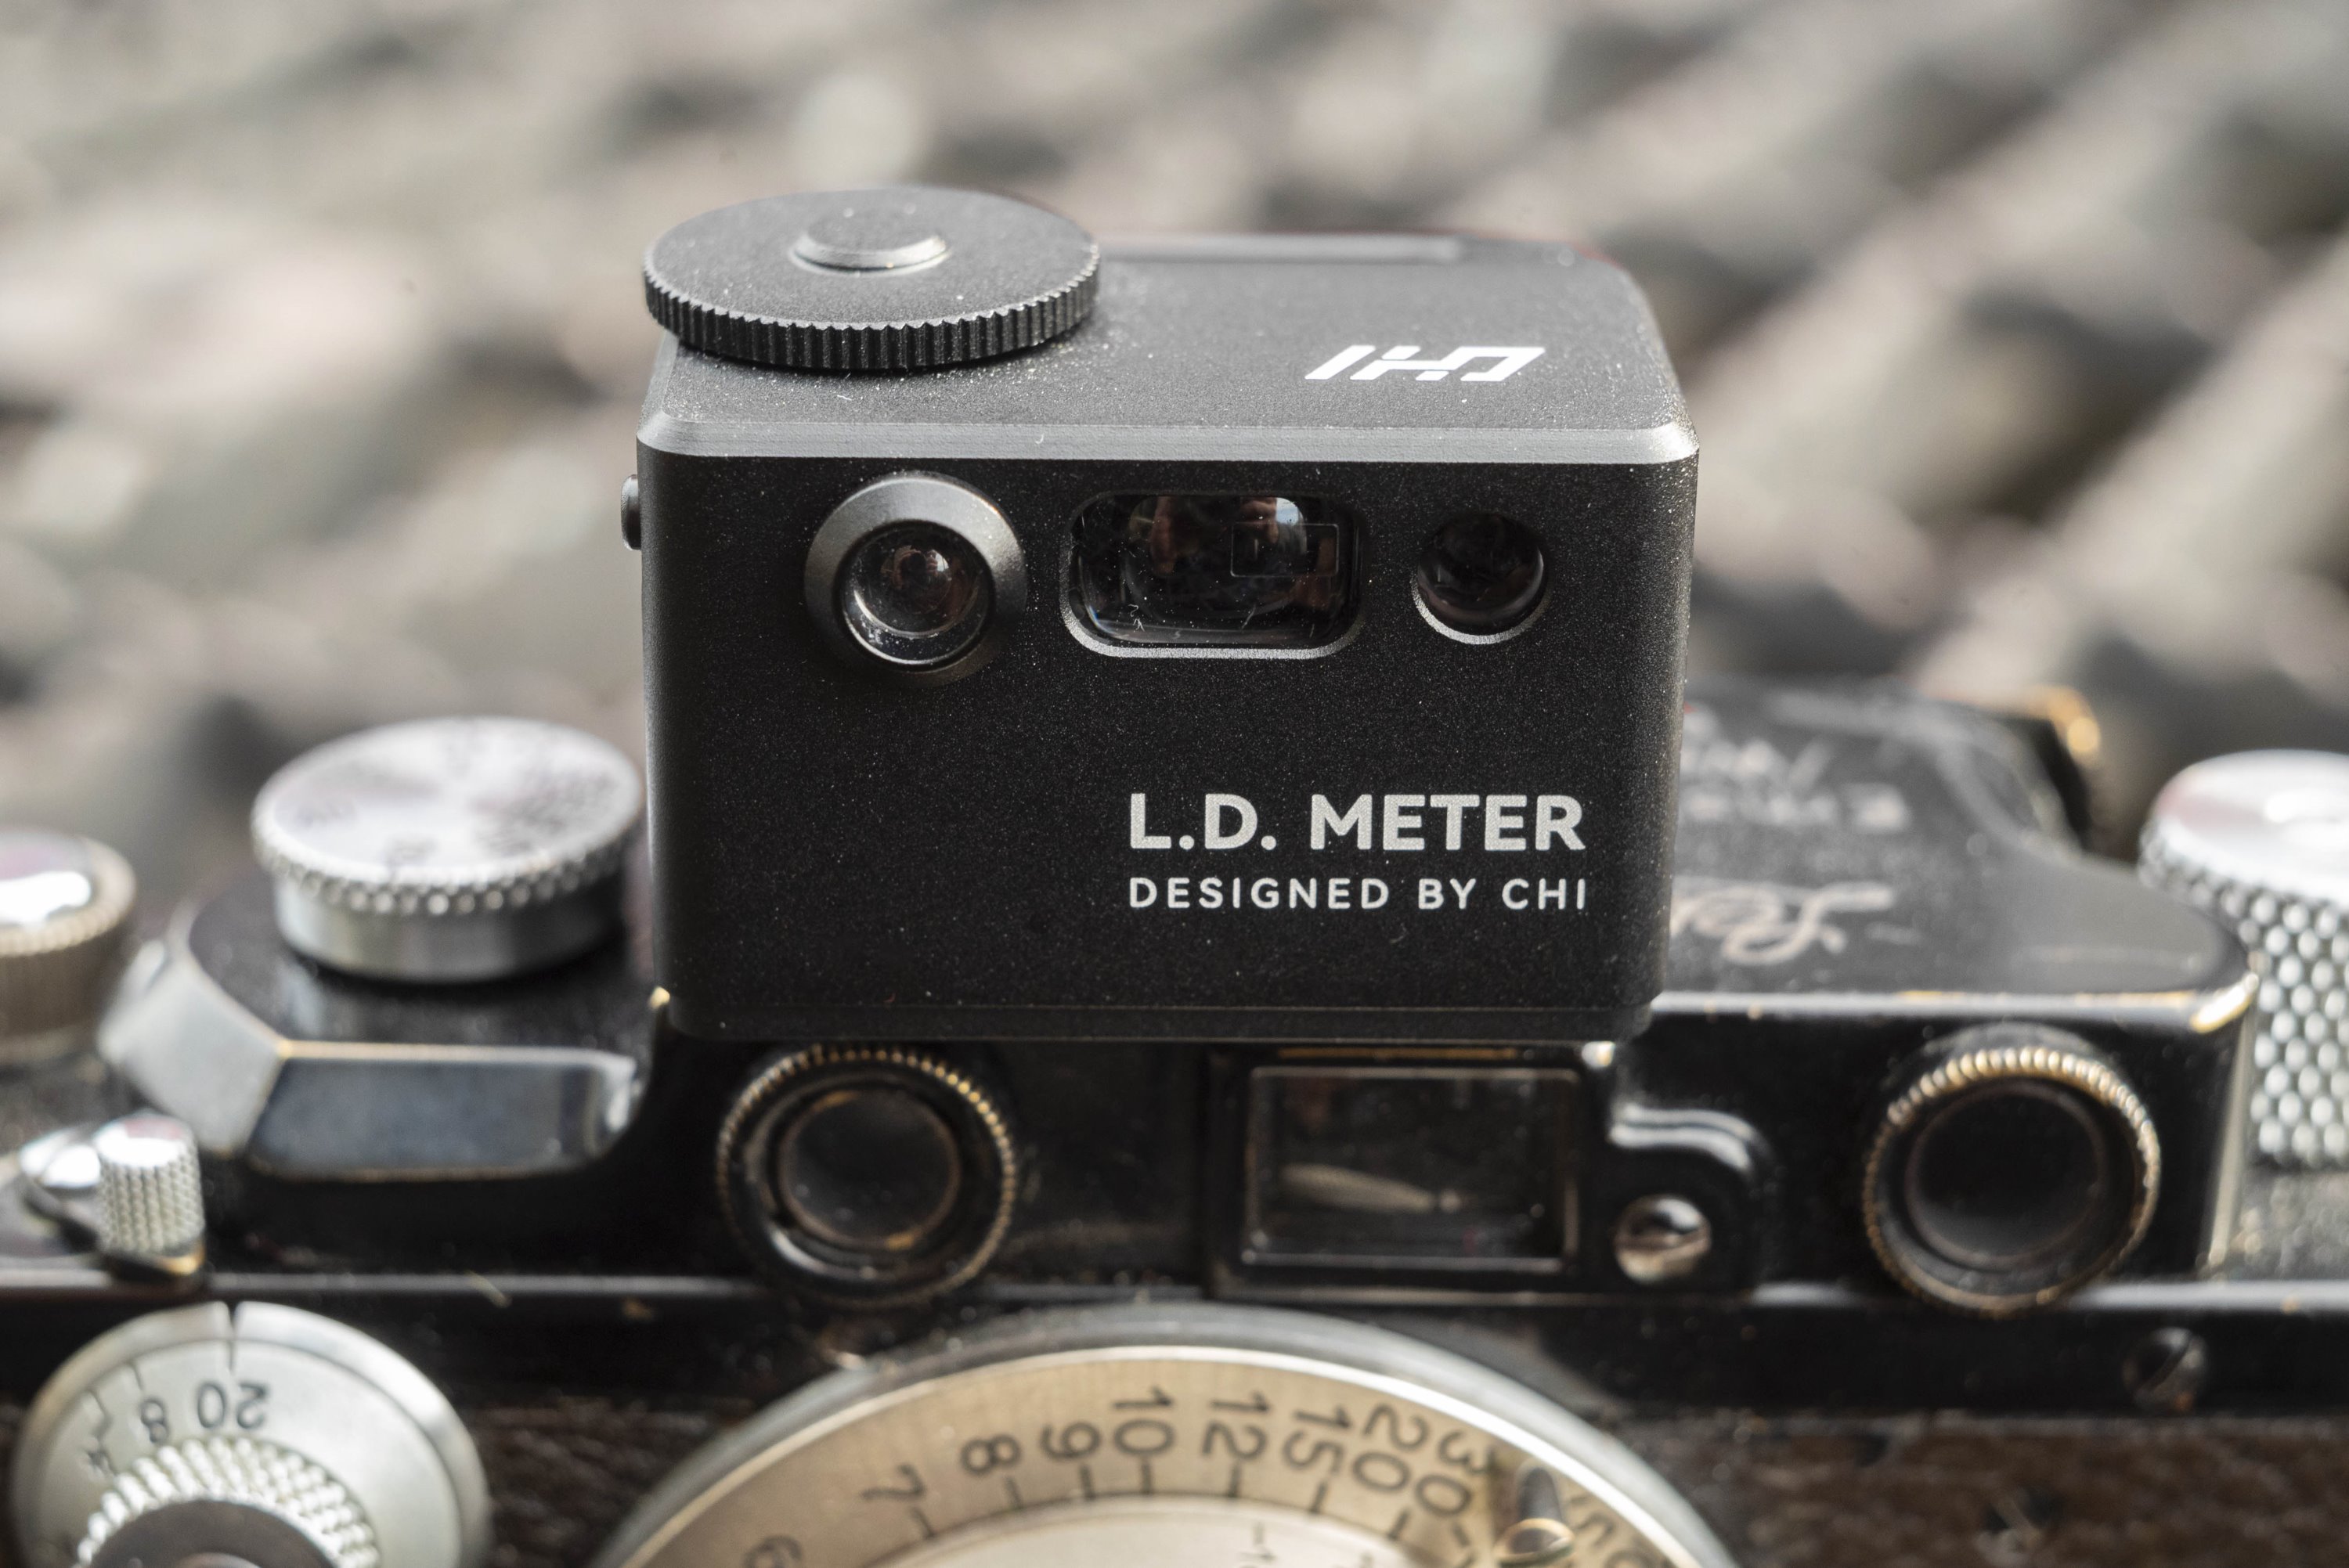
Up front we see three windows, from left to right is the silicon photo cell for the meter, a rectangular sight for the rangefinder, and a window for the laser itself.
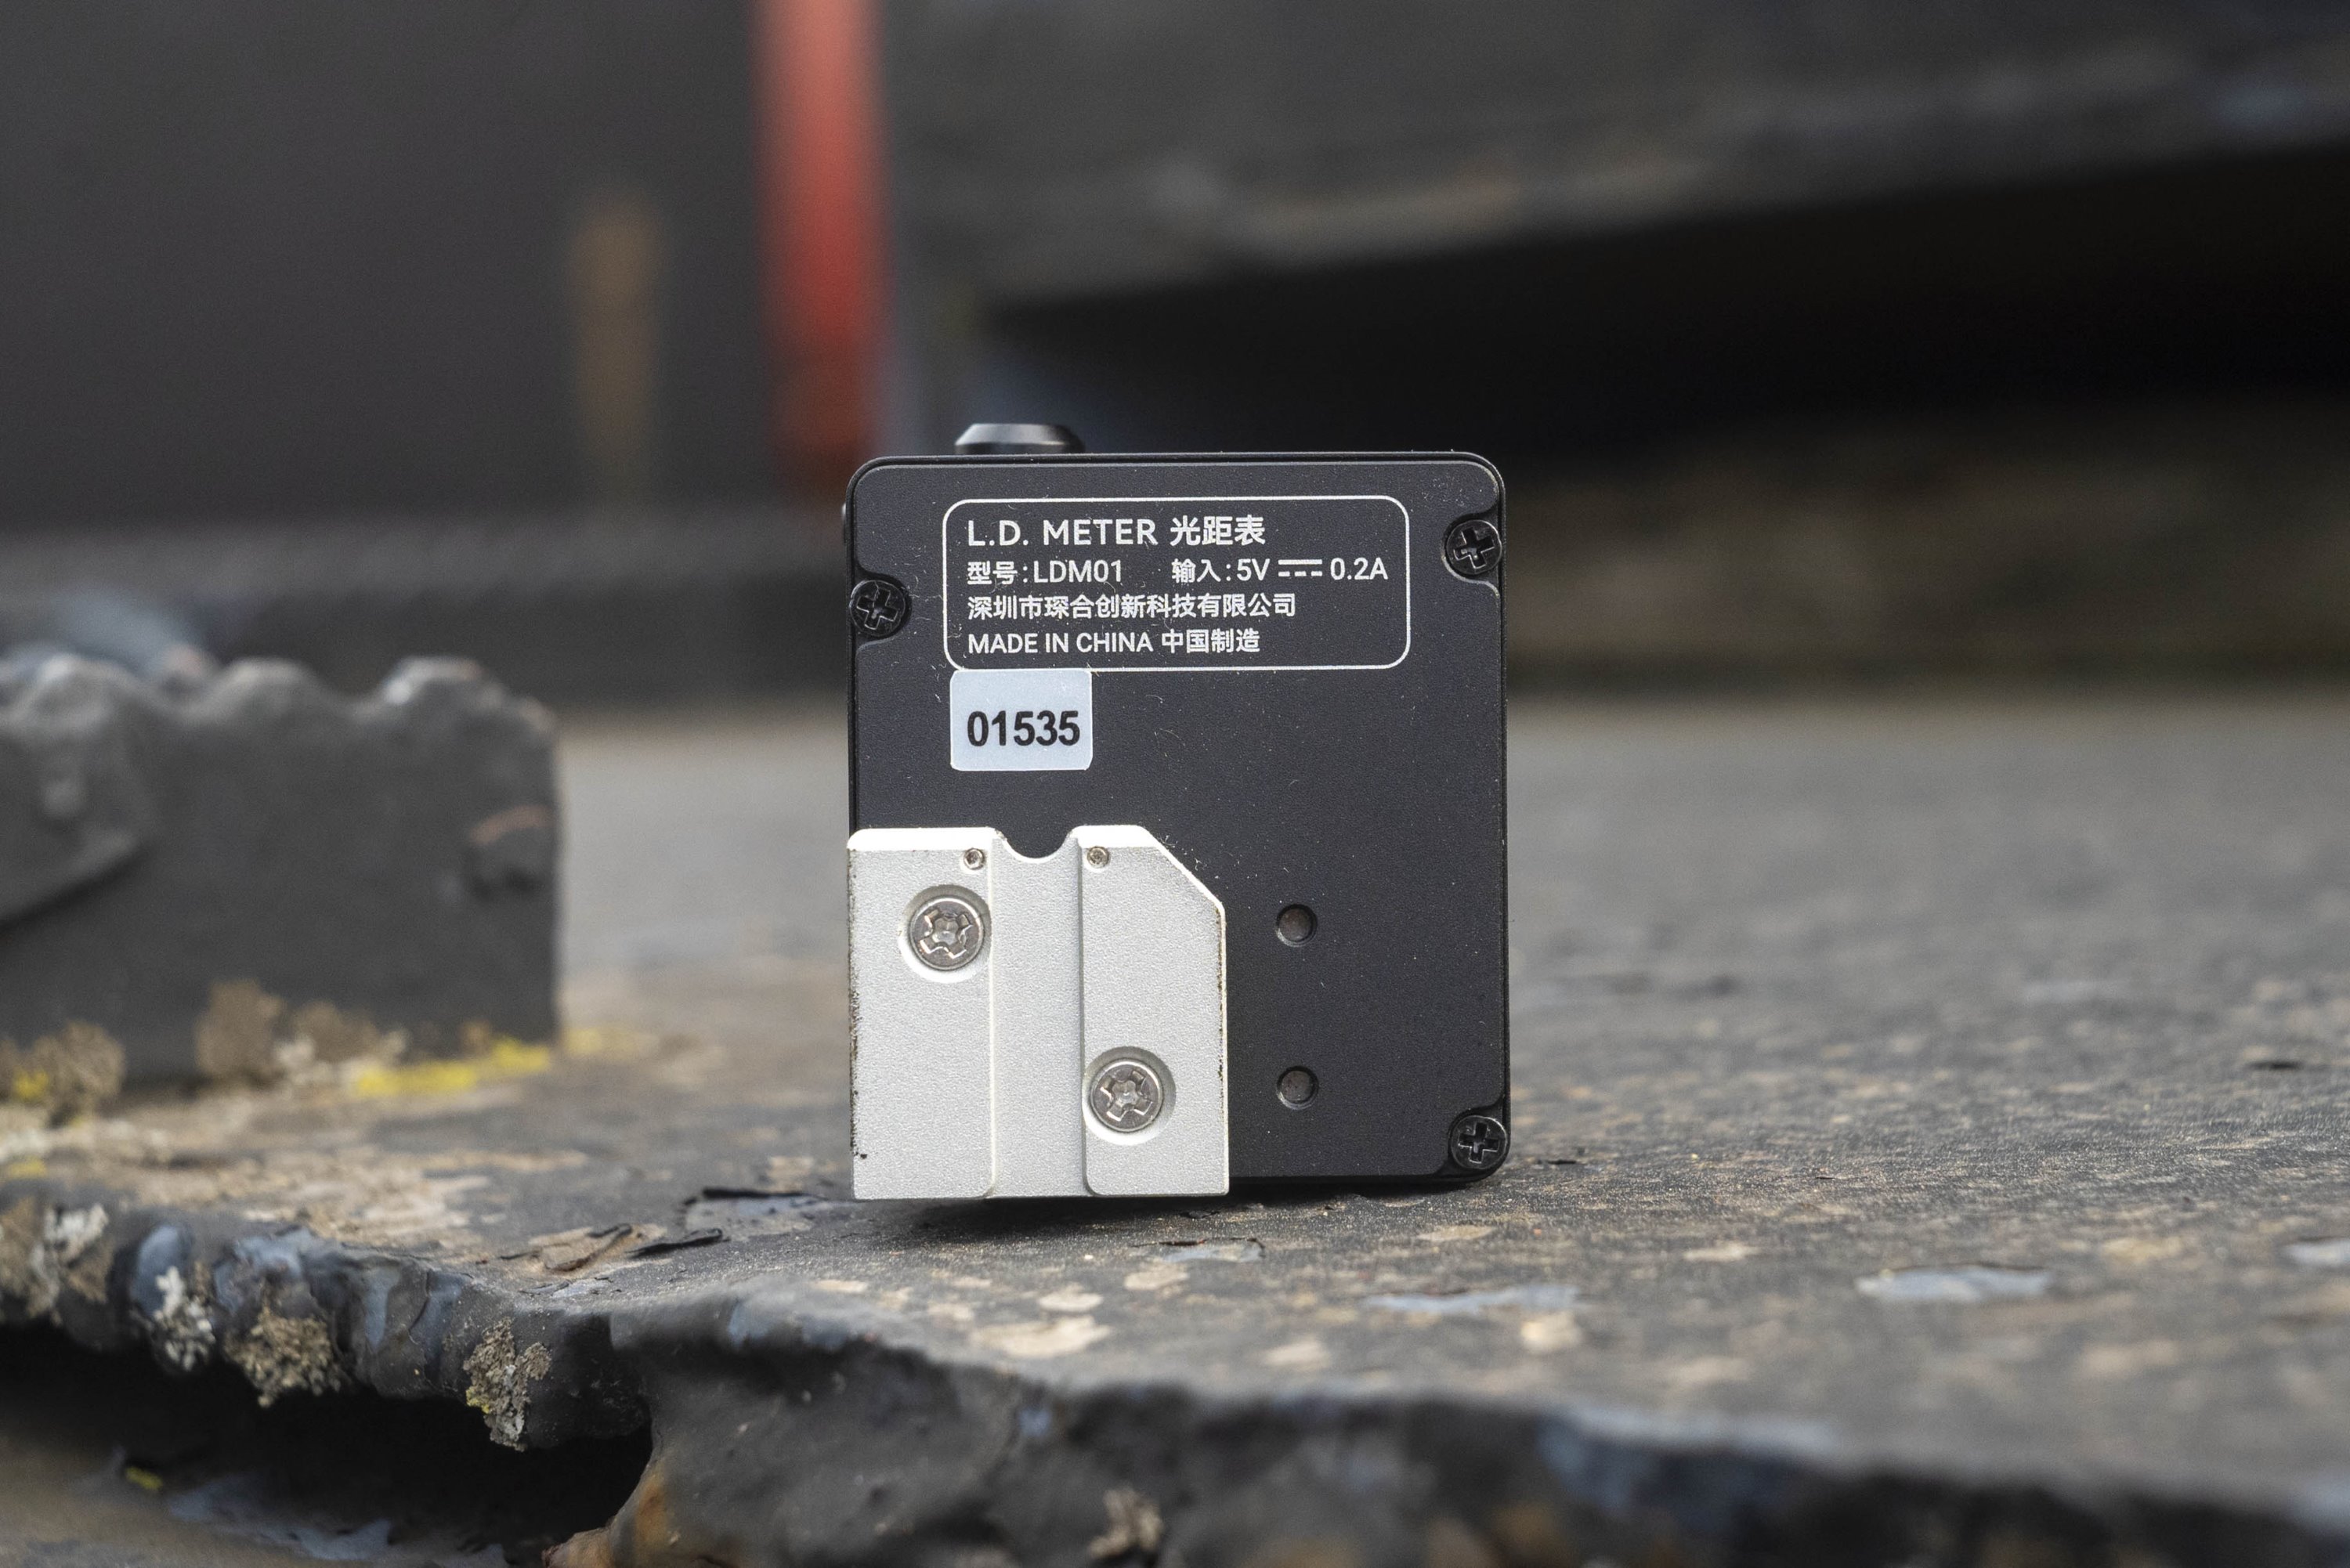
The base of the meter has the accessory foot which is held in place by two screws. Like other shoe mounted meters, the location of the foot can be changed to improve compatibility with a variety of cameras. Strangely, a total of 6 screw holes are in the base of the meter, but only 2 combinations can be used. This is in contrast to the DOOMO Meter S which has 6 holes arranged in a way where you get a left, center, and right mounting position. With the Chi L.D. Meter, you are limited to center or left only. Even stranger is that there is plenty of room for more holes which would give it the same flexibility as other meters. I should also mention that a screwdriver was not included in the box with the meter to adjust the foot, you must use your own.
Although the L.D. Meter will work on a large number of cameras, it is limited to those only where the accessory shoe is on a flat surface. Some cameras like the original Leica Models A – C have the accessory shoe in a lower part of the top plate, immediately next to the viewfinder. The L.D. Meter will not mount to these cameras unless you have some type of shoe extender. This issue is not unique to the L.D. Meter as it would happen with any shoe mounted meter.
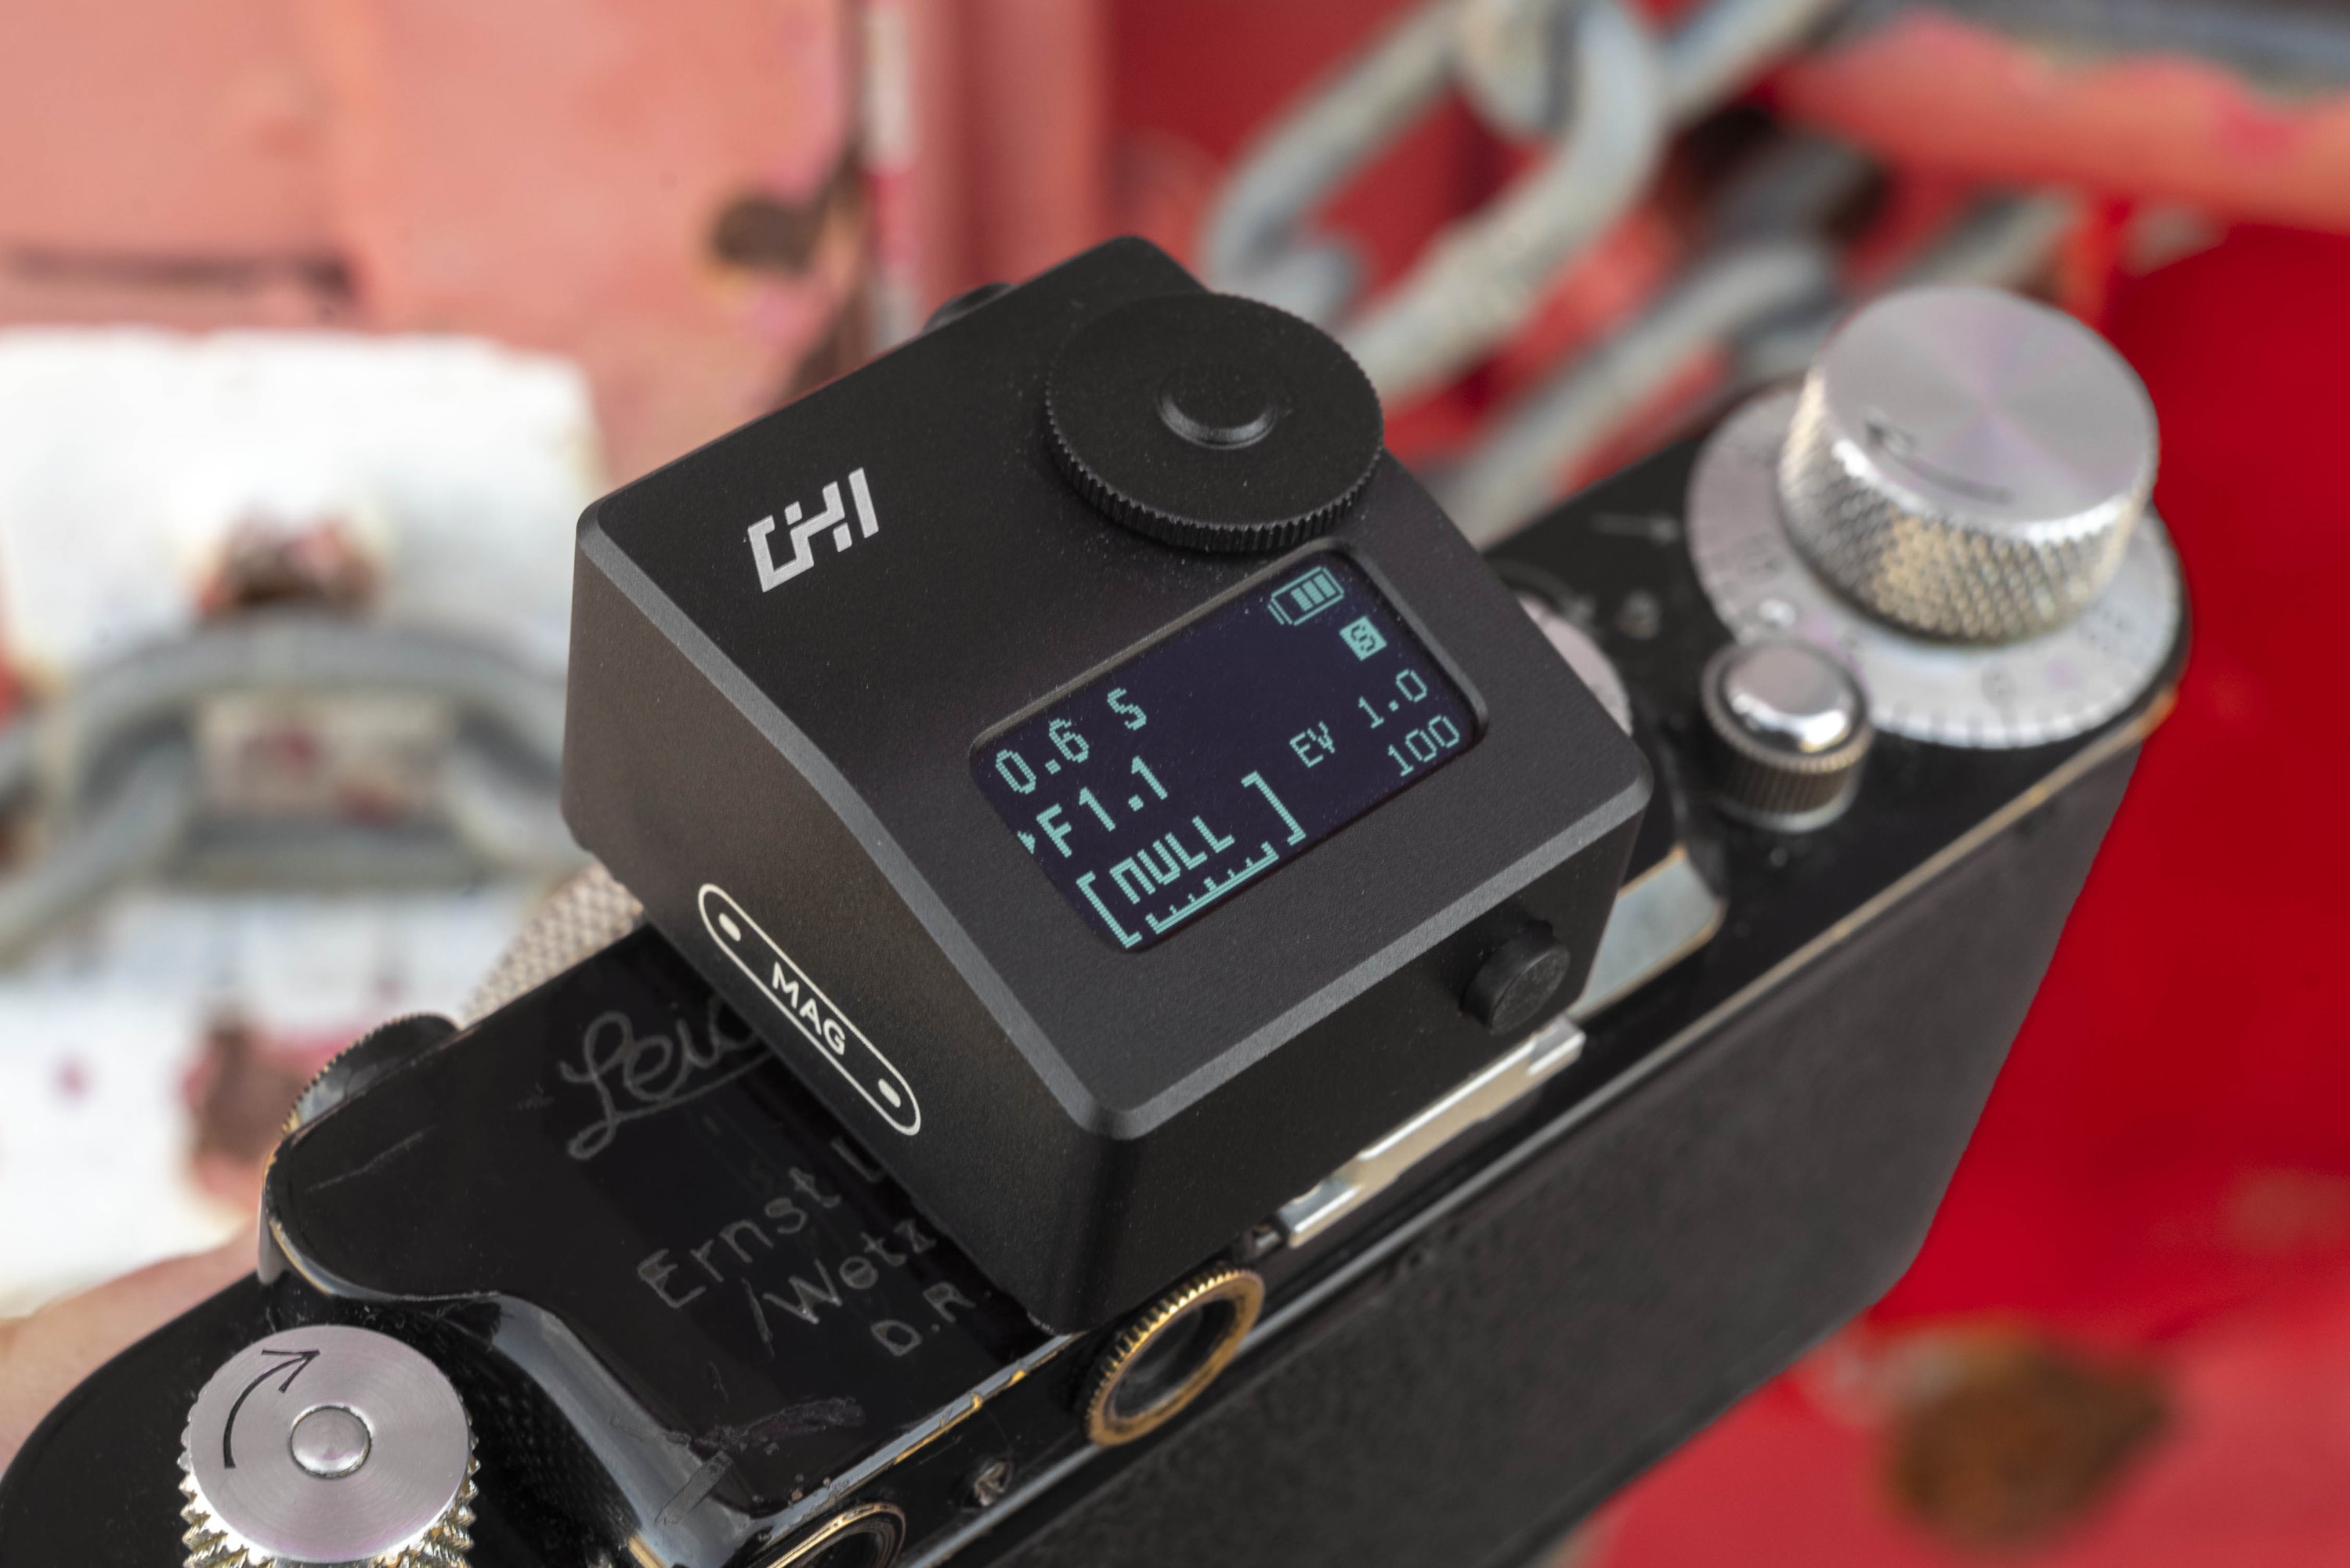
The OLED LCD screen offers enough brightness and contrast to be useful in most lighting conditions. It is very easy to see indoors and in indirect sunlight. Like any LCD screen however, it can be difficult to read in very brightly lit scenes. The LCD provides all necessary information such as recommended shutter speeds and aperture values, rangefinder distance, ISO speed, a battery level, and various other icons to indicate the meter’s various modes. Within the meter’s settings is the option to change distance measurements from meters to feet and back.
With only two control points (three including the Laser On/Off switch), using the L.D. Meter is not difficult. If you happen to lose the printed manual that came with the meter, it is not difficult to figure out the controls as most things can be changed with various combinations of button presses using the mode button and turning the dial on top. I’ll attempt to summarize each of the camera’s modes here:
- Short Full Press of Rear Button – This powers on the L.D. Meter both from Standby and Full Off modes. There is no way to manually power down the meter. Simply leave it be for about a minute and it will go into Standby mode.
- Long Full Press – With the meter already on, holding the rear button down for about 2 seconds puts it into ISO selection mode. Using the dial on top, ISO speeds from 3 to 8000 can be chosen in 1/3 stops. While still in ISO selection mode, a second long full press will switch it to a distance setting which lets you choose between meters and feet. In either ISO or distance modes, if you don’t touch anything for about 5 seconds, the meter will automatically exit setting mode.
- Double Short Full Press – This alternates the meter between shutter priority and aperture priority. A small arrow will point to either setting to indicate which mode it is in. Turning the dial will change either the shutter speed (from 60 seconds to 1/8000) or aperture (from f/1 to f/64) setting to whatever you choose and the meter will make a recommendation for the other. This is consistent in operation with every other modern accessory meter I’ve used.
- Short Half Press – Activates both the meter and if the laser in on, the laser rangefinder as well. An instant reading of both will be taken and displayed on the top LCD. The laser is only illuminated while it is taking a reading.
- Long Half Press – Switches to Continuous mode (the letter “S” on the LCD changes to a “C”) and the meter and laser will continue to take readings until you press the button again. While in Continuous mode, the laser will blink, and the LCD will constantly update with new readings.
In addition to the instructions above, I made a short YouTube video showing the operation of the Chi L.D. Meter going through all of the settings.
I found the operation of the meter to be pretty straightforward, especially considering I’ve used several other meters with similar operation. The addition of the laser rangefinder adds little in the way of complexity to the device, which is really nice for those times where you don’t need it, there’s nothing to over complicate the process.
Perhaps the most important aspect of any meter or rangefinder is how accurate it is, and strangely, this is the area in which I have the least to say. In my review for the DOOMO Meter S, I took the time to compare the meter’s readings to that of a Fuji X-T20 mirrorless camera and found the readings to be consistent with that of the camera. While playing with the laser rangefinder, I tested its distance against walls and objects in my home and found them to be accurate enough to fall within the depth of field of most lenses. The minimum distance of 0.1 meter (3.93 inches) could be useful in macro photography, but that’s not something I do often enough to be useful to me.
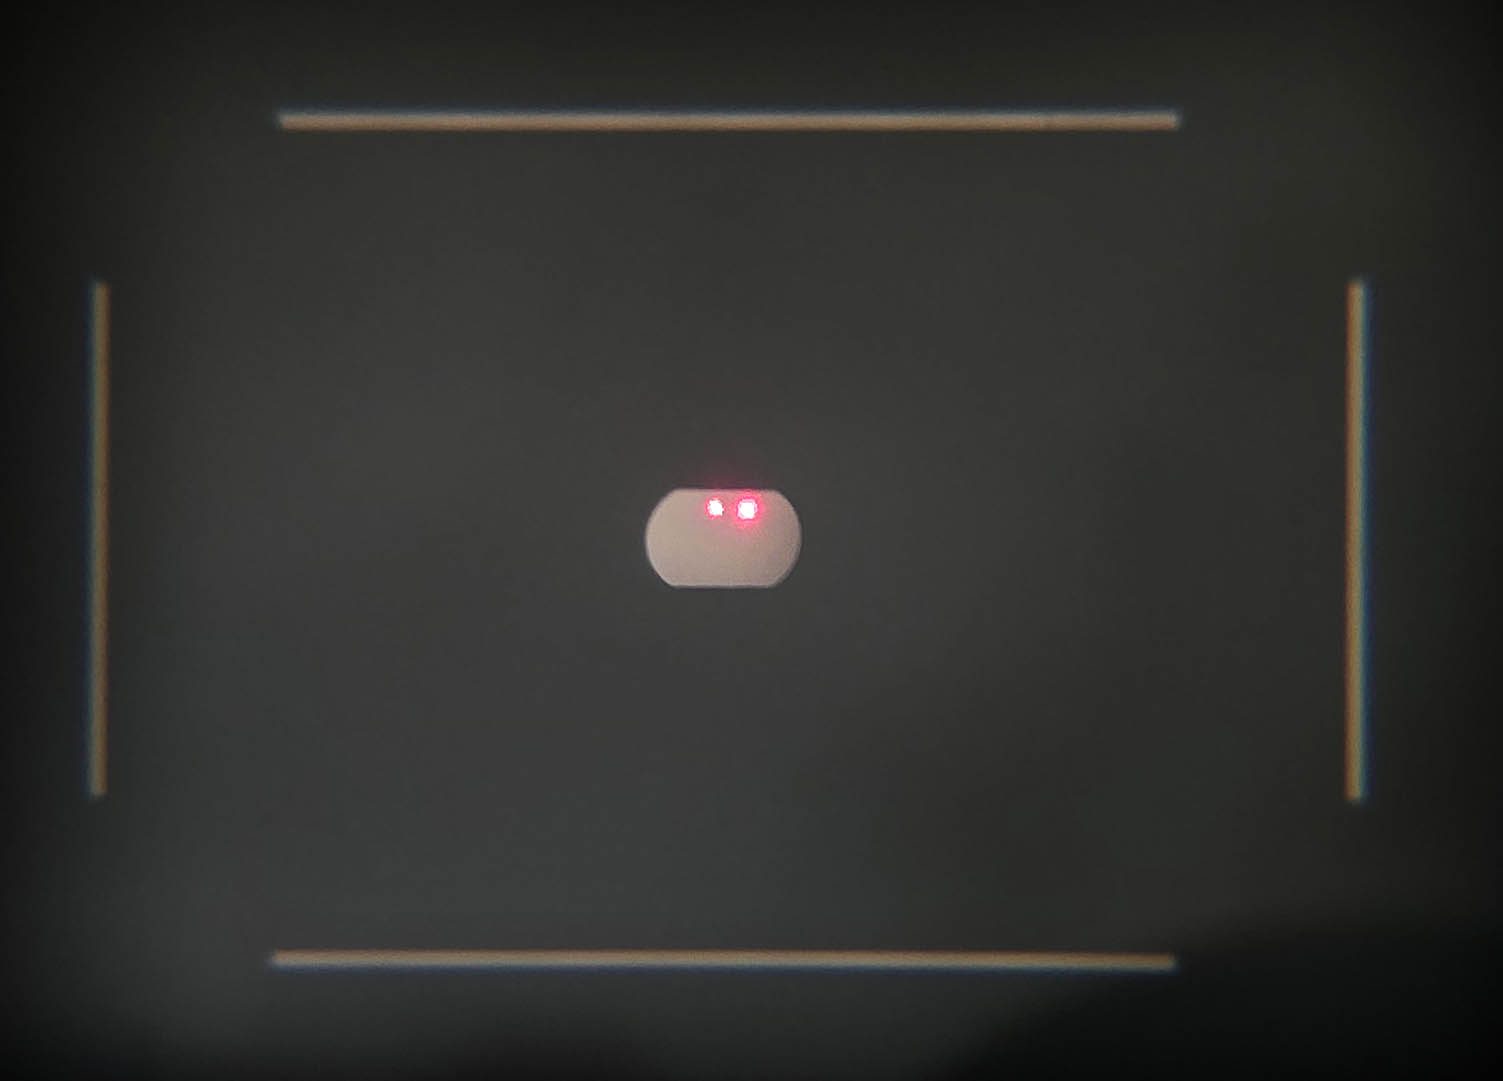
A fun thing you can do with the L.D. Meter mounted to a rangefinder camera is check calibration of that camera’s rangefinder. By putting the meter in Continuous mode which leaves the laser on, you can focus the camera’s rangefinder and see if it matches the distance of the red laser on an object of known distance away. For example, if you point the laser at an object that is measured to be 10 feet away, and then look through the rangefinder on your camera, you should see two red dots. If the camera’s rangefinder is accurate, the two red dots should converge when the camera is focused to 10 feet.
Macro Accuracy: While it is impressive that the L.D. Meter can measure distances as short as 0.1 meters (3.93 inches), it is important to remember that the closer you focus, the more precise your distance measurements need to be. Two concerns I have when using the laser rangefinder when shooting very close objects is that the meter’s sensor is not perfectly in line with the film plane of your camera. This means that the exact distance away from your object that the laser detects, isn’t necessarily where the lens will focus the light onto your film.
In addition, because the meter is located outside of the path of light that will enter your lens, there is parallax error from where the laser will take its reading and the actual thing you want to be in focus. Rangefinder cameras also have parallax error which they correct by moving the focus frame lines to more closely match that of the lens, but you’ll notice very few rangefinders which can accurately focus less than 0.9 meters or 3 feet. At distances shorter than that, parallax is so huge that accuracy suffers.
In both cases, at distances greater than a couple feet, depth of field can easily take up whatever differences there are in the film plane and parallax, but before relying too heavily on the laser rangefinder when shooting macro, you should take a few test shots to make sure your readings are consistent.
There are two versions of the L.D. Meter, a Lite and Pro version. The meter I received was the Pro version which measures exposure across a 7 degree angle for precise spot metering. The Lite version changes this to a much wider 30 degree angle. Beyond this one change, there are no other differences between the Pro and Lite versions, nor does the Pro version allow you to toggle back and forth between the two.
Without a doubt, the biggest shortcoming of the Chi L.D. Meter is that the laser rangefinder is difficult to see outside at distances more a couple of feet away. Indoors, it is easy to see on the wall of a large room, but take it out into nature and point it at a tree 25 feet away and you will almost certainly lose it. The camera will still take readings, suggesting that whatever electric eye “detects” the distance is still accurate, but if you cannot see what the laser is pointing at, the measurement isn’t going to be too useful.

Chi makes a device called the Red Dot Sight as an optional accessory which adds a large glass viewfinder with glass tinted with a material which makes seeing the red laser much easier. I did not have access to this accessory but question how often you’d actually use it. The red dot sight can be added to the purchase of the Pro meter for an additional $60 or purchased separately for $69.
Edit 4/10/2025: Shortly after posting this review, it was brought to my attention that my understanding of how a red dot sight works is not what I thought it was. This is a device that uses its own red laser to internally reflect it to help you know what you are aiming at. I’ve never used such a device, but I supposed it would assist aiming in difficult lighting by showing you where the laser should be.
For just the meter alone, the Lite version costs $119 with free shipping. The Pro version with the narrower 7 degree spot meter is $20 more, but personally, I find the wider 30 degree Lite version to be more appealing, plus it is cheaper. As of this writing, the L.D. Meter is only available from Chi direct, as I’ve found no other distributors offering it for sale.
My Thoughts
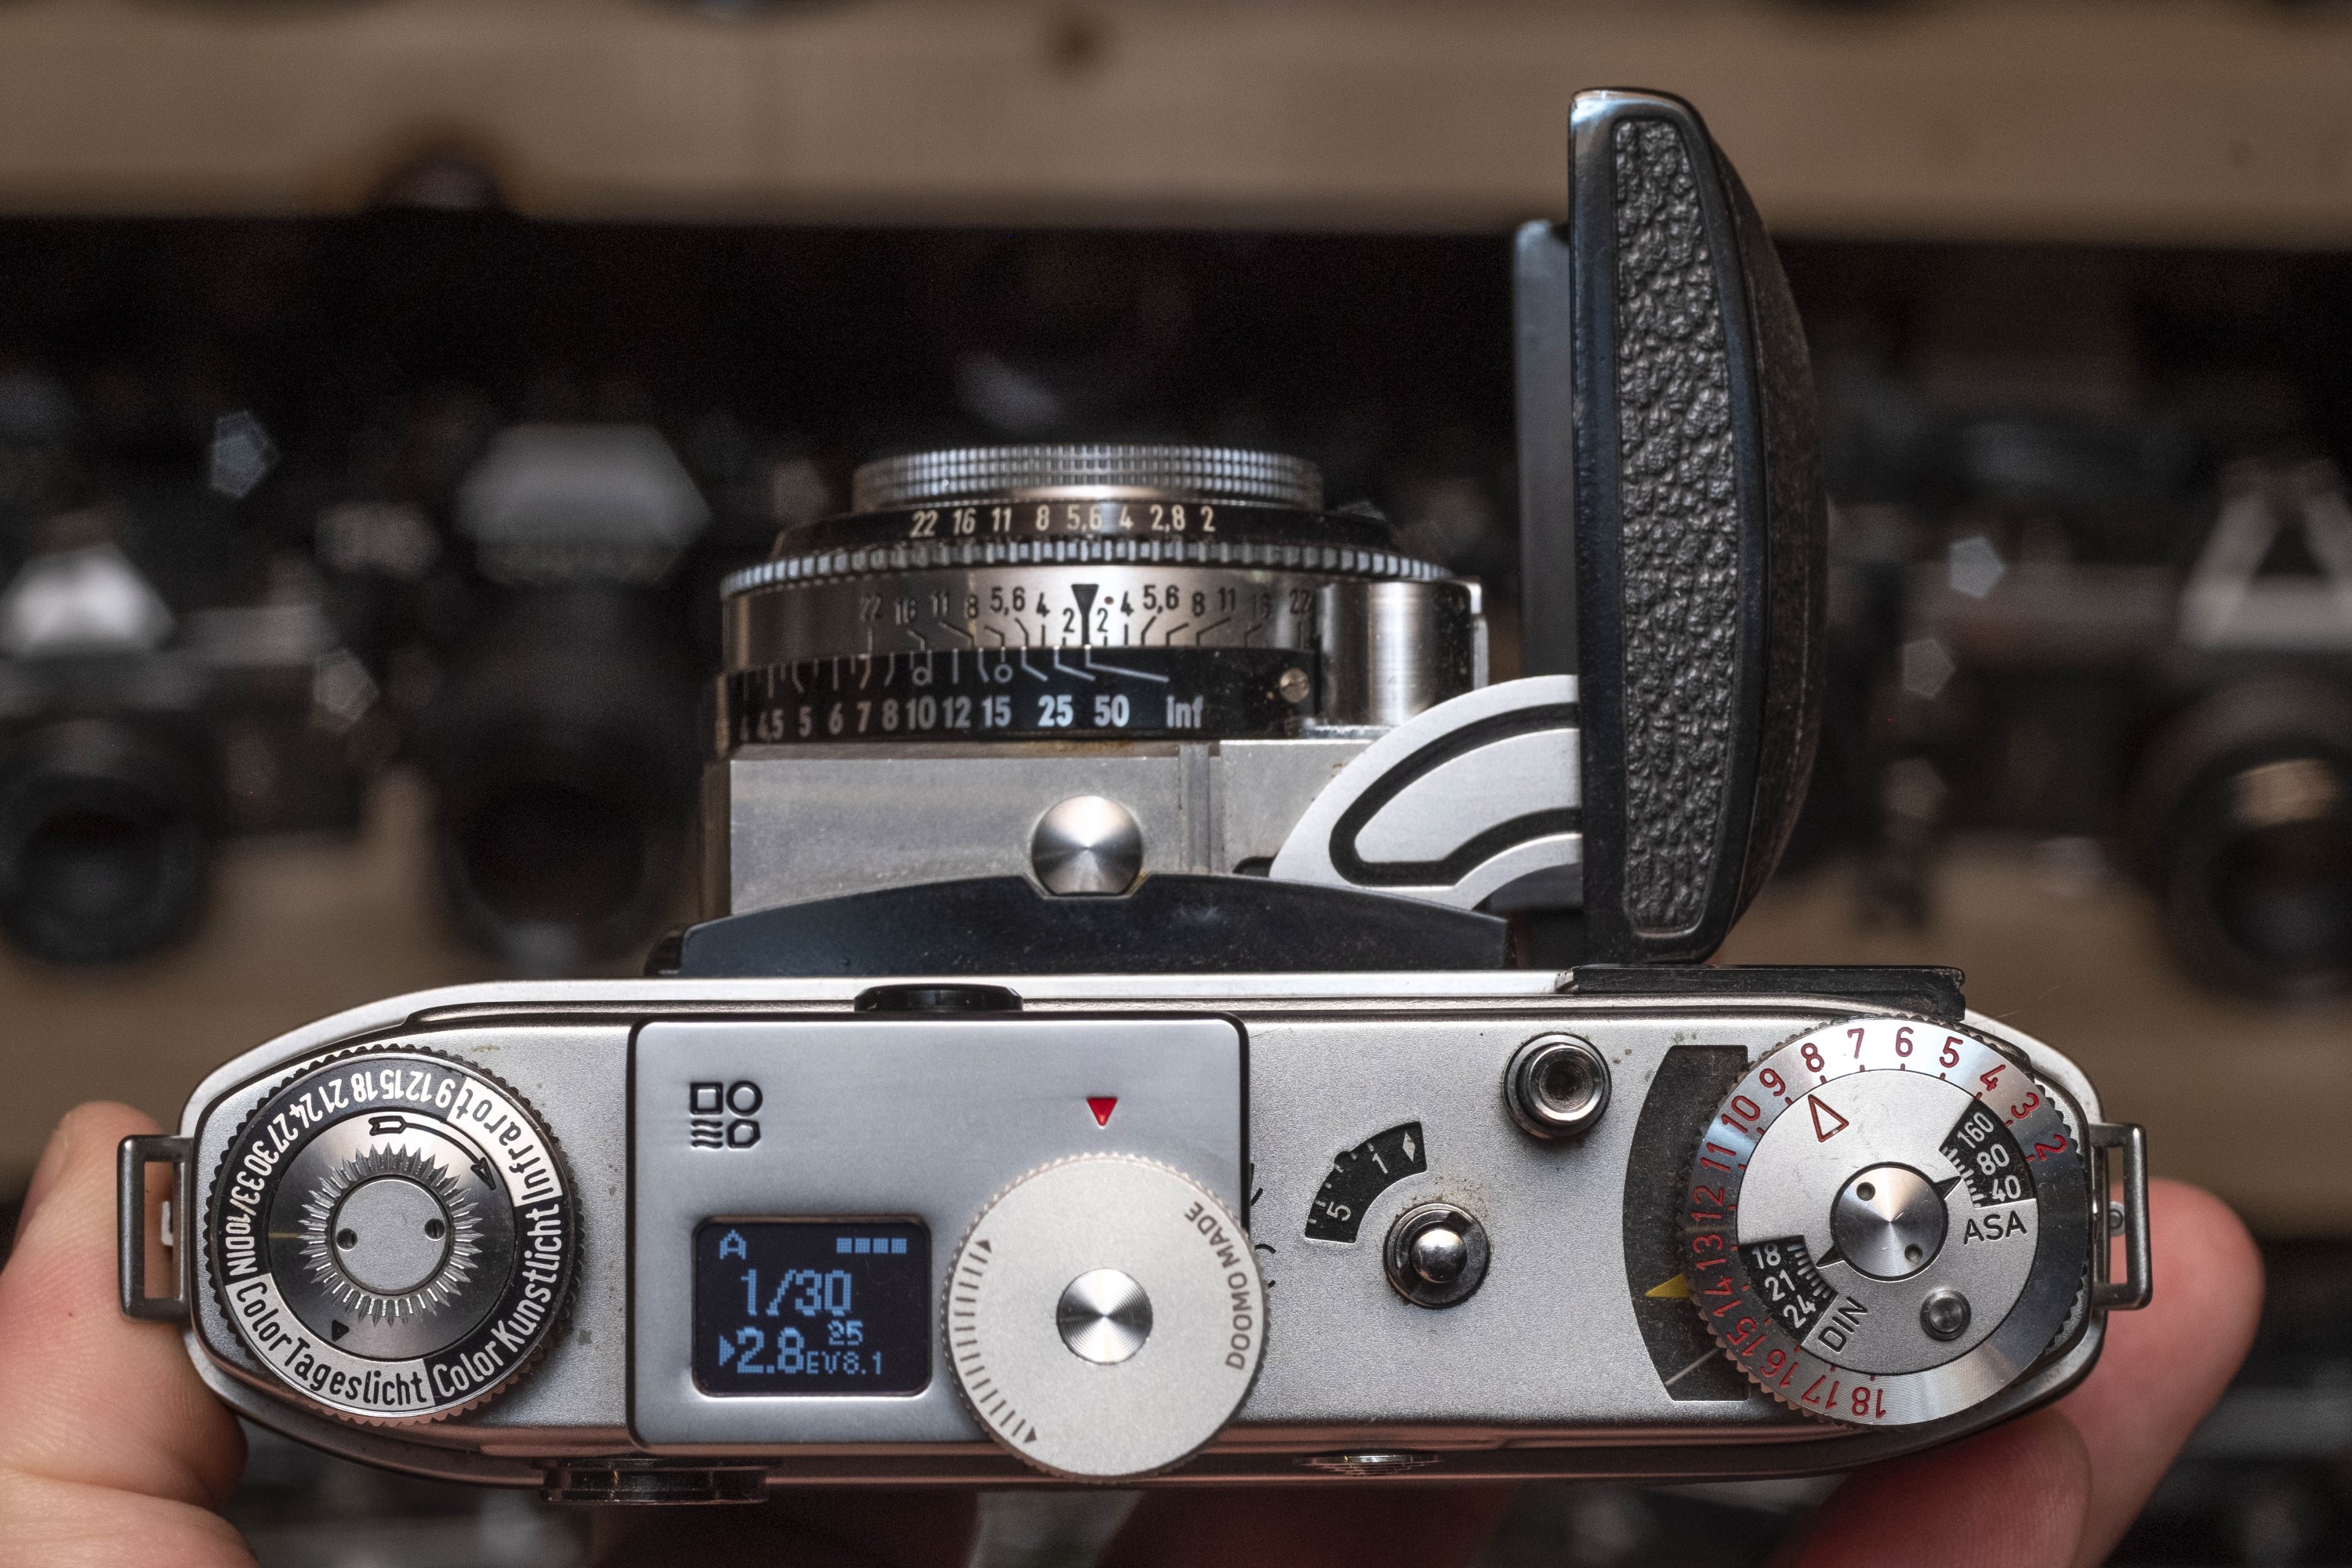
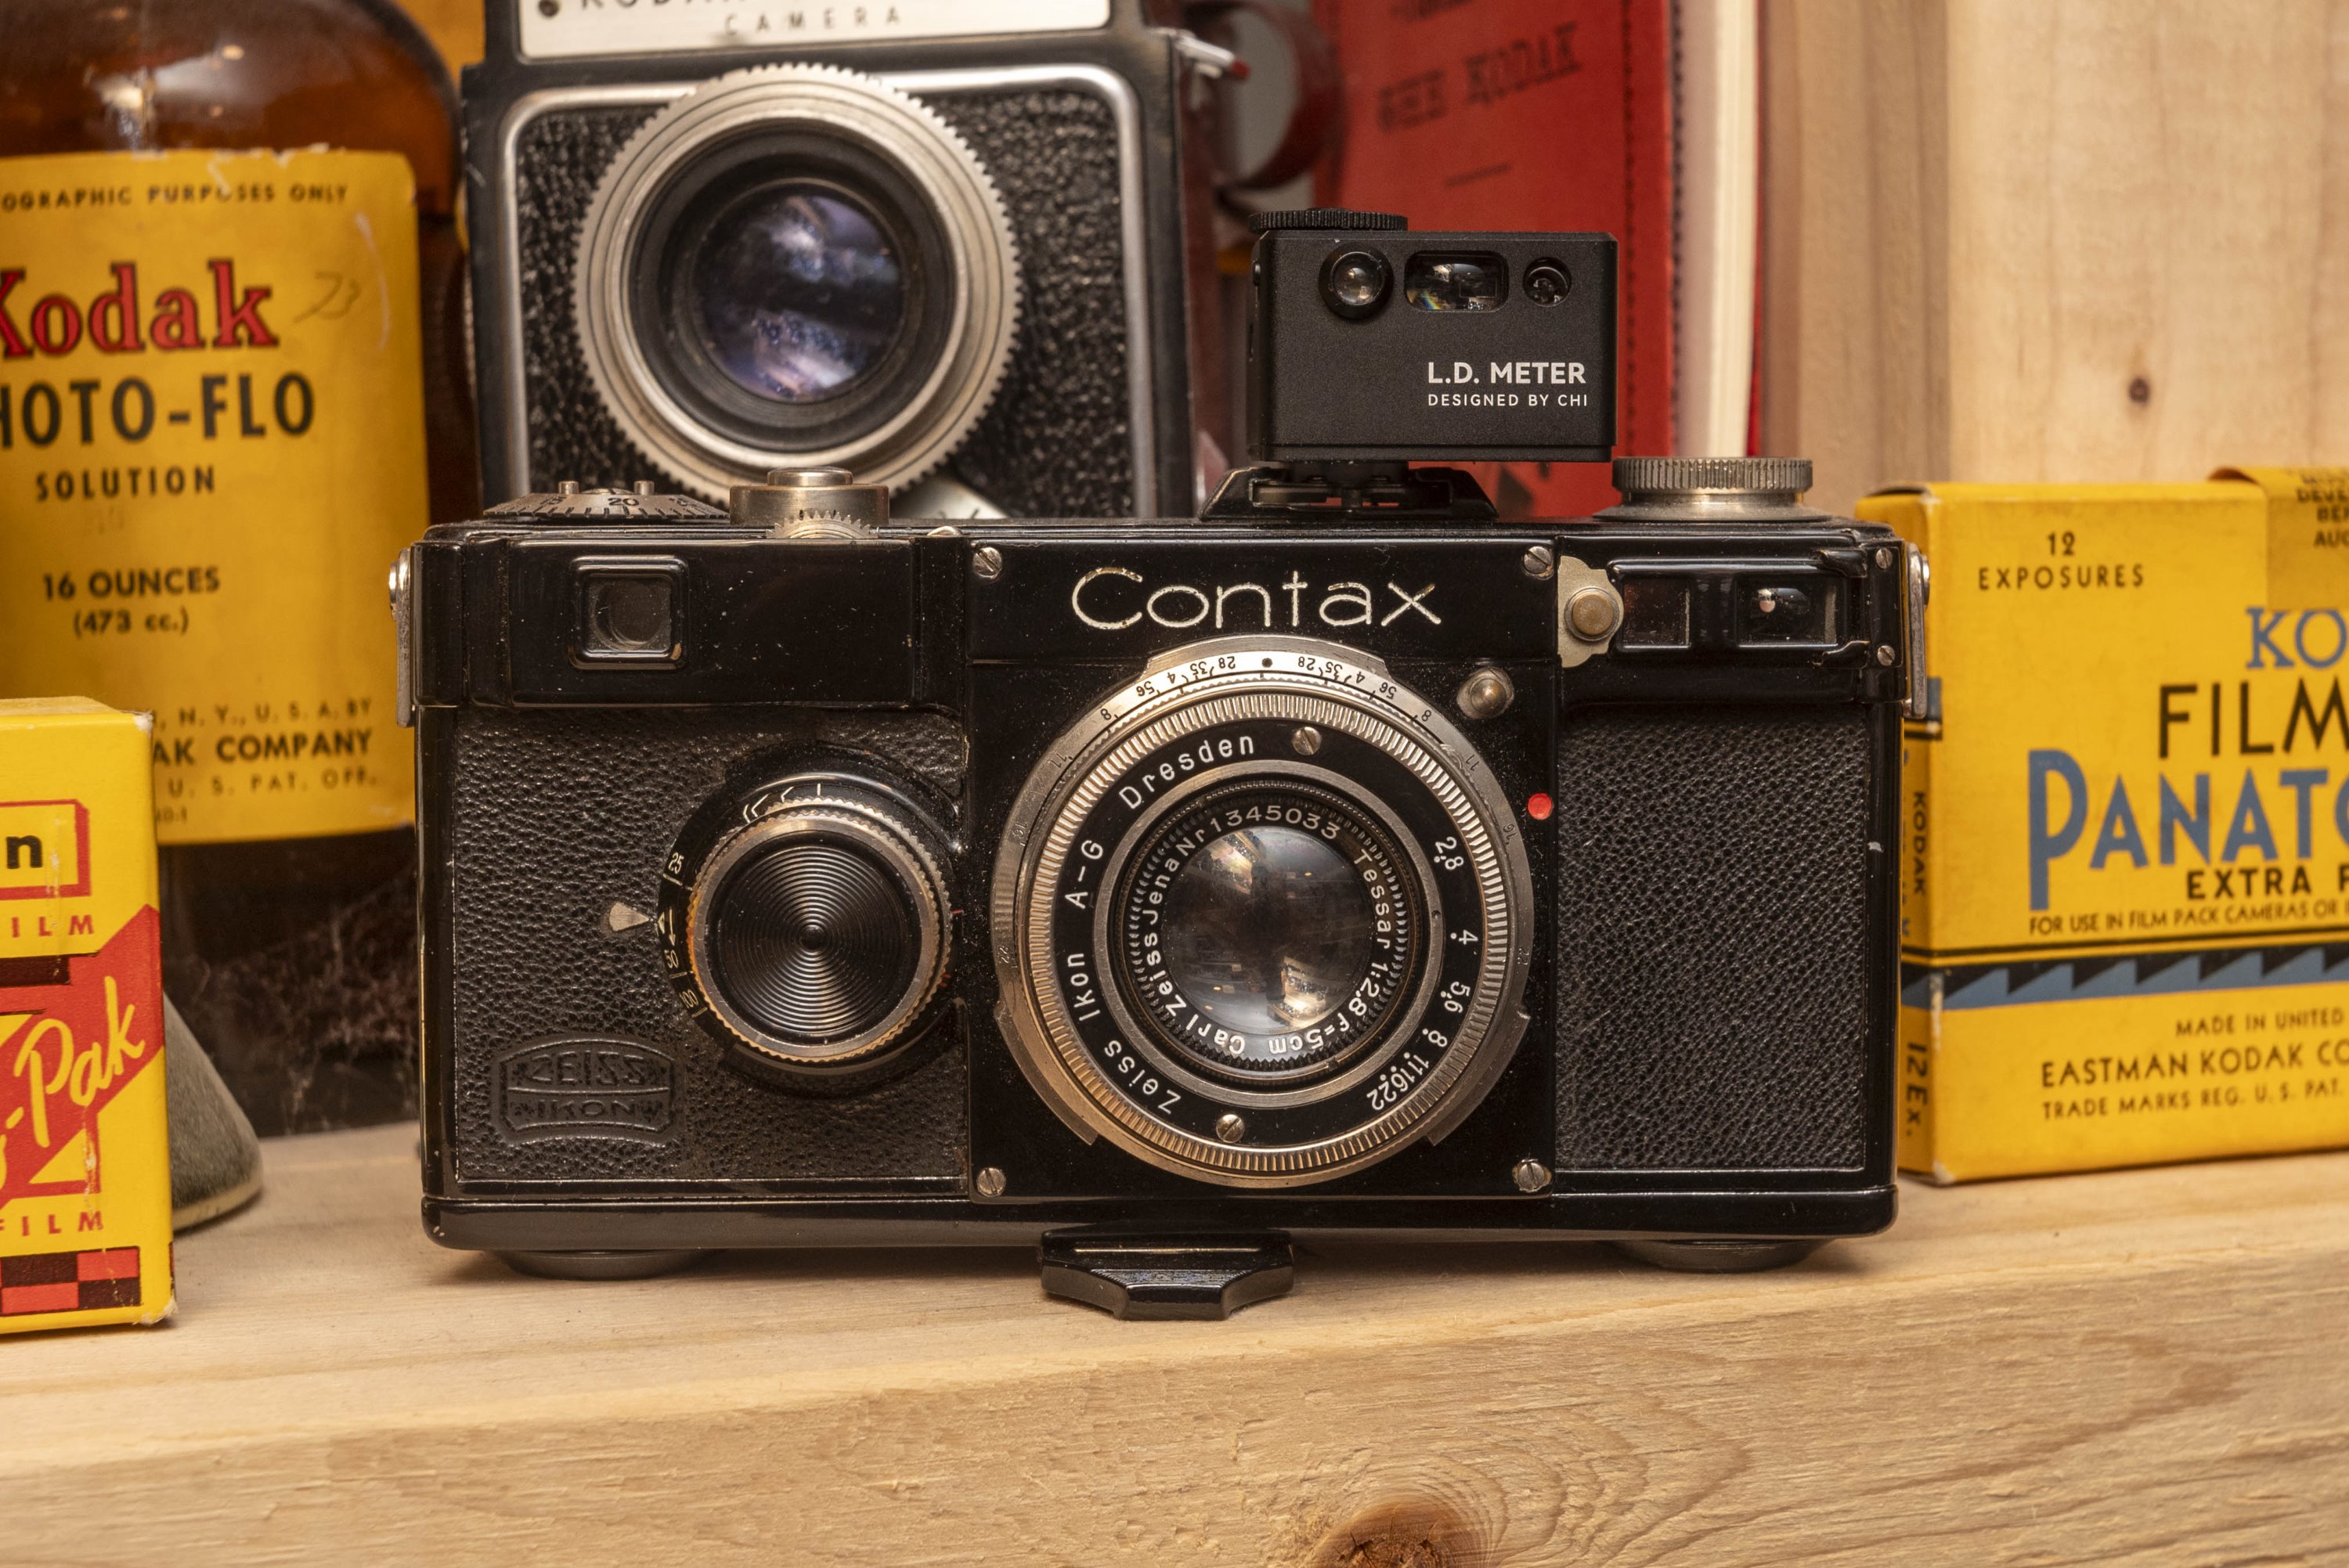
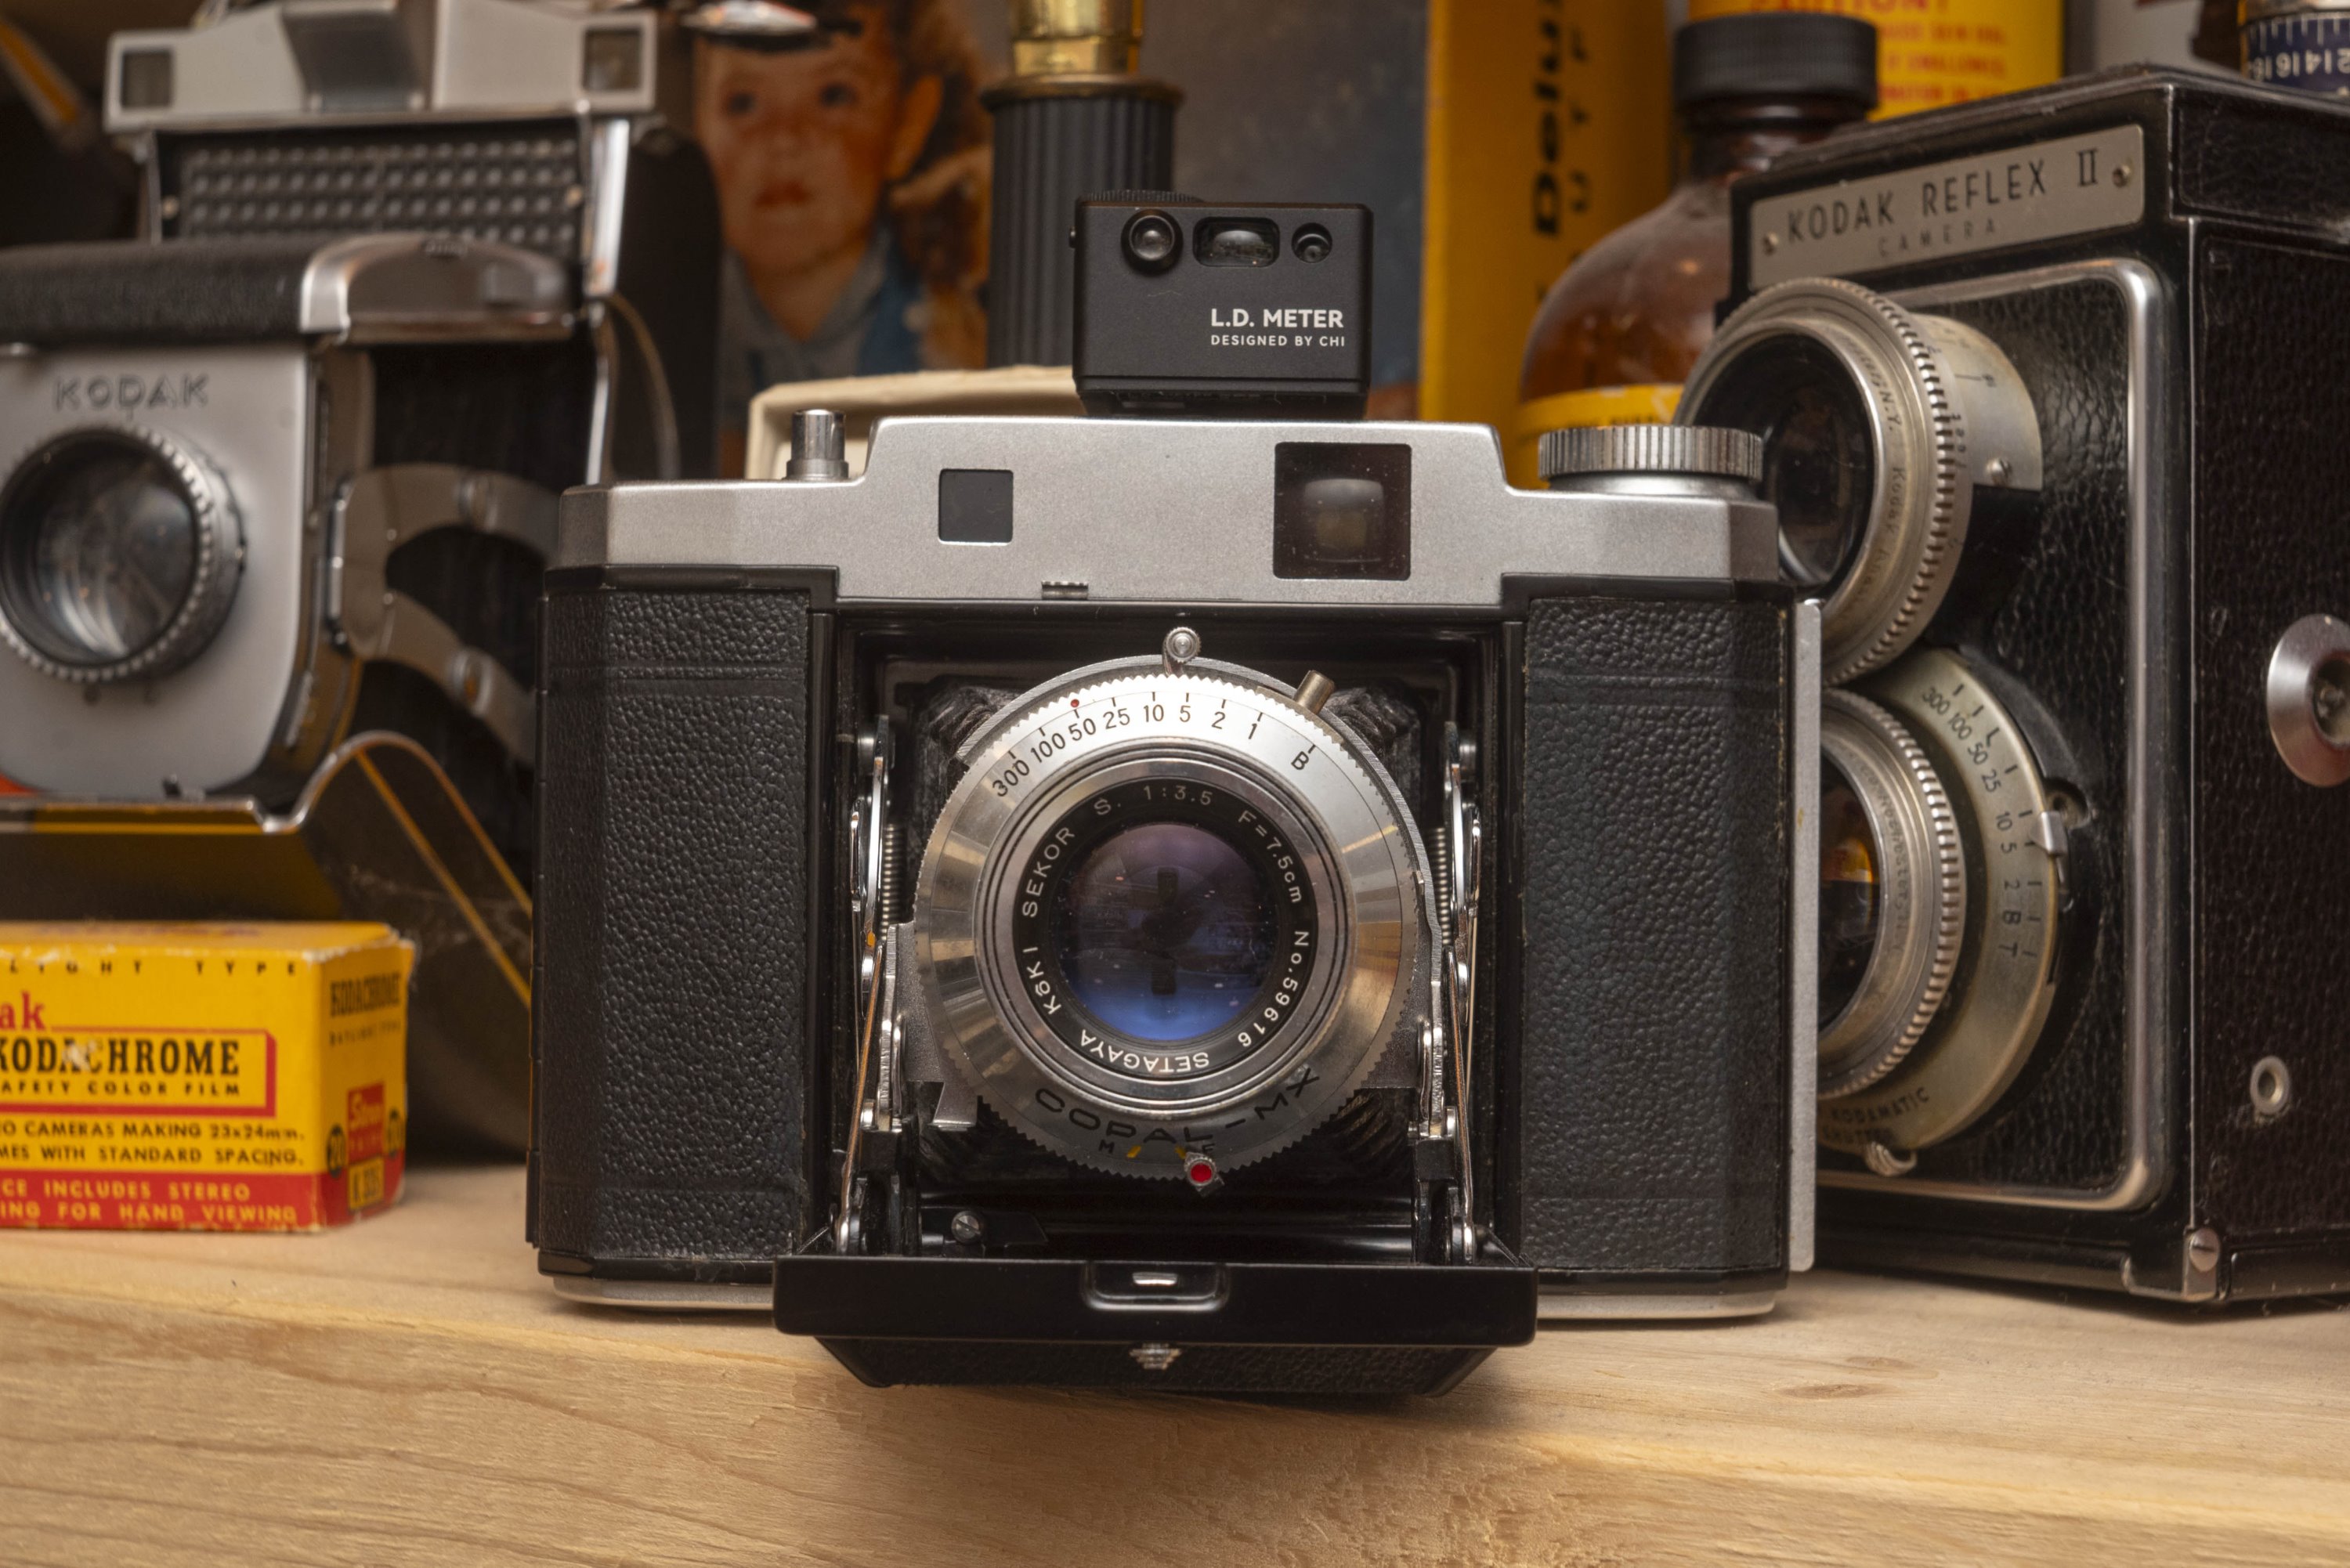
To see what the Chi L.D. Meter was capable of, I mounted it to a black enamel 1934 Leica III which I just had CLAd. Although the Leica’s rangefinder was accurate and the viewfinder was crystal clear, I wanted to test the laser rangefinder, so I relied on that for my distance measurements. I shot two rolls of film, a roll of Kodak TMax 100 and Fuji 400, adjusting the ISO setting on the meter accordingly.
As I shot the camera, I left the meter in shutter mode, so that I could consistently use the same shutter speed on the camera, and had the meter make aperture recommendations to me. I changed f/stops based on what the L.D. Meter recommended. For distance, the L.D. Meter displayed distance in feet since that’s what the Hektor lens has engraved on it.
 My normal process for shooting film outdoors is to use Sunny 16, so while shooting, I found that the aperture recommendations were consistent with what I probably would have selected anyway. The Chi L.D. Meter is a bit more sensitive than my human eyeballs, so often when I probably needed f/8, it would sometimes bounce around showing numbers like f/7.1 or f/9 which are partial stops. Since I wasn’t using a film stock that required super precise measurements, I would just always round up or down to the nearest full stop based on what the meter said.
I used a similar approach for distance. Whenever the rangefinder would give me a distance of 13 or 14 feet, I just picked a distance that was closest to the next marking on the lens.
 Overall, the experience of using the L.D. Meter for light measurement was consistent with other meters I’ve used by DOOMO, AstrHori, and others. The readings seemed accurate and I thought the process of taking a measurement and adapting that to the lens was no more or less difficult than other meters. This might seem like a ‘ho-hum’ endorsement, but for me, knowing that I was getting accurate readings while not significantly slowing me down, I saw that as a good thing.
What about the EV numbers? The Chi L.D. Meter also shows an exposure reading using Exposure Value or EV numbers. Many cameras from the 1950s and early 60s had EV numbers on them which were designed to be used with a hand held meter which measured light using EV. The Leica III I used for this test predates the use of EV numbers so I did not use them, however had I done this test on something like a Kodak Retina IIc or Voigtländer Vitessa L, it would have come in very handy.
 My use of the laser rangefinder however, wasn’t as enjoyable. The biggest issue I encountered is something which has been brought up in every written and video review of the Chi L.D. Meter I’ve seen so far, which is that the red laser is very difficult to see at most distances outside. While the concept is neat, try taking one of those red laser pointers you use to play with your cat, go into your backyard, and point it at an object 20 feet away. The red laser will be really difficult to see. This doesn’t seem to have a negative effect on the rangefinder’s ability to measure distance, the problem is, that if you can’t see the dot, you don’t know exactly what the meter is taking a reading from. If you were trying to get precise focus on something, it is very difficult to figure this out. Indoors however, or when doing closeups, it is much easier to use, but that all depends on how you plan on using your camera.
 It seems as thought Chi envisioned this as a challenge, which is why they made the Red Dot Finder which makes seeing the red got easier, and perhaps one day I might spend the $60 or so to pick one up and see if it helps any, but until then I won’t be using the laser much outdoors.
As I was going through the first roll of film in the Leica, I found myself using the laser rangefinder less and less as it just didn’t feel it was necessary in the environment I was shooting. Considering I was shooting outdoors on black and white and color negative film, which has a good amount of latitude, and smaller f/stops provide greater depth of field anyway, having a laser accurate distance measurement simply wasn’t necessary. By the second roll of film, I stopped using the laser altogether, only turning it on when I forced myself to do some closeups.
My impression of the Chi L.D. Meter as an exposure metering device is very good. I had no issues with its accuracy, the layout of the controls, the LCD, or how it integrated with the camera. Although the meter and camera are separated by more than 90 years of age, the old Leica looked great with it up top.
 As for the laser rangefinder, the implementation is well done, but I am not convinced of its usefulness. I like that the laser has its own on/off switch so you can save battery life wen you don’t need it, and I think Chi was wise not to overcomplicate the device by adding dedicated buttons or menus for the laser. The issue simply is that using a red dot laser to measure distance simply won’t work in many scenarios, especially outdoors. Perhaps for macro photography, or people shooting in dim night clubs, this would be a game changer, but for someone who likes going on nature walks or shooting photos of things outside in good lighting, the combination of not being able to see the laser dot, plus that depth of field makes guess focusing pretty easy, means that most people probably won’t need the laser feature of the L.D. Meter as often as they probably think.
 A minor, but curious decision about the marketing of the camera is that the “Pro” version is $20 more and its only difference is the 7 degree spot meter, which to me is less useful than the 30 degree meter of the Lite version. Adding that there are no other differences between the two, I can’t recommend spending the extra $20. If I were Chi, I’d want to find other ways to add value to the “Pro” version and make it more worthwhile.
One suggestion I do have for Chi, would be to make a hand held version of the L.D. Meter, or perhaps even some kind of handle that the meter could be mounted to, turning it into a hand held meter. This would be handy for the large numbers of classic cameras which don’t have an accessory shoe. The photographer could still use the L.D. Meter hand held to get a measurement, and transfer it to their folding camera or early SLR.
Beyond this, I really only have one criticism of the Chi L.D. Meter which is the location of the mounting holes on the bottom. It is weird that of the 6 holes, only 4 of them can be used, offering only 2 mounting positions of the foot. Simply repositioning the holes would give users a third mounting position, adding additional flexibility to a wide variety of cameras. As an added bonus, it would have been nice to have a small screwdriver in the case for removing the screws.
 My final impression of the Chi L.D. Meter is that it is a very good product with what appears to be good build quality, excellent cosmetics, an accurate meter and rangefinder, easy to use operation, and a good screen. As an exposure meter, the Chi L.D. Meter compares favorably to other shoe mounted meters out there today, but its defining feature is the laser rangefinder, which while accurate and easy to use, isn’t as practical as you might think and depending on your style of photography, you might not need to use it very often. If however, something that can measure distances in low to medium light down to as little as 0.1 meters (3.93 inches) is something that would benefit you, there is no better option.
I predict that as more people become aware of the L.D. Meter, we will see similar meters released with laser rangefinders from Chi’s competitors. I would be shocked if DOOMO or KEKS don’t start to offer a laser rangefinder option soon.
Nice! Agreed the dot is hard to see outdoors, but I use this with homebrew cameras so I can finally scale focus with a longer lens and it’s been excellent for that use. I honestly almost never used the meter, but the distance finder is so handy. Especially because I can create my distance scale to match the CHI readings and so the two are perfectly “calibrated”. Only negative I’ve found is it runs into problems in cold weather. If it’s much below freezing, I have to keep it warm inside my coat or hand for the laser readings to function correctly.
Great review. but, I love the black Leica. Never owned a S/M Leica that was black.
A black screw mount Leica had been on my want list for a very long time. They’re out there, but almost always out of my price range. This one came to me at a time where it was still out of my price range, but I had something I wanted to trade, so I did some ‘wheeling and dealing’ and was able to secure this one. The serial number dates it to 1934 and it works perfectly.