Flexichrome was an early method for adding color to black-and-white photographs, developed in the early 1940s by the Crawford Flexichrome Company and later purchased and re-released by Eastman Kodak in 1949. It emerged from a long lineage of early color processes—hand-tinting, Autochrome's potato starch grains, Edward Raymond Turner's rotating filter system, and Kodak's Kodachrome—all of which sought workarounds to the expense and complexity of true color photography. Flexichrome was aimed primarily at commercial photographers, though the chemicals and supplies were available to anyone, and Modern Photography published a nine-page how-to article on the process in February 1950.
The author's hands-on review of that vintage article reveals just how involved Flexichrome actually was, despite being billed at the time as the "simplest" colorizing method available. The process required 18 different materials and 13 steps just to produce a "gelatin relief image," a stage that alone took about 15 minutes. Coloring the relief could then be done at leisure with the lights on, using at least a dozen pigments applied by hand with a brush in loose, imprecise sweeping motions, followed by wiping away excess pigment before moving to the next color. The gelatin's thickness varied with the density of the original silver image, and each pigment absorbed in proportion to that thickness. Notably, applying a new pigment didn't blend with a previous one but fully replaced it—so blue over yellow yielded pure blue rather than green. This quirk made the process highly flexible, allowing photographers to easily correct mistakes or alter colors of clothing, hair, or backgrounds, which is why ad agencies and early baseball card companies like Bowman and Topps relied heavily on Flexichrome.
The author ultimately finds the process almost incomprehensible in its complexity, especially in contrast to how it was marketed as straightforward for its era. While simple, uniform-colored images could reportedly be completed in under two hours by a skilled practitioner, more complex scenes—like autumn foliage—could take much longer. Having previously found modern digital colorization techniques in Photoshop or Lightroom tedious and not worth the effort, the author closes with a shift in perspective: after learning about Flexichrome, contemporary digital methods no longer seem so daunting by comparison, and the piece ends with a renewed appreciation for the photographers and colorists who mastered this painstaking analog technique.
AI-generated summary. May not capture every detail — read the full article below for the complete picture.
For most of the past century, the choice of whether you wanted to shoot photographs in color or black and white has simply been a matter of choosing one film or another, or in the digital era, pressing a button or two to switch back and forth.
In the earliest days however, it wasn’t so easy. The earliest forms of color photography didn’t even start off in color. Black and white photos were tinted and dyed by hand after they were shot. A wide variety of colored dyes, pencils, and filters were needed to complete the painstaking process of turning a black and white image into a color one.
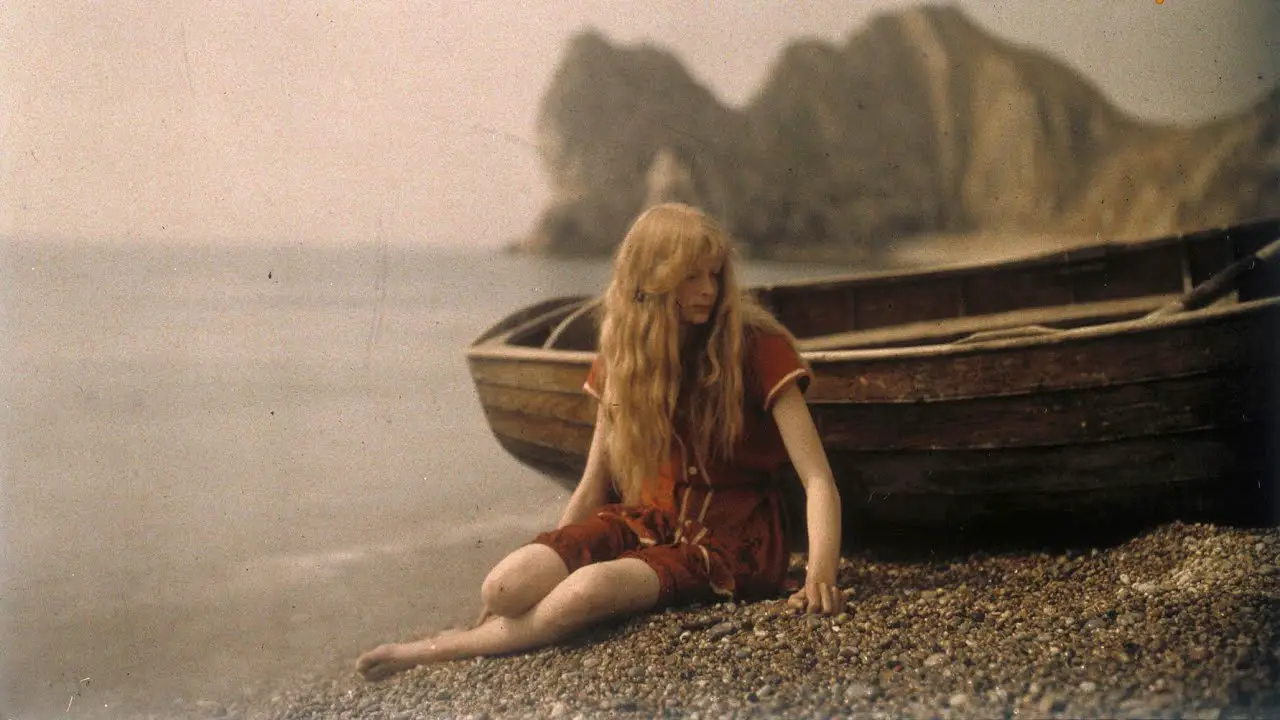
Another early process called Autochrome was revealed in 1907 and used a complex process of transparent colored potato starch grains embedded into glass plates that after the image was developed, the colored grains would act as a filter, coloring the image.
Eventually, films that could separate colored light first into two, then eventually three separate black and white strips that were sensitive to red, green, and blue light were created that allowed a color image to be created afterwards. In 1899, a British cinematographer named Edward Raymond Turner pioneered a new process involving rotating sets of red, green and blue filters that were used to photograph three color components one after the other on three successive frames of panchromatic black-and-white film. The finished film was projected through similar filters to recreate a color image.
In the early 20th century, subtractive methods were employed in which separate color filtered black and white emulsions were bleached and replaced with colored dyes. Kodak’s first commercially successful film, Kodachrome, was released in 1935 and used a subtractive method in which the film itself contained no color, rather multiple layers of color sensitive black and white film in which color was replaced during development.
By the time World War II ended, color photography was becoming increasingly popular, but the cost of color film and getting it development was still prohibitive for many people, so black and white film was the only choice for many people.
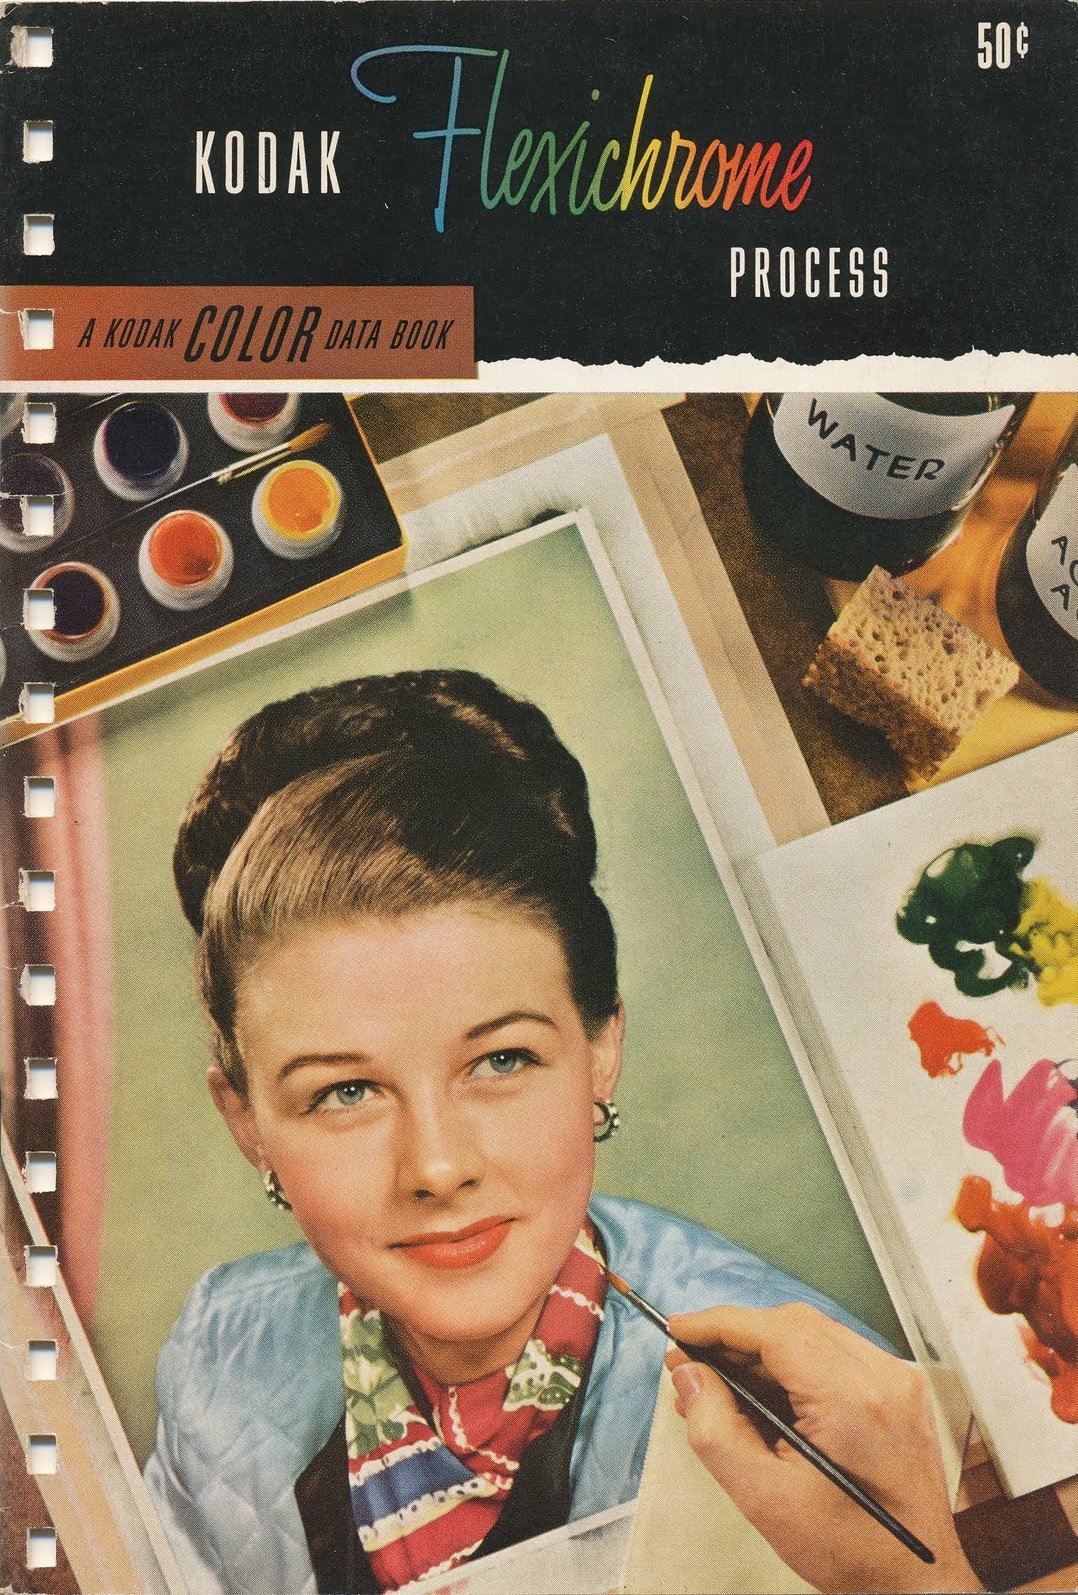
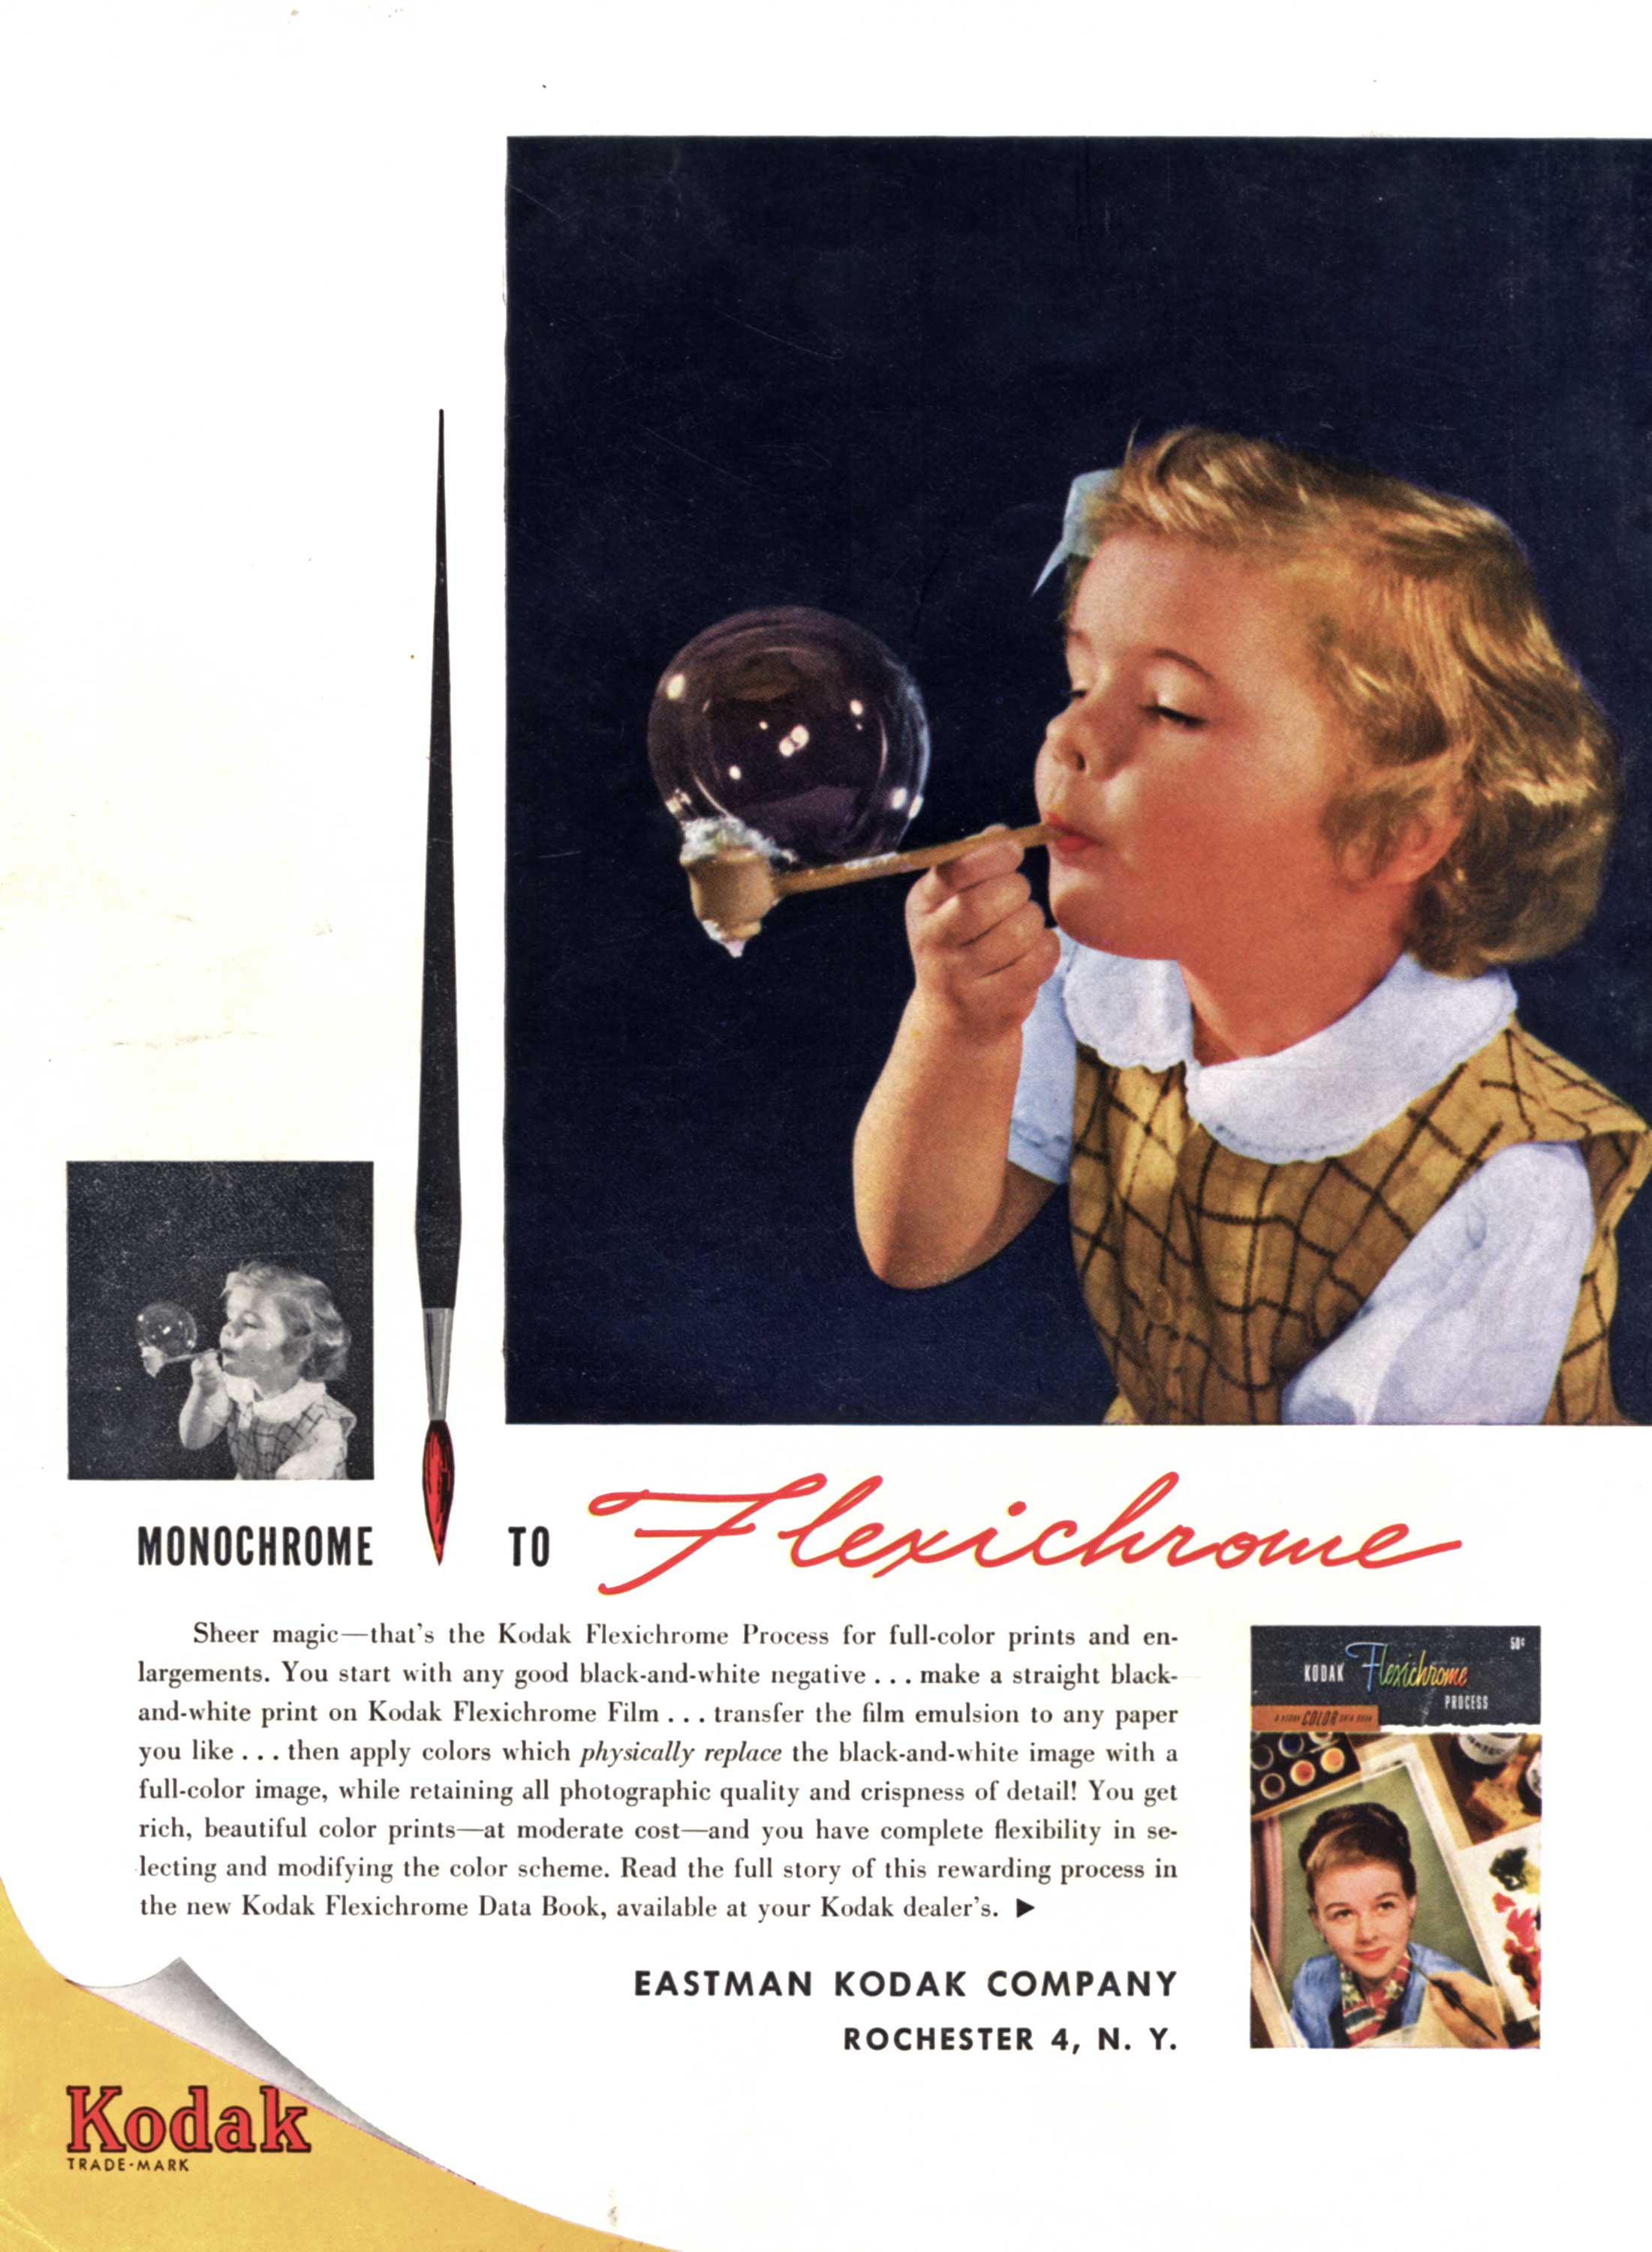
In the early 1940s, a new process for colorizing black and white film called Flexichrome was developed by the Crawford Flexichrome Company. The rights to the technology were later purchased by Eastman Kodak and in 1949 was re-released as Kodak Flexichrome.
Flexichrome was primarily marketed towards commercial photographers but the necessary chemicals and supplies could be bought by anyone. In February 1950, Modern Photography published a nine page article summarizing the process for anyone looking to try it themselves. The article starts off by declaring Flexichrome to be the simplest method so far for making color photos from black and white prints, but warns that the process is still complicated and should be reserved only for the advanced photographer with well developed skills.
Reading this article, I had to stop myself a number of times and pause at the complexity of the process. To think that at one time, this was considered “simple” suggests that any previous methods were downright torture. The charts on pages seven and eight list 18 materials needed for processing and coloring. There were 13 steps that would take 15 minutes just to get what was called a “gelatin relief image” ready for coloring.
The coloring process could be done at your leisure with the lights on and involved at least a dozen different pigments that would be applied by hand. The time it would take varied on your skill level and how much color you wanted to include in the image. The article suggests that images with large patches of similar colors are easier to do and with experience could be completed in less than two hours, but a complex shot of fall foliage could take much longer.
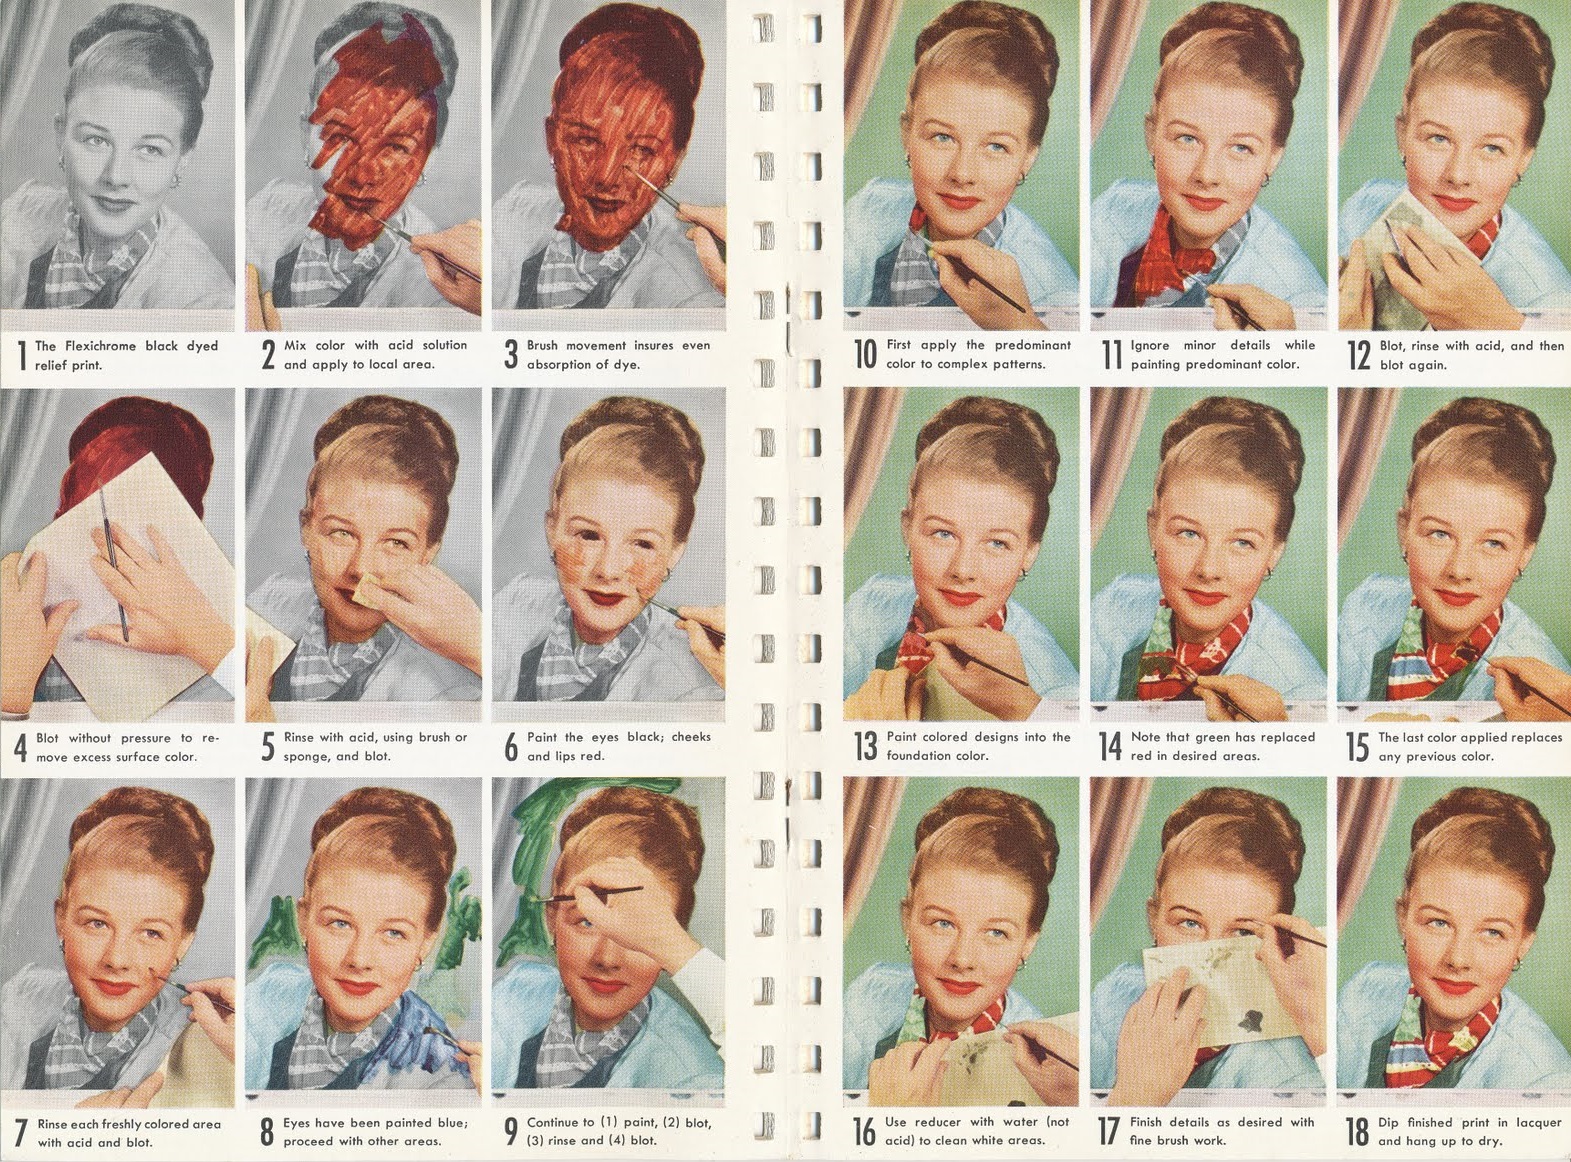
Even after reading the article, I still struggle to wrap my head around how this process works. It seems that the gelatin relief print that is created during the processing phase had a texture in which the surface varied in thickness depending on the density of the silver from the original black and white image. As you went through the coloring phase, each color would be absorbed in proportion to the thickness of the gelatin relief.
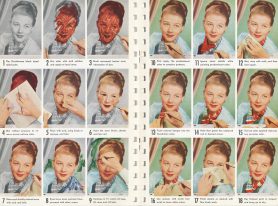
Each pigment is applied using a brush in sweeping motions that didn’t actually need to be all that precise. You can see in steps 2 and 3 in the example above that the lady’s face is clearly covered in the pigment. After covering your desired area, excess pigment would be wiped away and you would proceed to the next pigment.
Interestingly, Flexichrome pigments replace each other. The next pigment washes any earlier one right out of the gelatin. If for example, you put blue over a yellow image you do not get green, but only pure blue.
The flexibility of this process meant that errors could be corrected easily, and you could alter the pigment of backgrounds, clothing, or hair if you so desire. In the Modern Photography article, a yellow lily is easily changed to red to suit the photographer’s preferences.
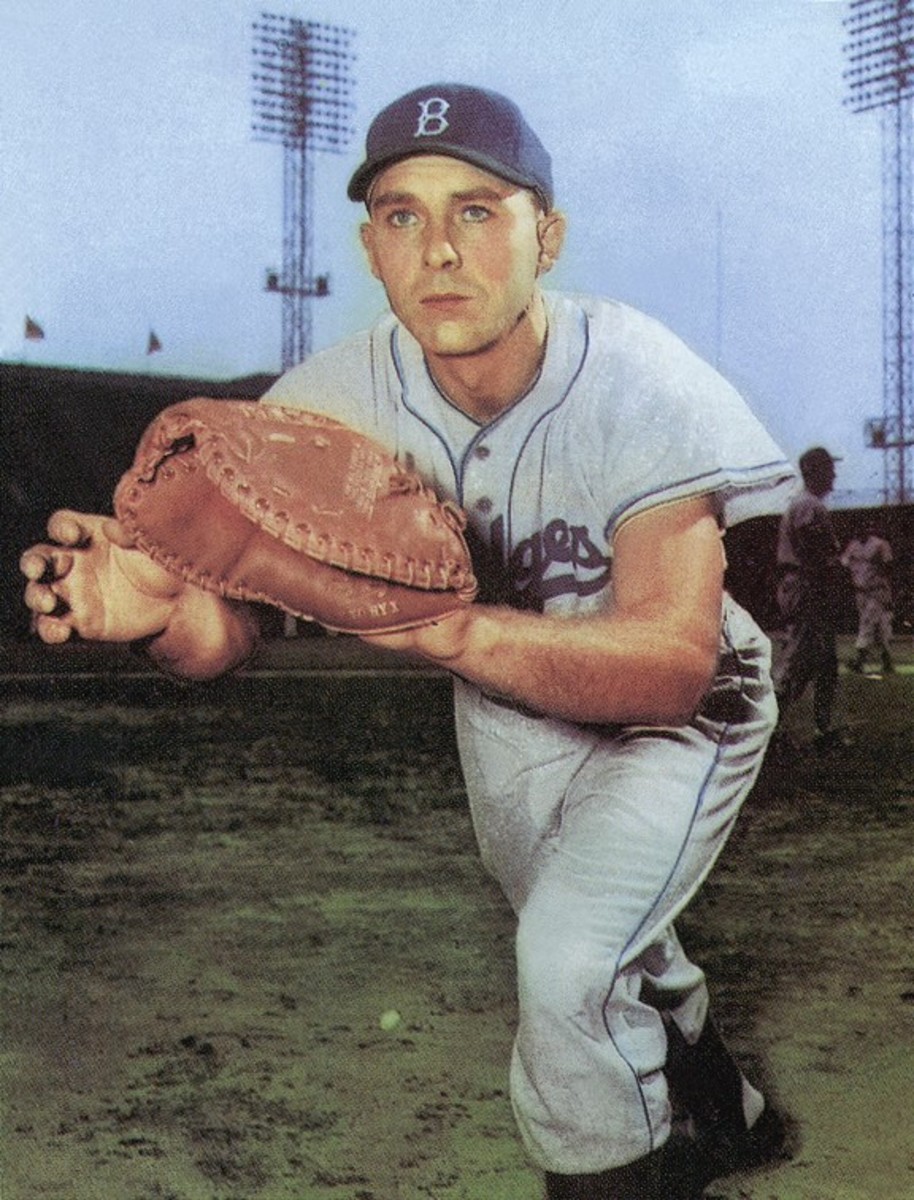
A large number of ad agencies used the Flexichrome process for this reason as clothing and other things could be altered to suit the specific purpose of the photograph. Early baseball cards by Bowman and Topps predominantly used Flexichrome images.
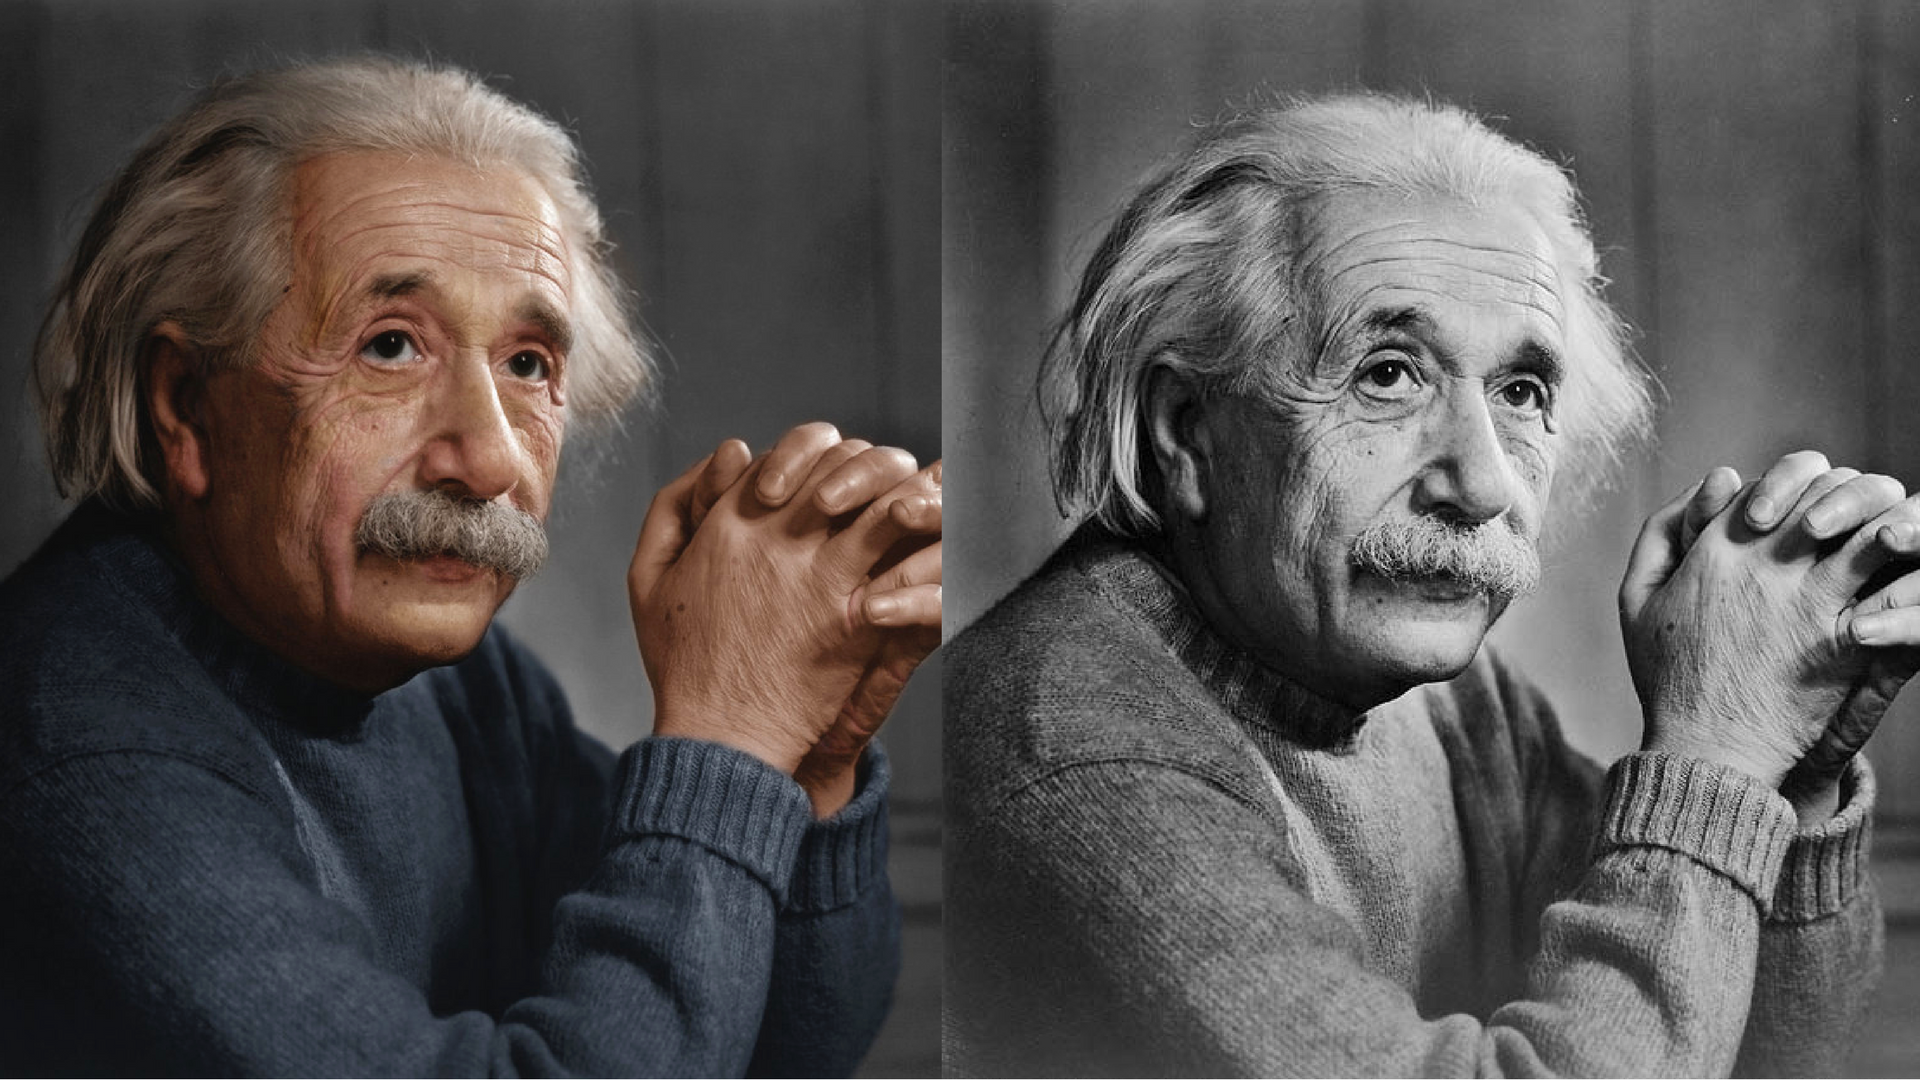
Over the years, I’ve looked a few tutorials that covered colorizing black and white photos using Adobe Photoshop or Lightroom and it just seemed too complicated for me. There isn’t an easy button or filter that you press which can magically colorize an image. It’s a painstaking process of individually selecting different parts of the image, creating layers, and adding shades of color to each part and then blending your layers back into a single image.
I used to think the amount of work involved wasn’t worth the bother, yet some people still do it and achieve great results. After reading about Flexichrome however, modern digital methods don’t seem so complicated anymore. I’m not saying I’m going to start coloring black and white images, but I definitely have a greater amount of respect for those men and women who took on the challenge back then!
All scans used with permission by Marc Bergman, 2020.
So that’s what was meant by “stripping film” and other “black art phrases” tossed around when Ektachrome and Kodachrome transparencies were “prepared for publication”? I’ve often wondered about how complex the dye transfer process was at National Geographic or Life magazine, and here it is. Also, how did art directors answer this question: “Is the sky Blue, or is it Cyan”? The large number of steps from monochrome to full color remind me of the multiple-pass, consumer grade, Dye Sublimation computer color printers of the recent past. It is humbling to see “what used to be” vs. “make mine E100 Ektachrome” on the road to “everything must be in color.”